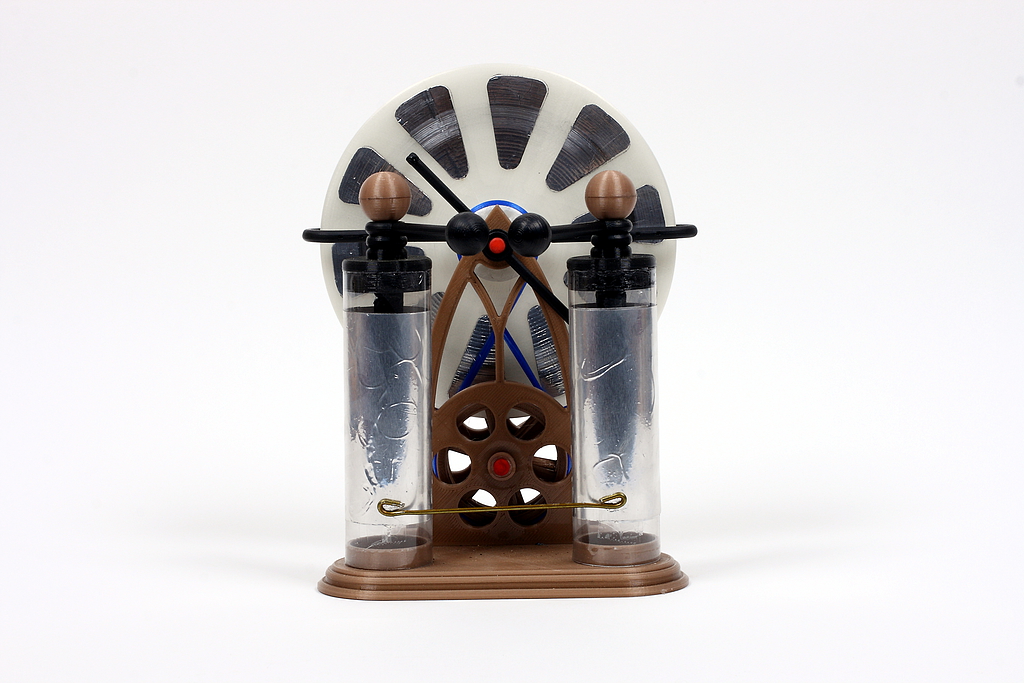
3D Printed Wimshurst Machine
In the winter time, whenever I pulled a large flat part of off the print bed of my RepRap Prusa Mendel, I would notice a great deal of static electricity. One day the thought occurred to me that I could 3D print a Wimshurst Influence Machine like the one I designed and built for an article that appeared in Make: Magazine #17.
Thus began a research and design project that pushed me to develop my 3D modelling skills, introduced me to some interesting new materials and processes, and ultimately led to the construction of a kind of crappy Wimshurst machine. More on that last part later.
 I started my design in an older version of Autodesk’s 123D Design. It was adequate for the task of designing the individual pieces but I quickly gave up on the idea of combining all of the parts into a single file to make a model of the whole machine. The current version of 123D is far more capable and this could probably be accomplished now.
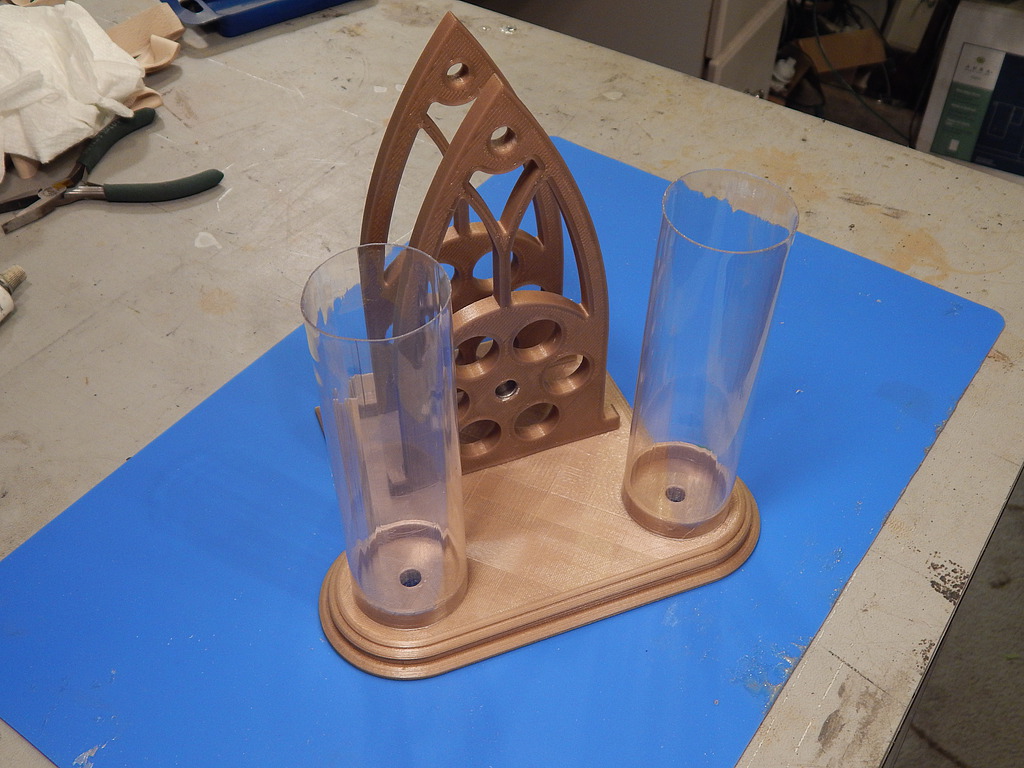
I decided to go for a sort of “Gothic” theme, inspired by the ogees and mullions of medieval cathedrals and the design of Gothic revival steam engines of the 19th century. All parts were initially printed in PLA with a 20% fill and these proved quite serviceable. Mechanically, at least.
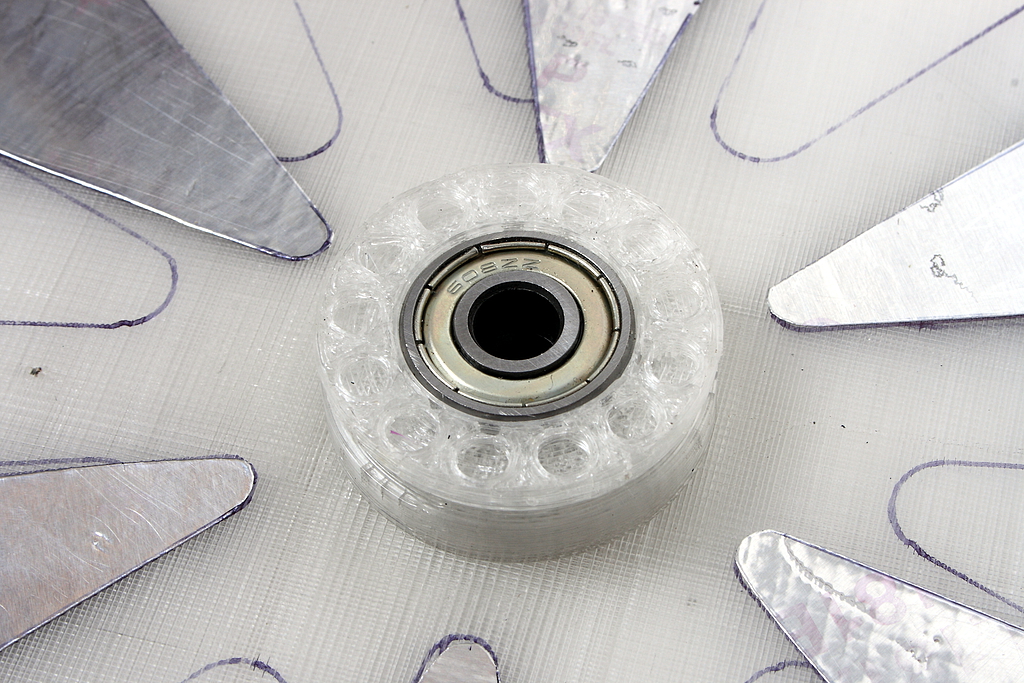
 As in my full sized Wimshurst machine, 608 skate bearings were inserted into the disks and frames for all rotating parts.
 5/16″ fiberglass rod was used for the axles and shafts. These are commonly sold with metal caps and reflector tape for marking the edge of your driveway so the snow plow driver doesn’t dig up your lawn.
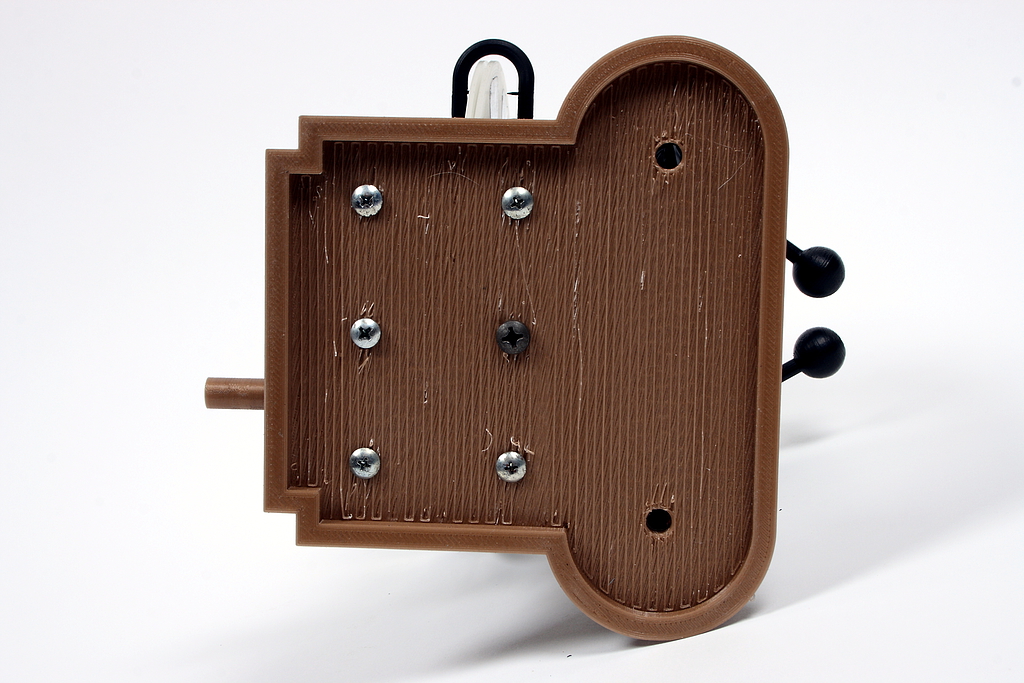
I made the base hollow and printed support material to lighten it and make the top the appropriate depth for the sheet metal screws used to attach the vertical supports.
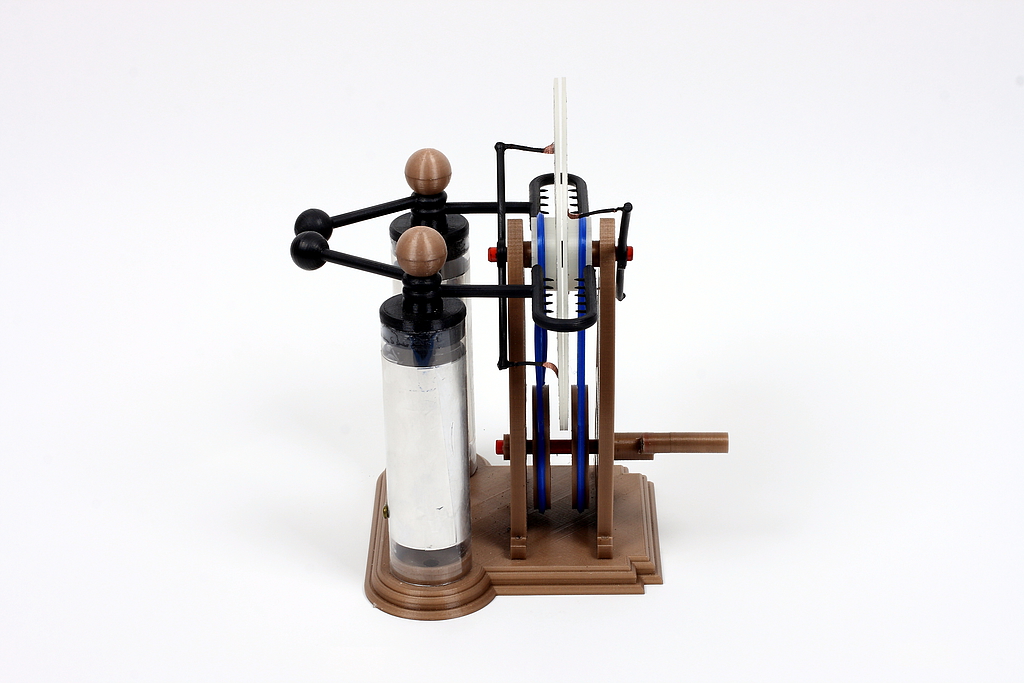
 Leyden jars need to be “watertight” and I suppose I could have printed them in ABS and acetone vapor smoothed them, but I opted to utilize the same material I used in my other Wimshurst project. These are section of a clear plastic tube meant to protect 4 foot florescent light bulbs in rough environments.
 I printed tops for them that accepted a short length of threaded 1/8″ NPSM pipe (i.e. 3/8″ diameter “lamp pipe”) and bent some copper wire for the interior contacts which I held in place with electrical tape..
 I designed and printer the collector electrodes to accept brads for the collecting points.
 I wanted as many of the parts as possible to be printed so I sprayed them with a carbon based RFI/EMI shielding paint to make them conductive. I found several different type of conductive paint including copper and nickel paints with relatively low resistance. But at the voltages we are talking about (many thousands, at least) carbon paint should be as good as a bare wire.
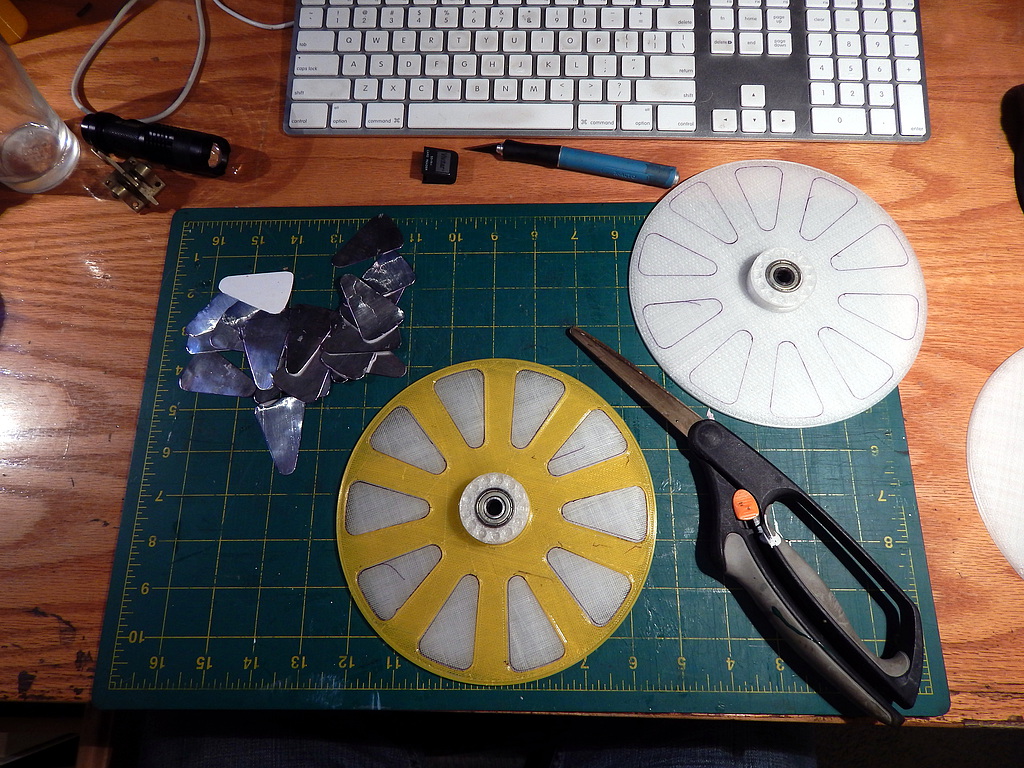
 The sectors were cut from peel-and-stick aluminum duct tape with the aid of a template I printed to position them on the disk.
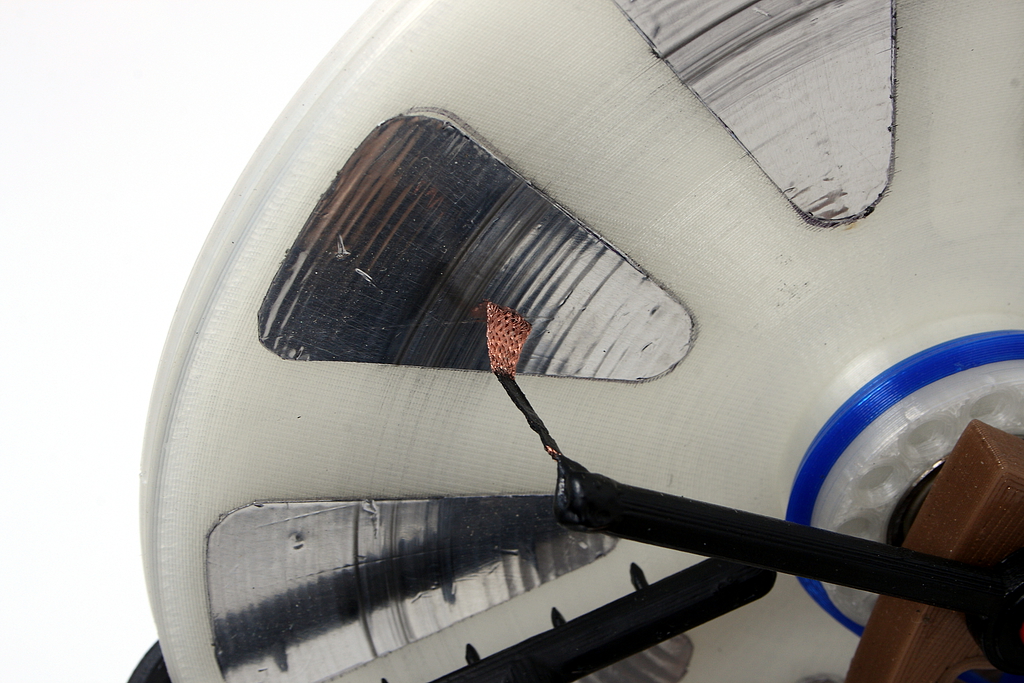
 The neutralizing bars were also printed and short lengths of solder wick were pressed into service as brushes.
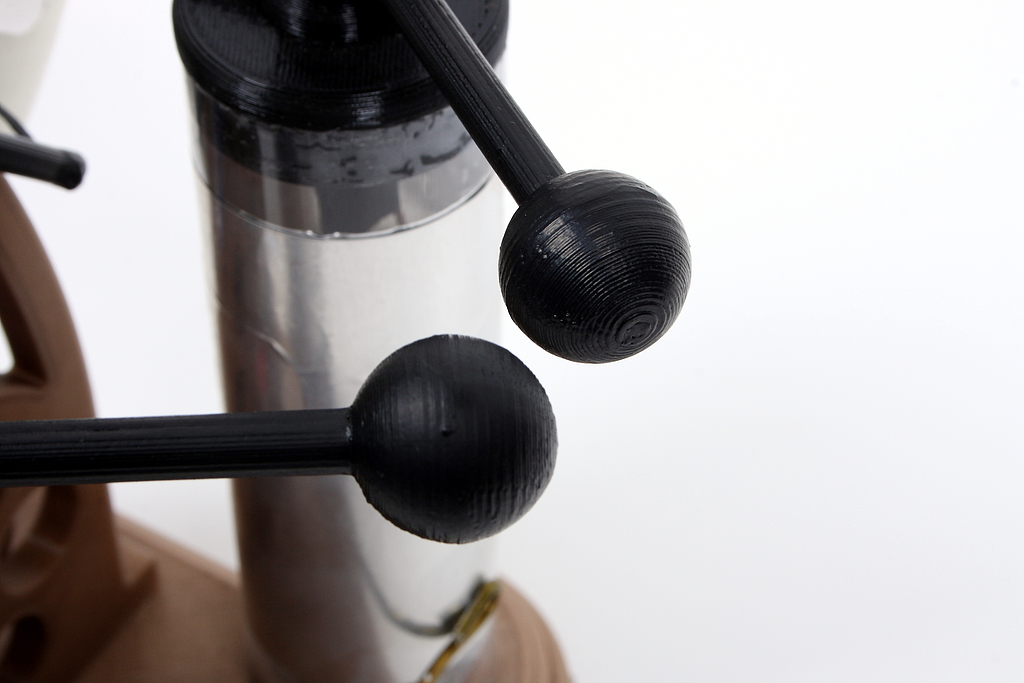
 The discharge electrodes were printed and painted with the conductive carbon paint.
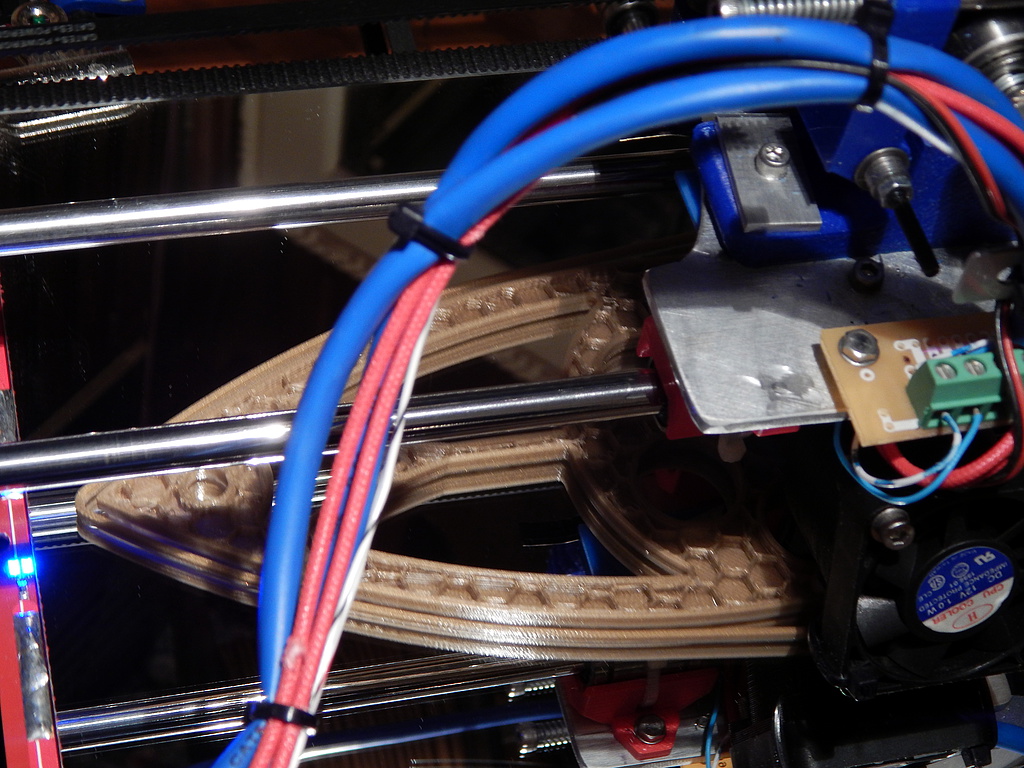
 Here is a picture of the installed collector. Along with the conductive carbon paint, another material revelation came with my discovery of Thermo-Plastic Elastomer 3D printer filament and I printed the drive belts for my machine from it.
 The neutralizing bars press fit on to the ends of the disk axles.
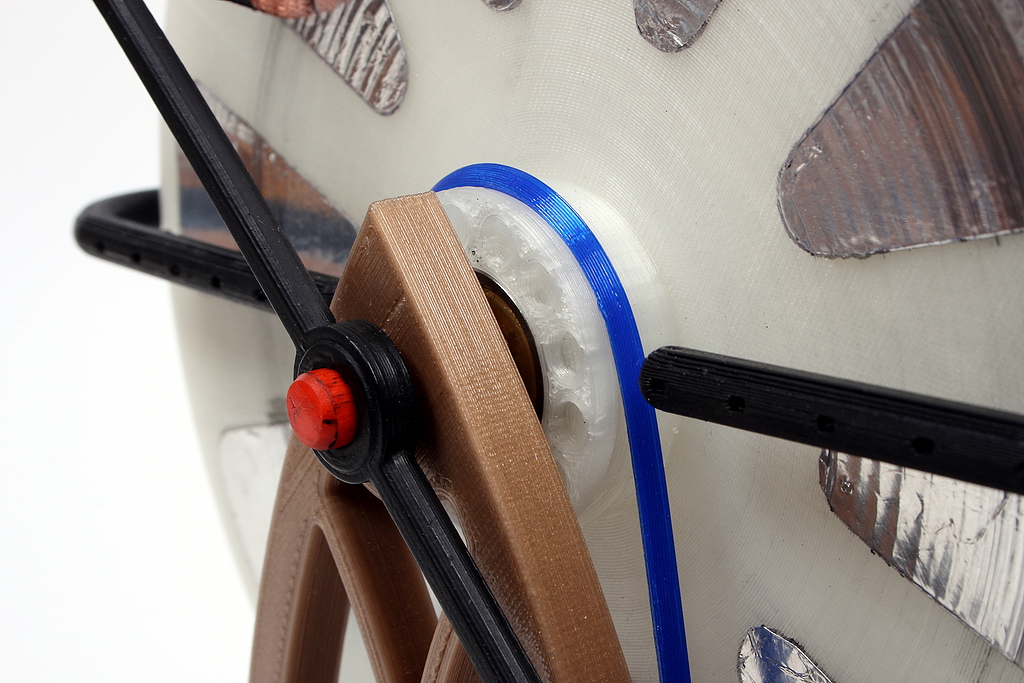 The crank also press-fit in place and a screw was used to allow the handle to rotate.
 The main drive pulleys press-fit on the shaft as well, but required a drop of Locktight Threadlocker to keep from turning on the shaft.
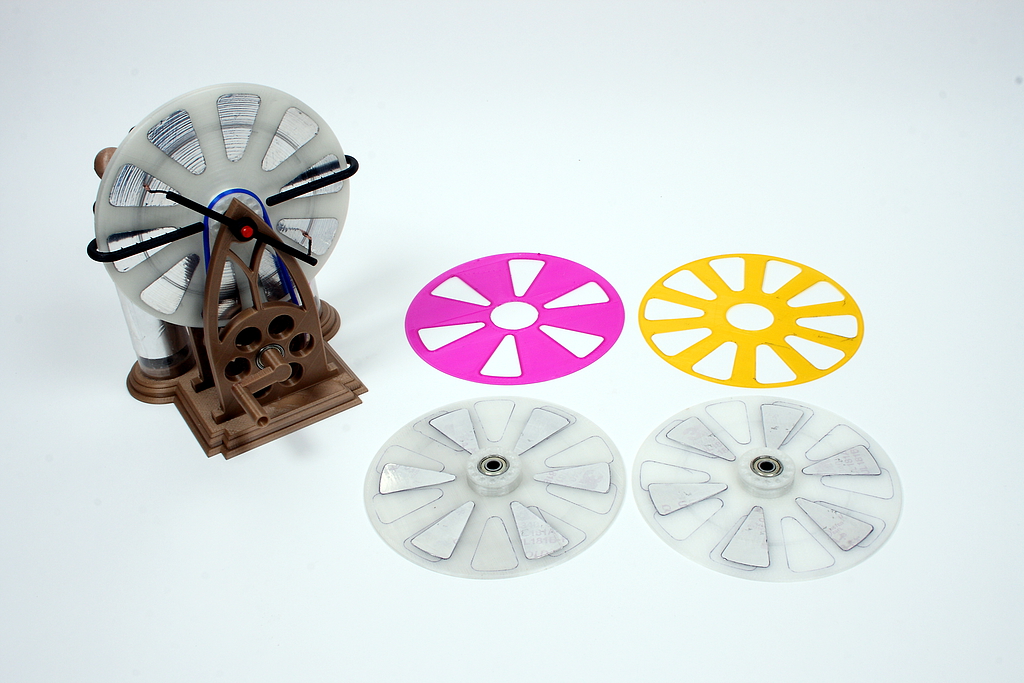
 The completed machine was mechanically perfect. However, I could not get more that a 1/2″ spark out of it no matter what I did! I tried several different sector configurations to no avail. I did notice that the performance of the machine actually deteriorated as I used it and I theorized that the PLA of the disks was picking up moisture from my breath and this was causing them to bleed off charge. I had thought this might be the case so I was ready to print a second set of disks from ABS plastic. Alas, while the ABS disks did perform more consistently, the spark was still only 1/2″ in length max.
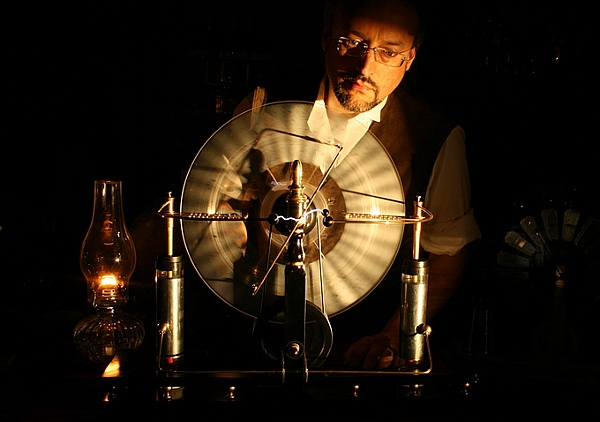
 As you can see, my larger machine easily made much larger sparks from identically sized Leyden jars and had even produced arcs as big a 6″ when the conditions were just right.

 I am at a bit of a loss to explain exactly why this machine is not working as expected. I do think that the carbon painted conductors are bleeding off some charge due to their “bumpiness”, and I also feel that the brads on the charge collector combs could be pointier and more densely placed. But I think the main issue is with the structure of the disks themselves. I think the filaments within the disk are not allowing the charges to properly distribute themselves on the surface of the disk. It could also be that their slight porosity is allowing them to collect moisture that bleeds of the charge.
 I will probably revisit this project in a few months and see if I can improve the performance of the machine. But in the meantime I’d thought I’d release the files on Thingiverse for folks to play with. Things to try include:
- Print the conductive pieces in ABS and smooth them with acetone vapor before painting with the conductive paint.
- use dress maker’s pins instead of brads for the charge collector and install twice as many.
- Print only the hubs of the disks and cut the rest from acrylic or poly-carbonate sheet.
But for now I’m simply going to put it on the shelf and admire it because it is quite pretty!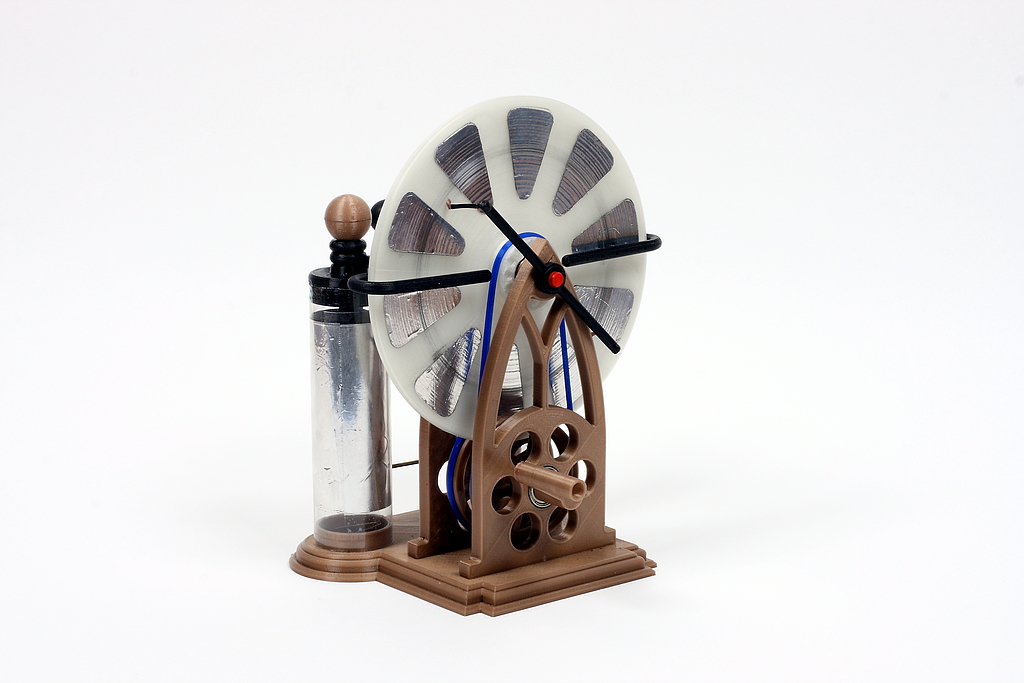


Hi Jake,
I am reaching out from Stiletto Television, a production company based in Los Angeles. We produce the hit series “Treehouse Masters.” I sent you an email, but wanted to follow up because I would love to speak with you about a potential television project we are developing. Please send me an email when you have a moment so that we can speak further. Thanks!
I’m almost certain that the disks themselves are indeed your problem. Because they are porous, the charge bleeds right through them, moisture or not. I also recommend using copper, aluminum, or brass in the high current path, especially in the spark gap. It will give you a better spark. Every time the gap fires, a little chunk of paint is blown off.
Absolutely awesome! I love that you are incorporating so many different skill sets to bring your project together. I love this type of creative output.
I love the Gothic design; very pretty machine. Functionally, the acetone-smoothing you mentioned should help make your conductors less prone to corona discharge/leaking through surface roughness; plus you’re probably right about the porosity of the plates making them less efficient. The old makers, even when using glass for the plates, would coat the glass with shellac or wax to make them less charge-bleedy. Lastly, I think that using more and smaller sectors would be an important factor in making the machine more efficient.
Anyway, beautiful piece.
If you choose to use ABS you can then plate the parts in copper or silver as demonstrated here.
http://bryancera.blogspot.com.au/2014/09/copper-electroplatingforming-3d-prints.html
Yeah, I saw that and intend to try it. I don’t think it will improve performance, but it sure will be pretty!