Heat Bluing Steel for my 2×72 Inch Belt Grinder Project
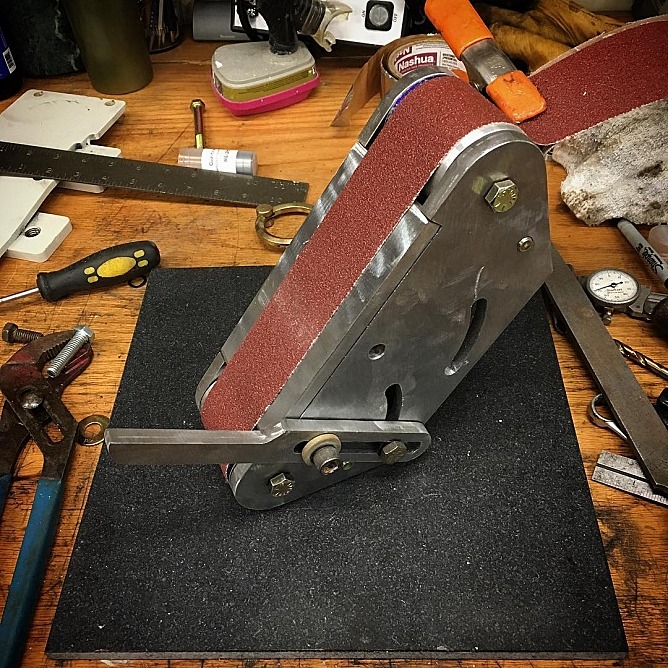
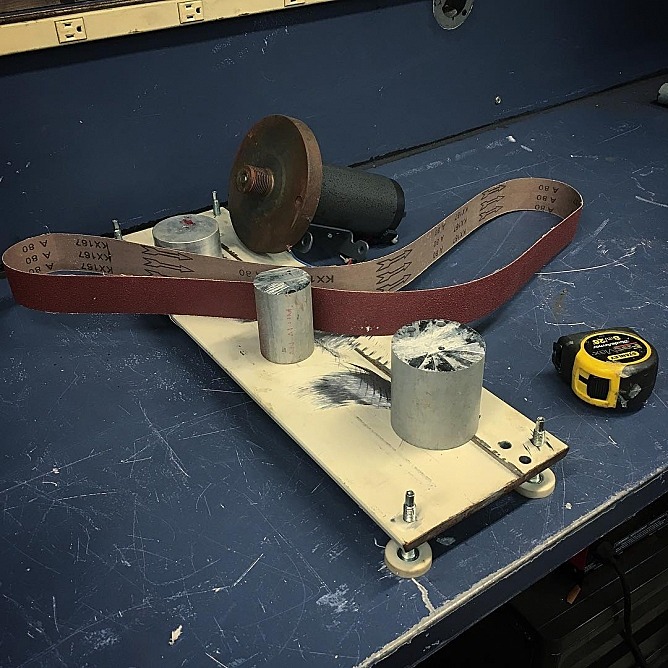 I’m in the process of building a 2″ x 72″ belt grinder powered by the permanent magnet motor from an old treadmill. The business end of the grinder is a pair of rollers and platen that supports the sanding belt. I milled these out of some 3/8″ steel plate on my Bridgeport Series II CNC milling machine.
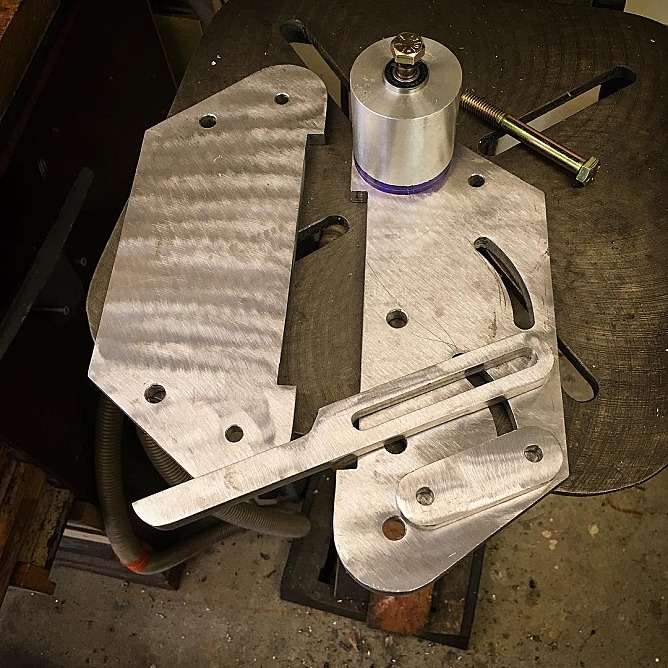
Once I assembled the pieces I realized that I wasn’t going to be able to simply paint them because there were moving parts that wouldn’t move freely against each other if the surface was coated with enamel or acrylic paint. I did some research and came across the process of “heat bluing”. In heat bluing you clean and polish a piece of steel and then heat it to a precise temperature. An oxide coating forms which both protects the surface and provides a thin layer of porosity that retains an oil finish to prevent rusting.
The process is often done with a torch but it’s easy to overheat the part and miss the precise range of temperature where you get the color you want so I thought I’d try my little DIY Powder Coating Oven which is basically an old toaster oven from the dump with a solid state relay


My first attempt went well, I shot for about 590 degrees Fahrenheit and got a nice light blue color. It was a little tricky to judge when the piece was turning the color I wanted so I tried adding a small fan to the top of my oven to make it into a “convection” oven.
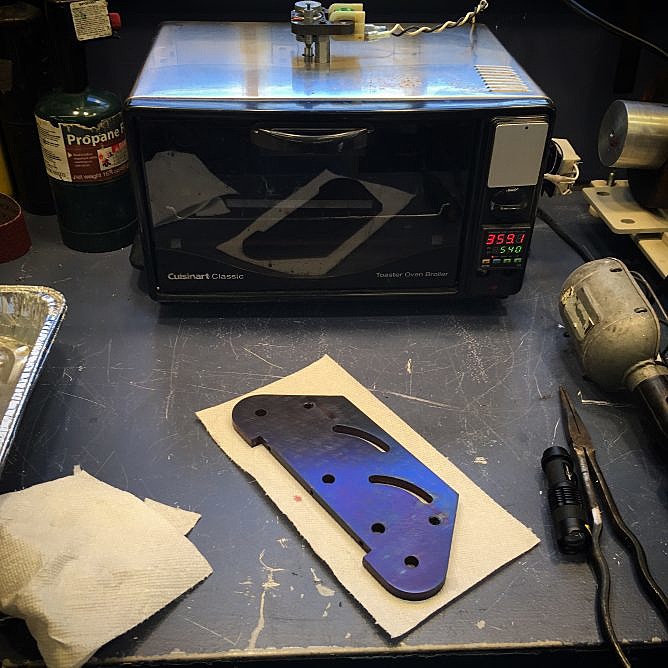
The fan did the trick and I was able to get the beautiful deep purple-blue that I really wanted. I preheated the oven and then placed the steel plate inside such that it sat on top of the thermocouple attached to the PID controller. The heating elements ran full on until the part was about 20 degrees shy of the target and then the controller started to ease off on the power so the temperature approached asymptotically. Once the part was the color I wanted I quenched it in a tub of water.
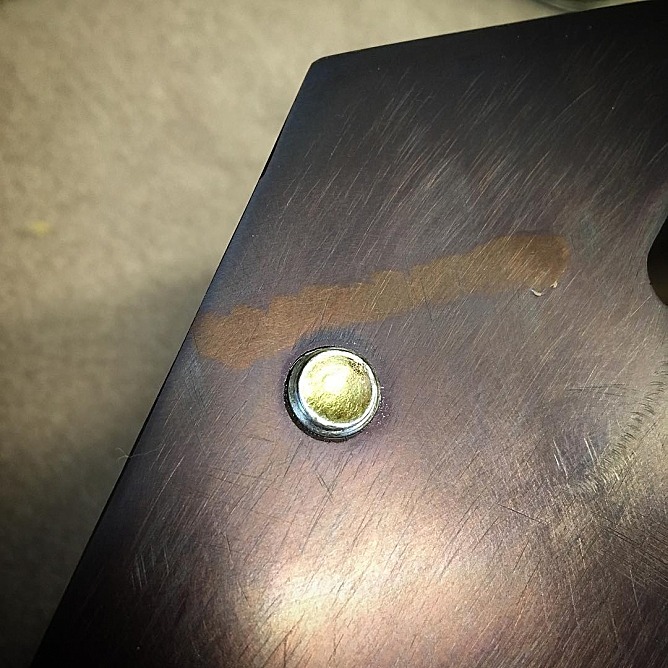
The color darkens a little when you add the thin layer of protective oil and I also noticed these lines of discoloration which I determined were from where I cut off and ground flat a piece welded angle-iron that had been attached to the scrap steel, there must be a slight difference to the alloy left from the weld.

I’m really pleased with the results and I’m happy to have learned a new process that’s cheap and easy and requires no purchase of supplies. They’ll be a video of the complete 2×72 inch grinder build soon!