A Visual Aid for Bike Design
For Halloween I made a Witch on a broomstick out of 2" thick Styrofoam insulation. I got my 8 year old daughter to pose with a broom and then I snapped a picture with my digital camera. I did an "edge trace" with Paint Shop Pro and used the grid system to transfer the resulting outline to the foam. It occured to me this morning that I could use the same method to make a design aid for my bike project.
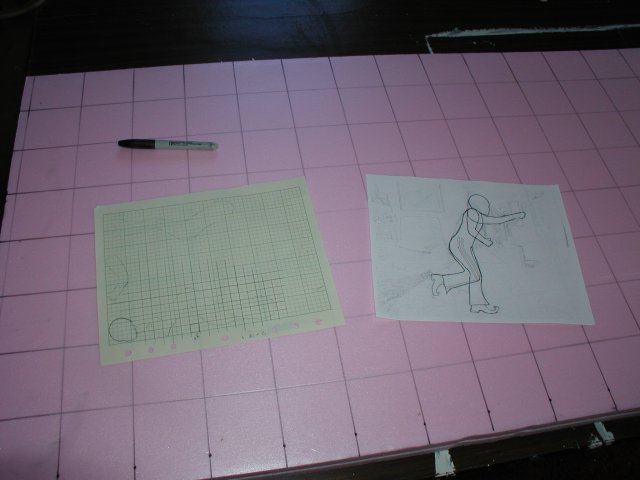
I set my digital camera up at one end of the garage with the lens 3 feet off the ground. I zoomed it all the way in and found the field was about 6 feet wide, perfect for my needs. I placed a piece of peg board with holes spaced in a 1"x 1" grid at the end of the garage to act as a scale. I took a shot of the blank sheet and printed it full size at 600 DPI on my LaserJet 5L. I used an architect's scale to check the linearity of the field of holes and found little variation over the image.
I then placed each of the major components of the bike at the 3 high foot mark and photographed them. When I finished with that I brought my SWB bike into the garage and photgraphed myself sitting on it.
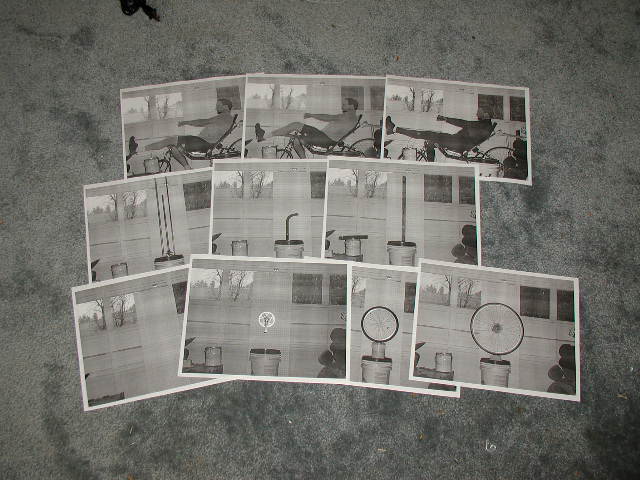
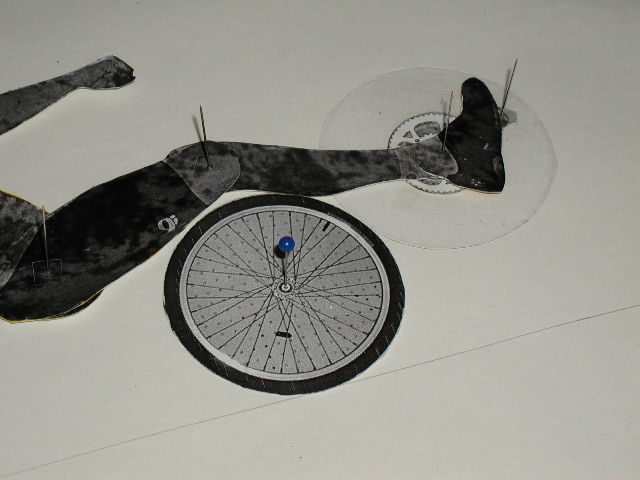
I printed out all of the images and cut out the components with an Exacto knife. I printed several pictures of myself and stacked them in a pile. I then punched a pin through the pages at the points were I thought my joints should bend. I sketched out body parts on each page and cut them out. The paper by itself is a bit flimsy so I attached the body parts to card stock with 3M High Tac spray rubber cement. I attached the crank to a circle of clear plastic and put a tab of clear plastic on the ball of my foot. Pins and pieces of clear plastic were used to connect the joints.

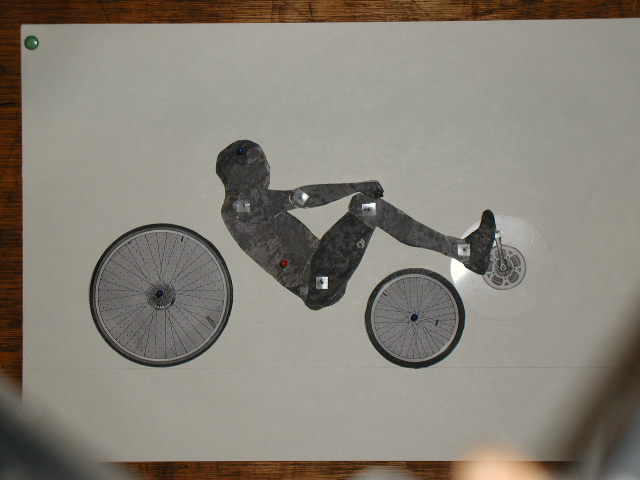
Everything was then pinned to foam board and I had a little fun with Paint Shop Pro's Animation Wizard:
This will give me an easy to use tool to design the rest of the bike. I've settled on a non-suspended SWB ASS configuration with a low seat but upright posture utilizing a 406 wheel in front and a 700 in back.
However, before I can start designing I need to photograph myself on the SWB so I can see how my ankles really bend as I pedal.