Steampunk Vacuum Tube Guitar Amp

A Steampunk guitar amp to go with the Steampunk Strat!
I just finished this project for Nathaniel Johnstone of Abney Park and you will get to see its debut with Nathan and several other musicians and performers including the Deshret Dance Company at the Carnivale Mechanique at this year’s Maker Faire!
Meredith and I will be there as well and I’ll be presenting the Wimshurst Machine project I built for Make: Magazine volume #17 and giving a talk on the main stage. Rich “Datamancer” Nagy will be there along with Bay Area artist Suzanne Forbes, editors Libby Bulloff and Magpie Ratt of Steampunk Magazine and a panoply of Steampunk artifacts that you can make your very own from the Etsy SteamTeam!
All at the Carnivale Mechanique! Look for us by the West Gate.
. . . and Click on through for the full amplifier build log . . .
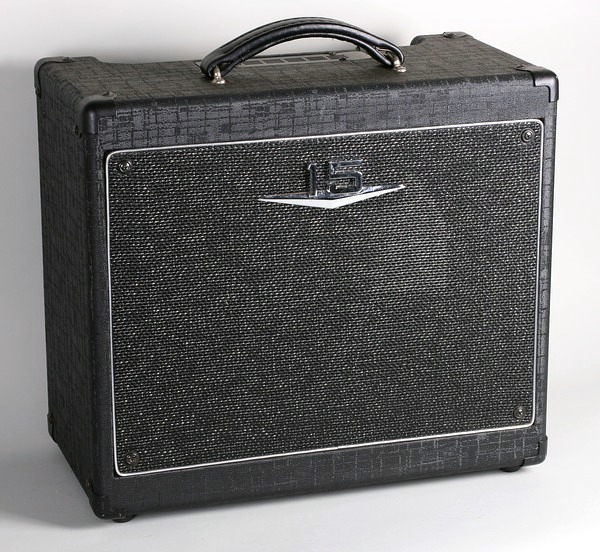
I don’t normally take commissions, but this amp was built for a good friend for a special occasion – namely the 2009 Bay Area Maker Faire! I started with a Crate V1512 tube amp my amp Guru Tim found for me on Craigslist.
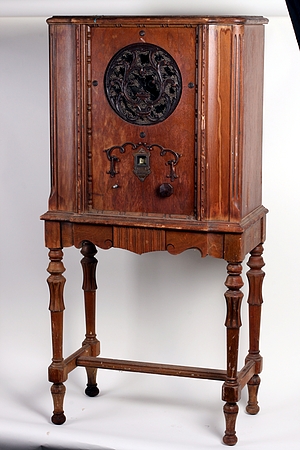
For the case I used this 1930’s radio cabinet that a buddy pulled out of the trash for me about 15 years ago and which has been kicking around my garage ever since then just waiting for the right project.
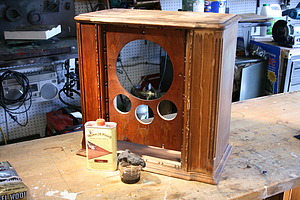
The hide glue that had been holding it all together was dried out and cracked so I the cabinet was easily knocked apart with a mallet. I then began the cutting needed to mount the amplifier chassis with it’s controls in the front.
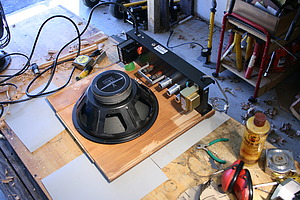
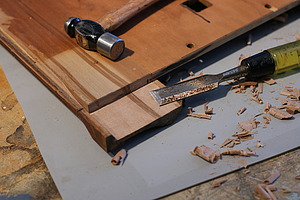
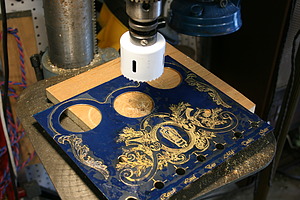
Once I had the new layout designed, I drilled some additional holes for the 12″ speaker and reconstructed the cabinet.
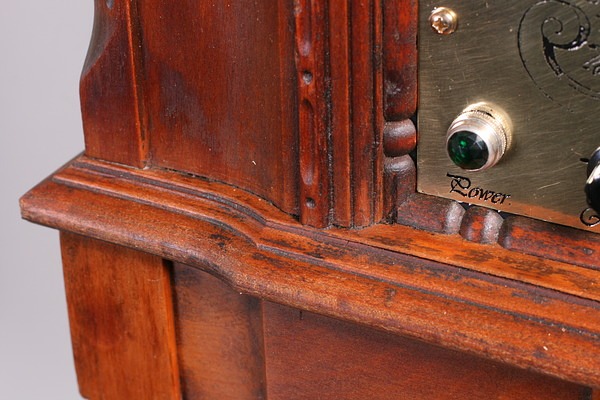
The finish on the top portion was in pretty decent shape but the varnish on the base was horribly oxidized so this I stripped down to bare wood.
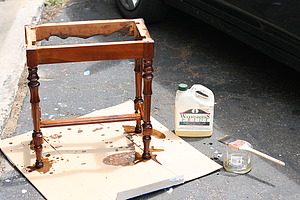
I used furniture refinisher to restore the finish on the cabinet. This stuff worked really well! it made the finish look a whole lot better but left a distinct and desirable patina of age.
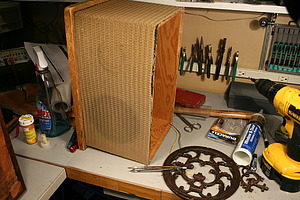
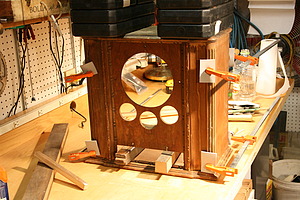
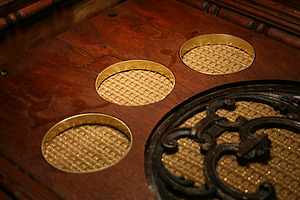
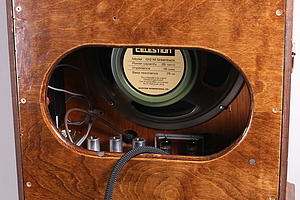
To cover the speaker I salvaged some vintage grill cloth from a speaker I bought at a garage sale when I was 15 (yes, I always remember exactly where ALL of my junk originates, I’ve no idea why and it’s not something I try to do, it just is). A piece of 3/4 plywood was screwed inside the cabinet to provide a mounting surface for the speaker. In addition, I cut and trimmed three brass rings to line these extra speaker holes.
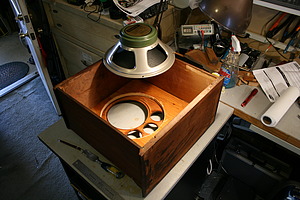
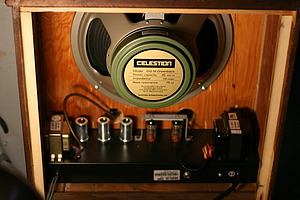
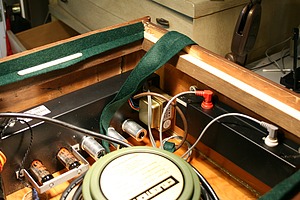
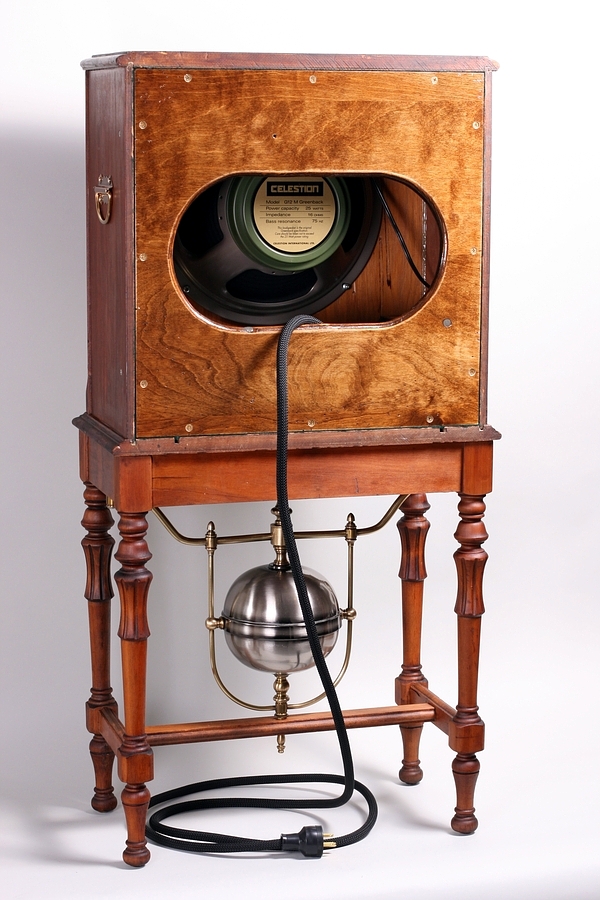
After everything was in place, pine battens were added to secure the back. I wanted a tight fit so I cut a green wool felt gasket and glued it in place around the rear opening. You’ll note the upgraded speaker – this is due to the fact that I clumsily dropped an 8 ounce bottle of epoxy through the cone of the original speaker – Doh!
I cut and finished a piece of 3/4″ ply to cover the back and secured it with 12 brass wood screws.

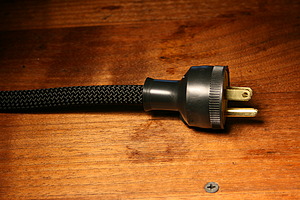
To dress up the cord I bought ten feet of climbing rope at EMS and stripped out the core leaving this nice black covering. A suitably vintage plug was secured at Aubachon Hardware.
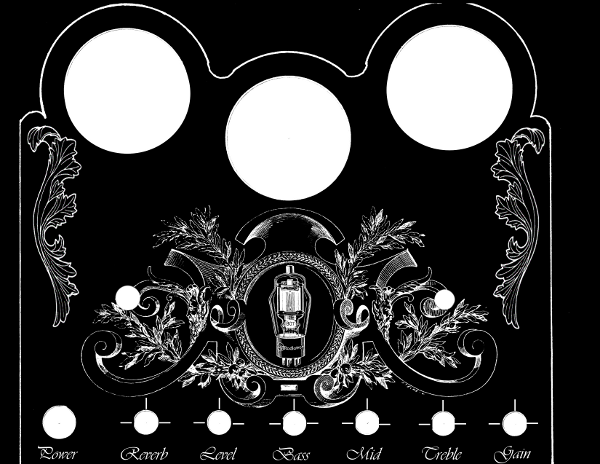
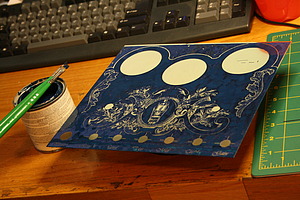
I planned an etched brass plate for the front so I took measurements, drew a template and scanned it into Inkscape. In Inkscape I add the decorations which were largely sourced from vintage corset advertisements found on WikiCommons.
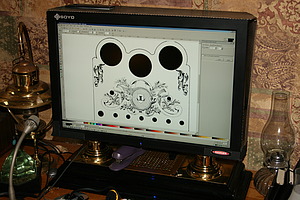
When I had things right I reversed the image and printed out the etching mask.
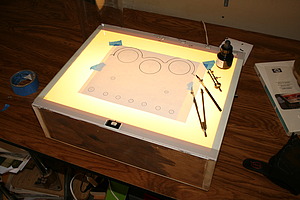
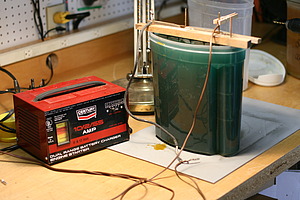
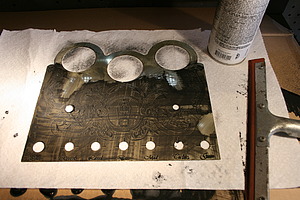
I ironed the mask onto a piece of 20 gauge brass of the right size and touched up any iffy areas with Rustoleum paint. Then I submerged the plate into a bath of copper sulfate and applied electricity.
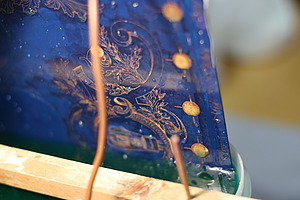
The etching progressed well and in about half an hour the piece was ready to finish.
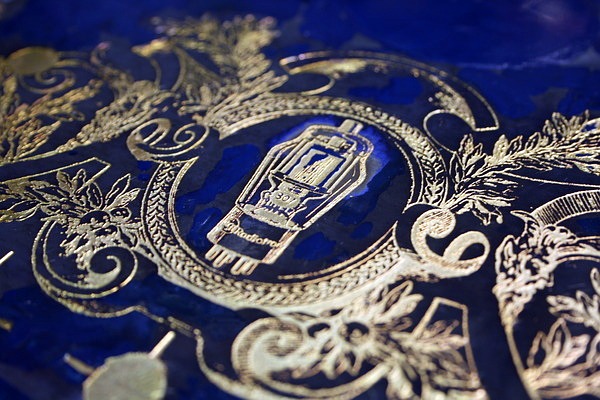
I drilled the extra speaker holes and trimmed the plate to size. Once that was done I sprayed it with a coat of ultra flat black and squeegeed off most of the paint from the high points.
Once dry, the rest of the excess came off with a paper towel and some denatured alcohol. Finally I gave the plate a coat of clear lacquer to protect it.
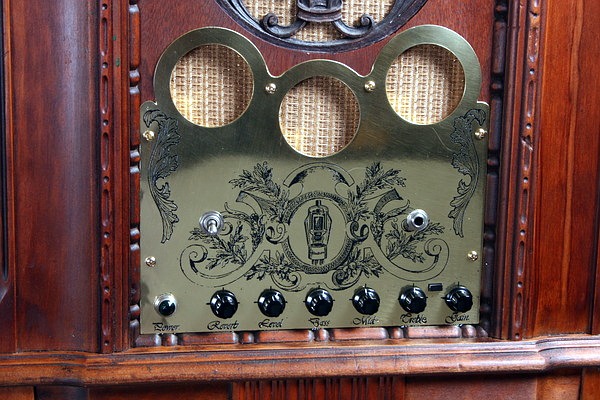
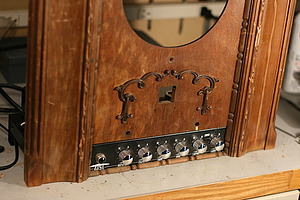
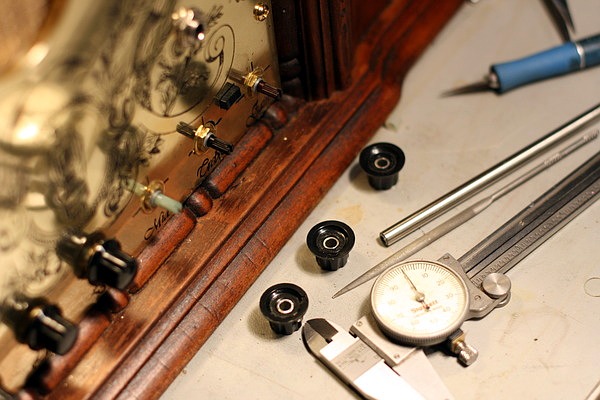
The stock knobs did not look particularly vintage, so I substituted these classics after fashioning a set of bushing from a scrap of stainless steel tubing.
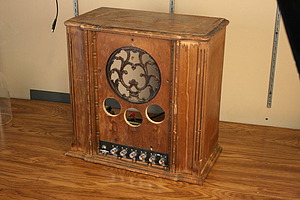
Here is the finished piece! I am quite happy with the way it turned out!
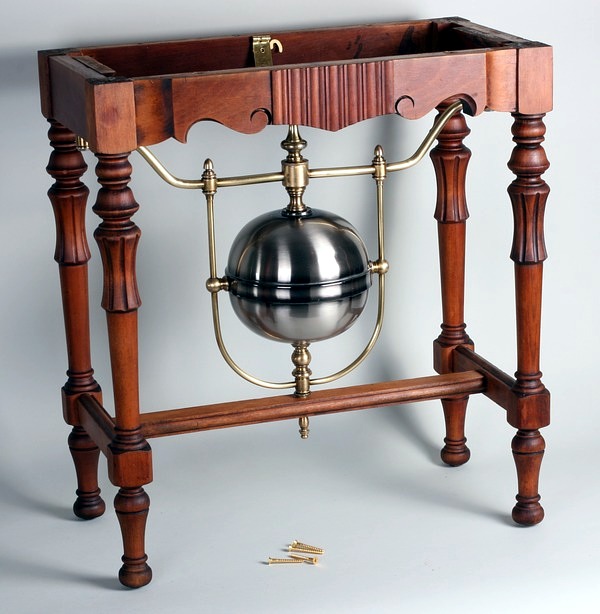
The vessel at the bottom is part of a lamp I rescued from the dump a few years ago – it too has been hanging around my office waiting for just the right project. If you look closely you’ll notice that parts of the Steampunk Workshop logo at the top of this page are taken directly from this lamp!

The vessel was a bit dull and rusty so it got a steel wool rub-down and a new coat of lacquer as well.
The view from behind.
Here you can see the restored finish, it’s lovely but still carries a patina of age.
Since Nathan will often be traveling with the amp I made it in two pieces for easy stowage. The top cabinet has it’s own feet so it can be used independently of the base.

Nathan taking delivery of his new amp!
.jpg)
I built the amp to echo some of the aesthetics of the Steampunk Strat, they look great together!
.jpg)
One of the many performances at the Carnivale Mechanique at the Bay Area Maker Faire
(1).jpg)
Nathan and his Band of Miscreants performing on the main stage at Maker Faire.
.jpg)
Predslava of Deshret Dance performs backed by the Band of Miscreants and the amazing Meredith Yayanos on Theremin. Yes we had Steampunk instruments, belly dancers and a thereminist at Maker Faire this year, aren’t you sorry you didn’t make it? Start planning for next year, we already have!
.jpg)
Nathan along with the unsinkable Molly Mitchell and Melissa who sings like an angel!
.jpg)