Electrolytic Machining of Brass – Part II:
After the perhaps overly optimistic attempt at electrolytic machining in Part I, I decided to try etching parts from thinner sheets of brass. Sheet with thicknesses of .010 and .015" were chosen and I used the advanced image search feature of Google to search for black and white appropriately steampunk images.
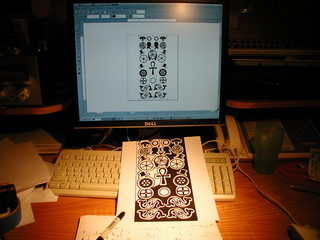
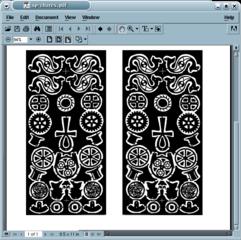
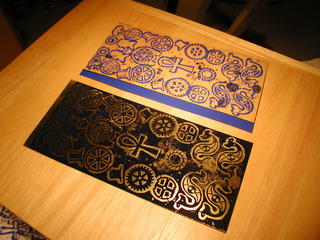
Once I had collected a few that I liked I arranged them in OpenOffice.org Draw and scaled the sheet to a convenient size. After saving the file I printed out a copy and used a Sharpie to fill in the blank areas. This was much easier and quicker then attempting to do the same operation on the computer. Once I had the blank areas filled, I scanned the image back into the computer, composed a pair of mirror image masks, and printed the result on some Press-n-Peel Blue.
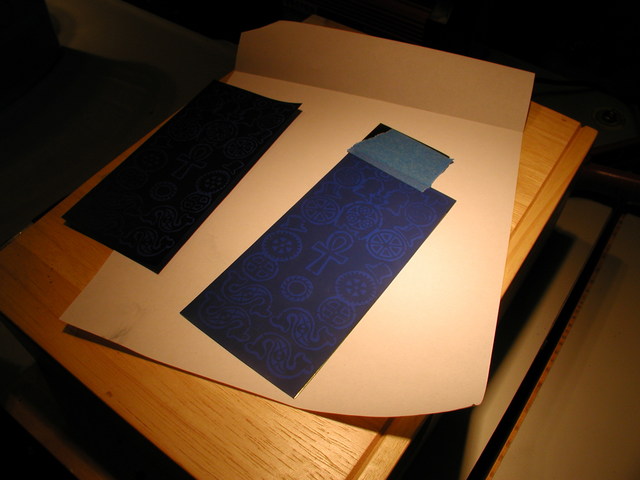
I've discovered that our new Samsung CLP-300 color laser printer lays down an excellent layer of black toner on the Press-n-Peel. Unfortunately, it will not feed the Press-n-Peel film through by itself, it jams almost instantly. However, it you fold a piece of paper over the leading edge as shown, it feeds through the printer with no problem at all.
I polished the brass highly prior to ironing on the film as I have discovered that this minimizes the amount of finish work that the brass requires after the etch.

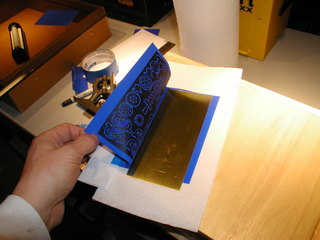
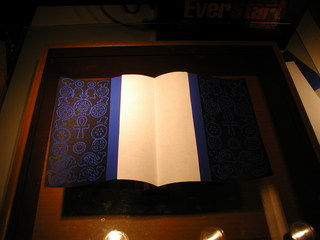
One of the trickiest tasks was to get both sides of the film justified before ironing it on to the brass plate. I lined up the two haves carefully on a light table and then taped them to a folded piece of paper to form a book.
As you can see I'm still trying to get the ironing-on process down, the opposite side of the brass from the iron was particularly hard to get a clean mask. I cleaned up the lines and filled the voids with a small paint brush and some paint.

Here are the results – this is after about 45 minutes in a 120 degree Fahrenheit bath with a single car battery. The etch goes clear through most of the design. The top is etched slightly more then the bottom of the plate, Perhaps this is due to the hot electrolyte rising or the cathodes may be slightly farther from the workpiece at the bottom.
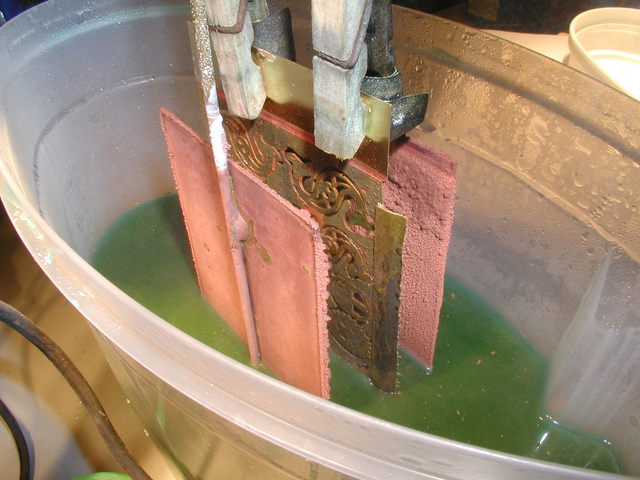
Below is a .010" piece of brass that was etched with two car batteries in series in about ten minutes – it was left a bit too long. A note of caution, when the plate fell apart it shorted the batteries. There was smoke, if I had not been monitoring things closely there might have been fire.

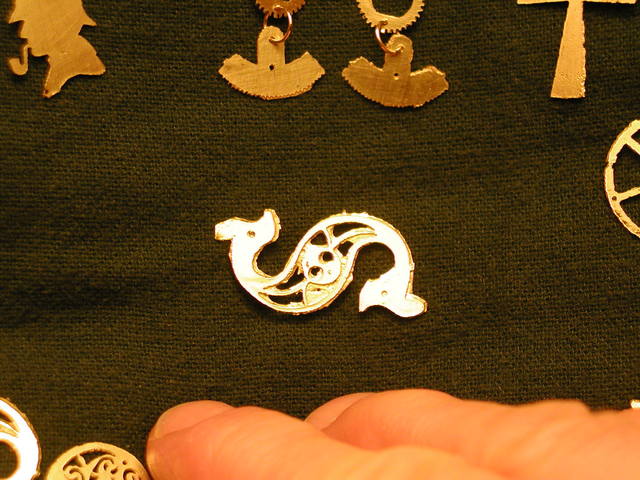
Here's a close up of one of the "charms". You can see that the two masks on either side were not quite aligned. Some pieces were better, some worse.
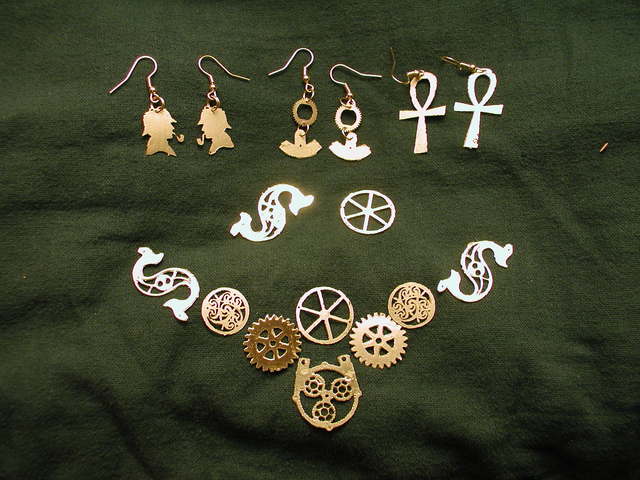
Here is the complete collection including Sherlockian, cog, and Ankh earrings. The other charms will, along with a length of chain, form a necklace.
The teeth on the cog earring are actually quite small and detailed. This will be quite a successfully technique once I figure out how to align the two masks with a high degree of precision and once I determine the best way to iron on the toner mask. One idea that I have read about is to remove the toner fuser from a laser printer and use it instead of the iron to melt the toner to the brass plate.
Please note that several aspects of this article include dangerous compounds and energies. Copper sulfate is poisonous and the used solution needs to be disposed of in an environmentally sound manner. Car batteries can also be particularly dangerous, accidentally shorting the poles can lead to fire, explosion, and flying hot acid – very bad, that. This article makes no attempt to comprehensively address these risks. The responsibility for your safety and the safety of those around you – should you decide to attempt similar experiments – is your own.