Jump to Navigation

Home Depot Bike Headlight

Home Depot Bike LightsHow to make high power bicycle headlights with materials from your local home center.

This is an article from a few years back that was up at Bike-Recumbent.com, I'm consolidating everything from there over to here.

Nearly five years after I built them I am still using these headlights with the original bulbs. The 50 watt beam is awesome, oncoming cars always dim their brights when I flash it and it provides plenty of light for the 45 MPH downhill on my way home from work.

 - Jake

Disclaimer: Tools used and completed headlights can be dangerous - Dangers range from cuts from knives and power tools, fire and  burns from soldering irons and hot bulbs to injury and even death if assembly is swallowed.  It's up to you to keep safe.

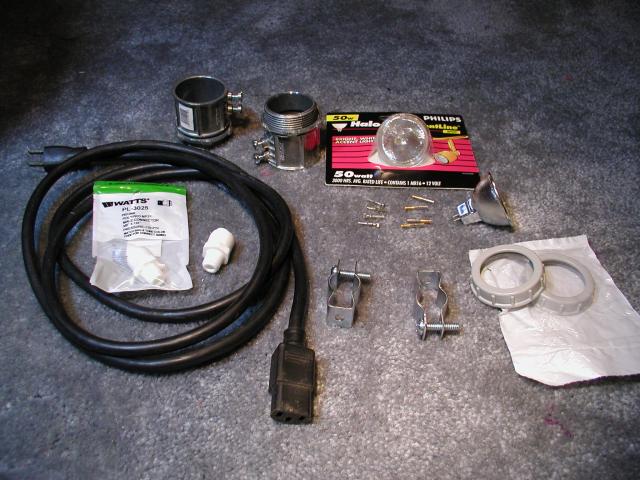
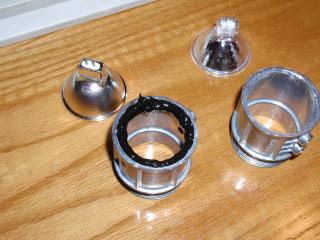
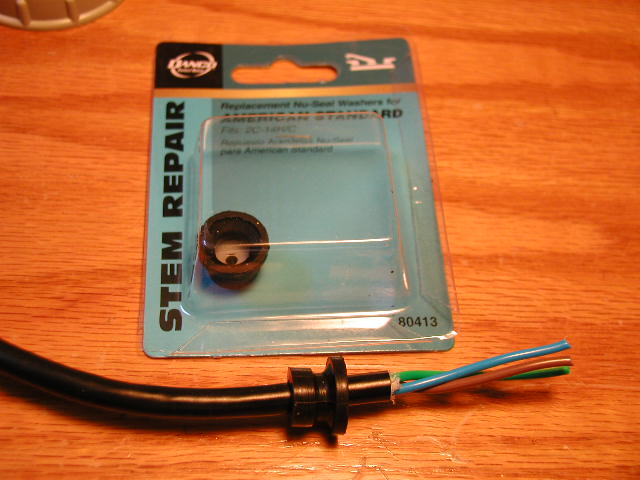
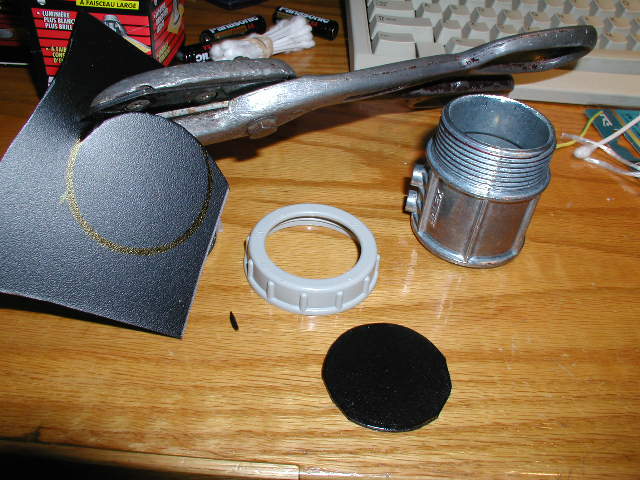
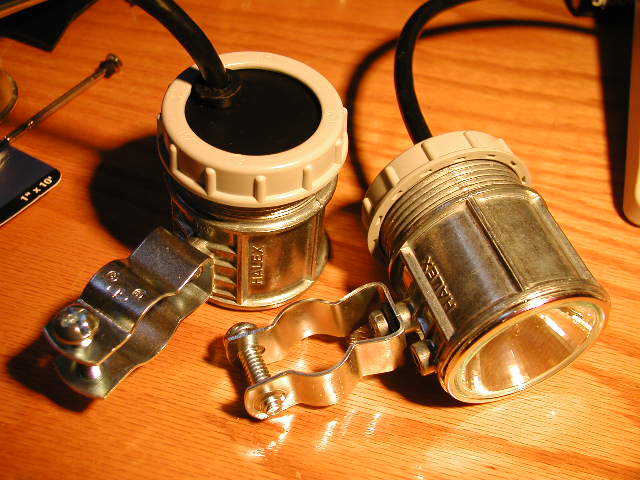
Components: I'm making a 20 watt low beam and a 50 watt high beam with MR16 Halogen Spot bulbs.  Note: Floods don't give you enough range at speed and you want to get the bulbs that have a flat piece of glass at the front.  I think most bulbs have this now to act as a UV filter.  The NTPF tubing connector pictured worked great as a weather tight strain relief but was a bit bulky.  I used a modified faucet washer instead.  Other components are 1 1/2" EMT conduit ends, 1 1/2" anti-chafe rings, #0 EMT conduit clamps and female Molex connector pins (from Radio Shack). For a power source I used a 7 Ah gel cell battery of the kind typically found in computer UPSs.

Note: The 50 watt light will be for short duration use only, fast downhills and signaling on-coming traffic to dim hi-beams.  A test run of the 50 watt light melted the plastic back and ring and even the solder out of the connectors after about ten minutes.  The 20 watt light works well indefinitely, but does get hot enough to be painful to touch.

bike headlight parts

The lamps don't quite fit in the conduit connectors so you'll have to chamfer the inside.

bike headlight case

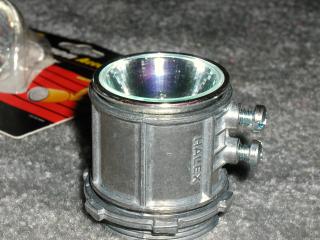
I used a rotary file to do this.

machine headlight enclosure

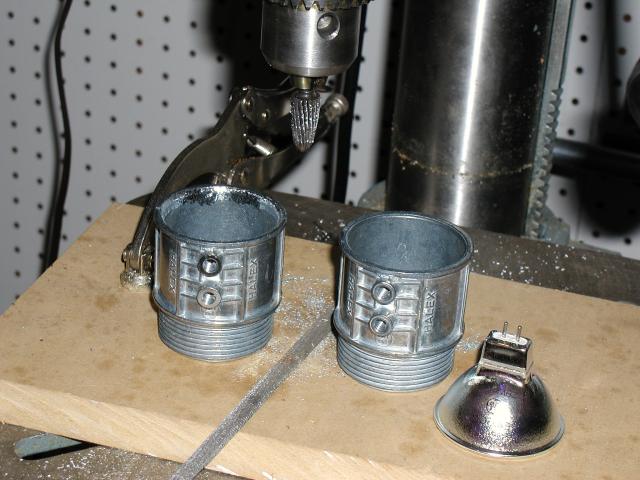
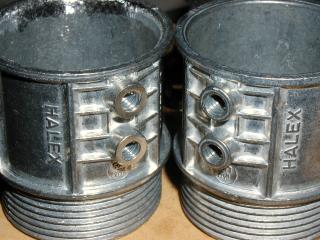
This is also a good time to clean up the screw bosses with a file.  You want a good flat surface here as this is where the headlight will be clamped to the mount.

headlight mount mr-16 halogen bulbs fitted

Use a good fat bead of G.E. Silicone II Window and Door sealant to affix the lamp to the housing.  Silicone seal is highly heat resistant and tough, but you can dig the lamp out with an X-acto knife to replace it.  Let the Silicone Seal cure overnight.

gluing in mr-16 bulbs mr-16 connector

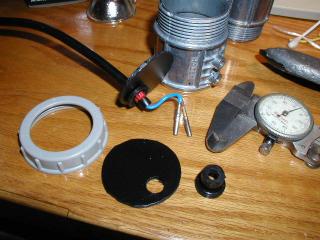
To seal the wire going into the housing I drilled a 1/4" hole through one of these faucet washers and then broke out the bits of hard plastic inside.  A tie wrap around the wire just inside the housing completed the strain relief and seal.

strain relief

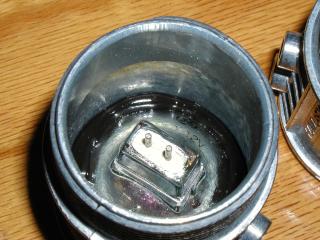
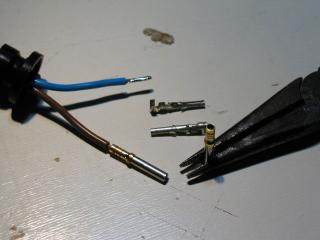
I have used Molex pins in the past for this, but I have these lovely mil-spec pins from Cannon.  DO NOT solder them on as you see pictured here, there isn't enough room in the housing.  Wrap the tinned wire around the barrel of the pin so that it is at right angles to the pin axis.  See the assembly picture further down the page.

mr-16 socket

The back is polyethylene sheet, but could easily be G10 or even aluminum if you're careful about not shorting the pins.

polyethylene sheet

Drill a 3/8" hole for the rubber grommet and check the fit.  The image on the right below shows the correct method for soldering the pins.

connectors and strain relief solder connectors

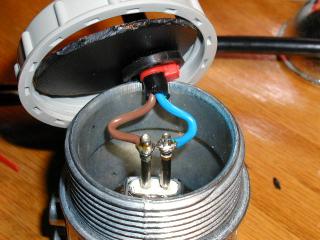
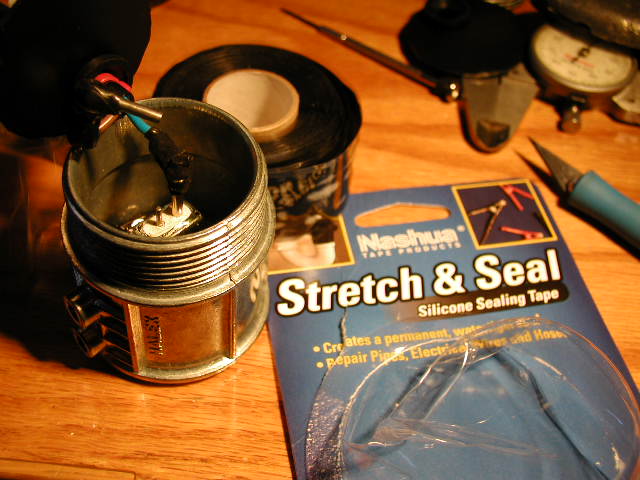
As you can see the pins are quite close to each other and need to be insulated.  This Nashua "Stretch & Seal" Silicone tape is ideal.  Cut a 2" strip in half the long way and wrap up the back of the pin and the wire.  On my 50 watt test light the melted solder squeezed out from under the undamaged Silicone tape!

nashua stretch and seal silicon tape

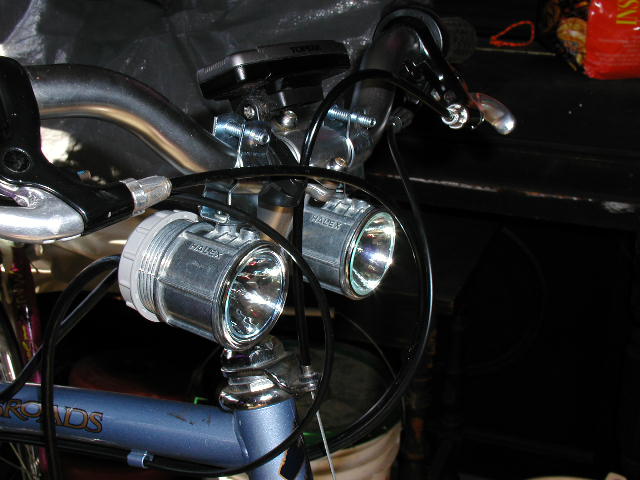
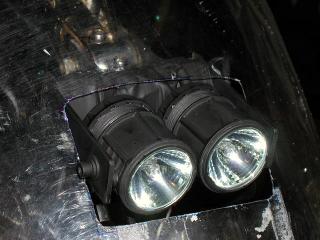
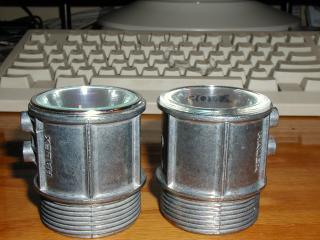
Here are the completed lights:

completed bicycle headlights

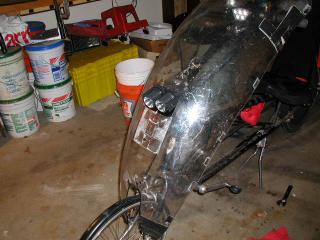
Here they are mounted on a conventional bike and, with a different bracket, on my Toureasy recumbent bicycle.

headlights mounted on bike

headlights on recumbent bike headlights on tour easy

Comments

I'd been wanting to build a set of these for the bike I drag my trailer behind...

But then someone went and gave me a set of these that she "Just happened to have an extra set of just laying around"... I know some distinctly odd folks.

Thank you!!! Wow, this will be well under $100 for two 35W lights!!! Compare that to 300+ commercial bike lights! I've test-run a 35W bulb and it didn't get hot enough to melt anything. Since I'm doing most of my night riding during winter the heat shouldn't be that much of a problem. It may be worth trying to add some heat conducting material between the bulb and the metal housing: such as CPU thermal compound/adhesive:) Thanks for such a great idea.

BTW for those interested in powering this, both battery and charger can be bought on Amazon cheaply. Battery: http://tinyurl.com/ylmr7jb and charger: http://tinyurl.com/ykcnq6k. Larger batteries are also available if you need longer run times.

Now I'm brainstorming the idea of adding a really bright red taillight to this set up. Any ideas will be appreciated.

I'm also wondering what kind of run time do you get out of this?

Cheers!

Adam

PS.: 12V red automotive LED lights will do the trick for the taillight:) They're around $12 for a pair. Some are already designed for exterior use, such as on trailers.

Thanks for the kind words!
Running my 20 watt most of the time and using the 50 watt just for fast downhills, I ride 3+ hours in the dark per week on one charge of a 7Ah battery.  Since I charge weekly, I don't know how much more I could get out of it.

I'm considering building this for my motorized bike but i was wondering about the battery. The engine on my bike puts out a little more than 7 volts at speed and is more than enough to charge a 6v battery but will these lights work on a setup like that or does it require a 12v setup due to the high wattage

Forgive my innocence, but these bulbs should be powered by something that pushes electrons shouldn't they? What are you using as a power supply? I think this build would be a fine modification to our roller skating stroller.

I use a cheap lead acid battery . I like the 7 Amp hour version that is used in many computer UPSs but they come in smaller, lighter sizes too.

Nice article; found it via Lifehacker. I'd like to see some more details about the battery: how and where it was mounted and how it's recharged. Thanks.

I use a small motorcycle battery charger to recharge the battery at home, at work I stick it into the carcass of a computer UPS.  The battery just sits at the bottom of one of my panniers on the bike - in fact I'm getting ready to head out into the dark with it in a few minutes!

I must admit, I was curious about the battery as well. The tutorial is great but it seems rather incomplete without the mention of a battery. Do you think you can add that section to the post as well? Or can you at least post pics of the bike with the battery? Also can you also provide details of the power tools you used to make these lights? I'd really appreciate your help. Thanks!

i made your light.... with some 'poor man' wiring.despite that.... yes the 20 watt puts out a BEAM..... and then i added some 'steam railroad' flavor to it....the ones i ride with now seem to have a major tendency to put me in front...lol i'd send a pic but i don't think i can... o well, bottom line...your light rox....

So Wallyworld is selling LED lightbulbs now and has some that replace the halogen spots. Do you think you can just connect the LED spot to a 12 volt battery and it will work or do you need a voltage regulator circuit?

I'm thinking night snowboarding.