Girl Genius Radio Theater Microphone
 I generally don't do commisions. But occasionally a conversation will spark an idea for a project and I'll create something like this microphone. In this case it was a conversation with Cheyenne Wright, one of the artists behind the Girl Genius webcomic and it took place at SteamCon 2009. Cheyenne, along with Kaja and Phil Foglio often perform Girl Genius Radio Theater skits at conventions and Cheyenne was looking for a microphone with the appropriate visual impact.
The project sounded interesting so I agreed to produce something, sometime. Steampunk Workshop is all about the slack, so I commit to no schedule, ever.
It's done when it's done.
In this case the microphone was done in time for SteamCon II where I was able to present it to Cheyenne.
Click through for the build log!
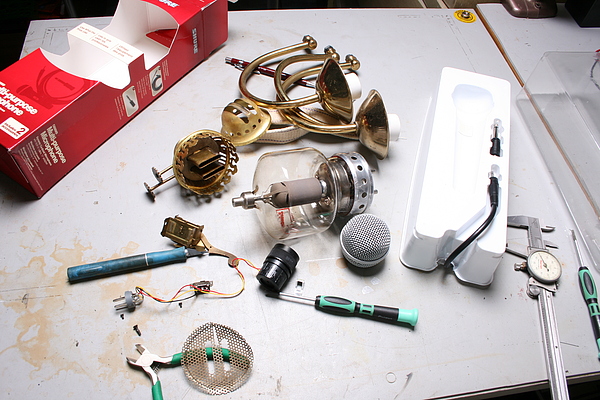
This is how it usually starts, a pile of things I think fit together.
The core of the microphone came together pretty quickly for me.
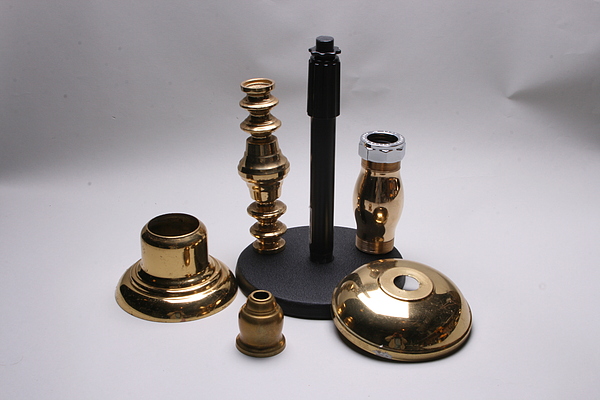
I ordered a desk microphone stand and looked to my big box-o-brass for trim pieces.
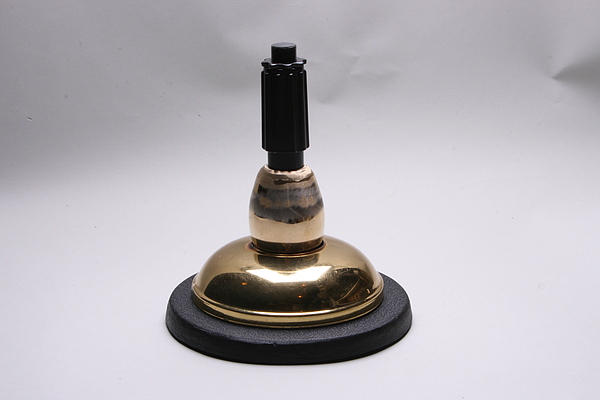
I settled on a lamp part and a British made plumbing adapter that my father-in-law found at his town dump.
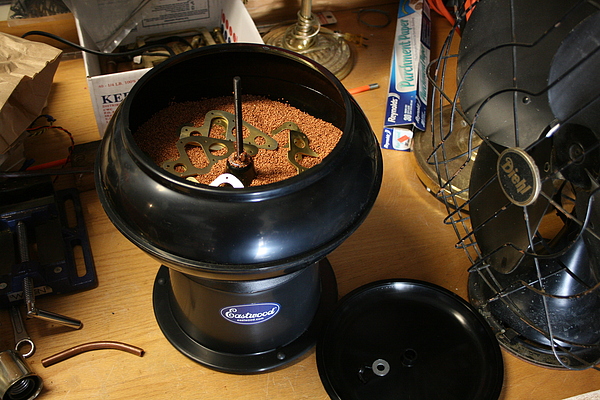
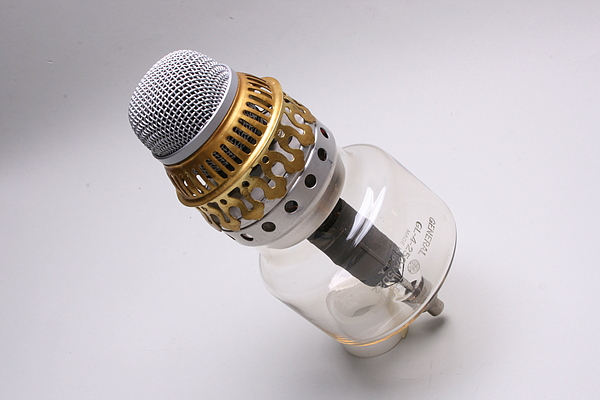
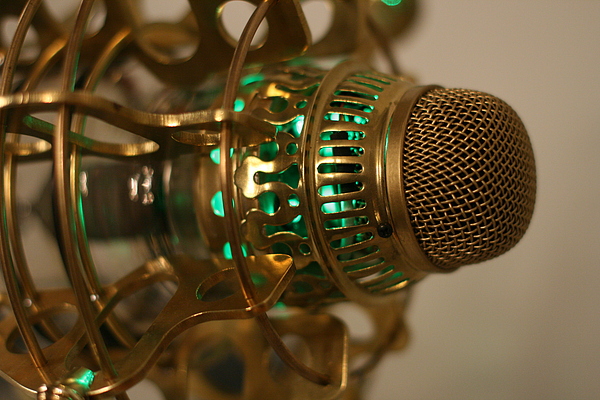
To surround the Eimac transmitter tube that formed the core of the microphone I designed some brass plates that I had water-jet cut for me at Advanced Water Jet and Engraving. This was the first time that I've outsource a part of a project and I'm glad I did because cutting, drilling, and finishing these 8 pieces would have been a tedious nightmare! I also purchased a vibratory tumbler to polish the pieces and this turned out to be another really great idea! It is soooo nice just to drop evrything in for an over-night tumble and have clean & polished parts in the morning!
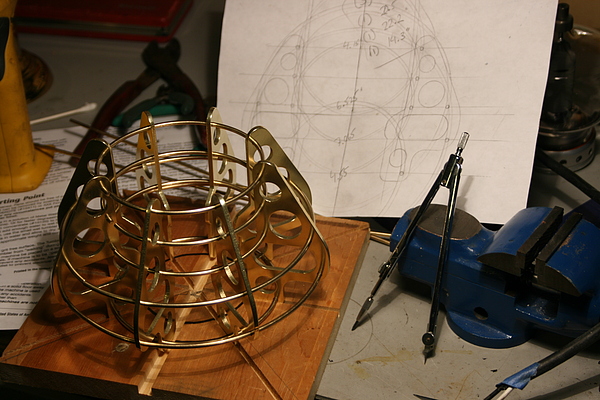
After tumbling I formed rings of bronze brazing rod and assembled the tube cage in a simple jig I made on the table saw.
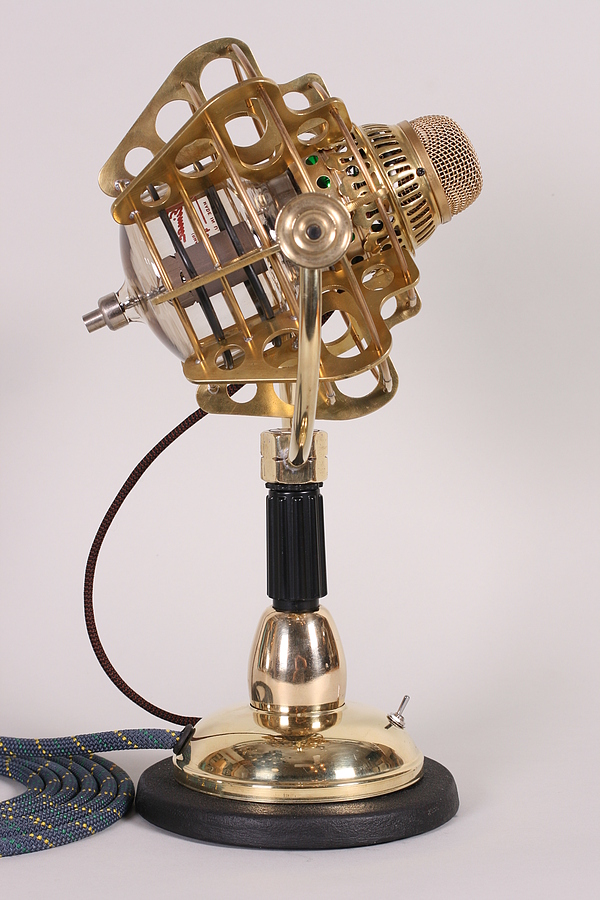
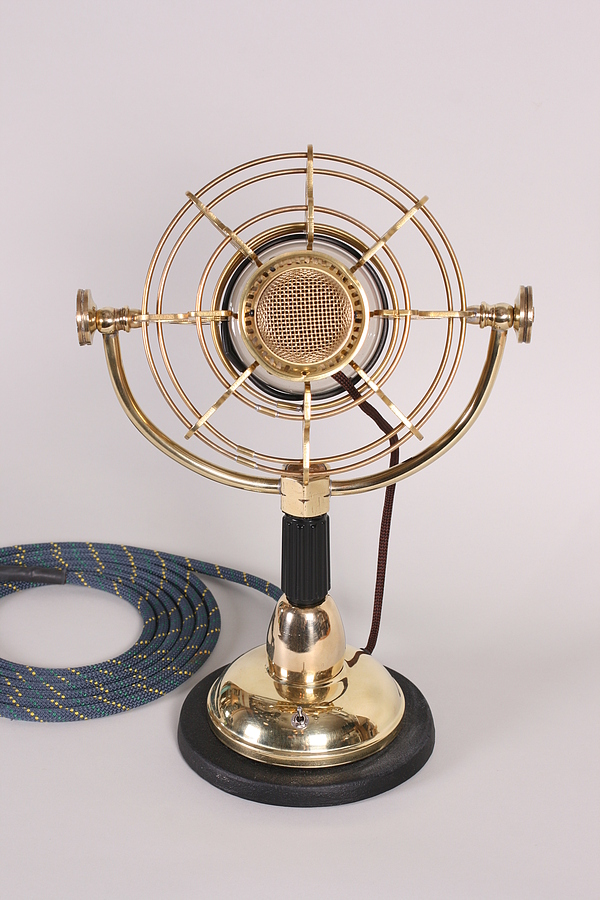
Here's the completed microphone.
I am very pleased with the result as is my customer, Cheyenne. At SteamCon II, Phil and Kaja also asked me to make them a microphone for Girl Genius Radio theater because, apparently, Cheyenne won't share! 😉 I've been combing eBay for a suitable tube to form the core and I'm hoping to have it ready for the Steampunk World's Fair con in March. But if not, it will certainly be done in time for SteamCon III.
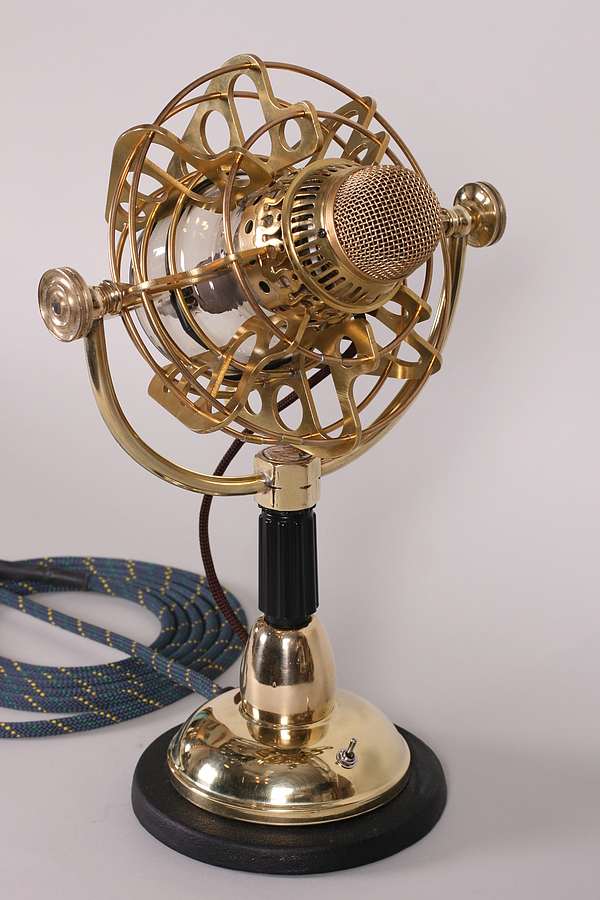
The height of the mic is adjustable as well as the angle.
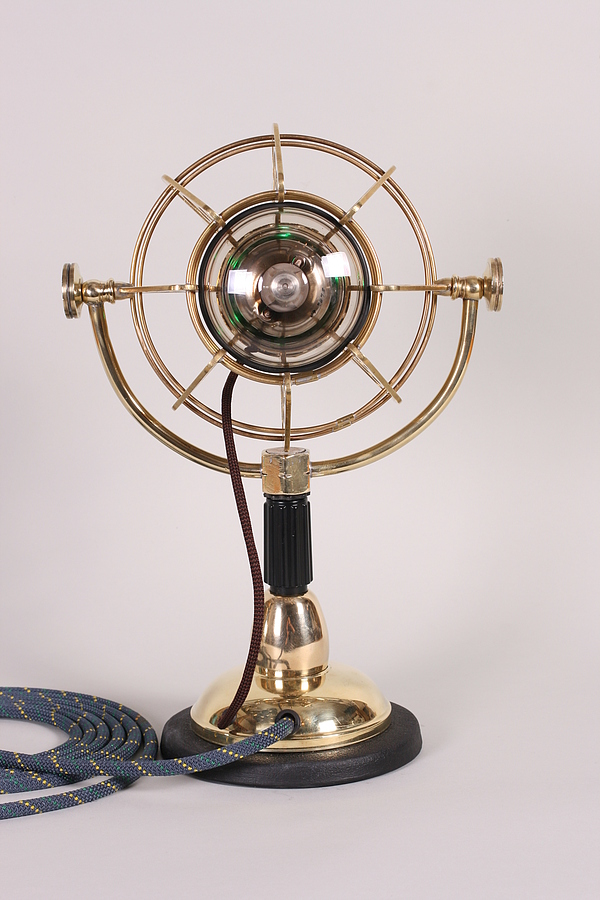
View from the rear.
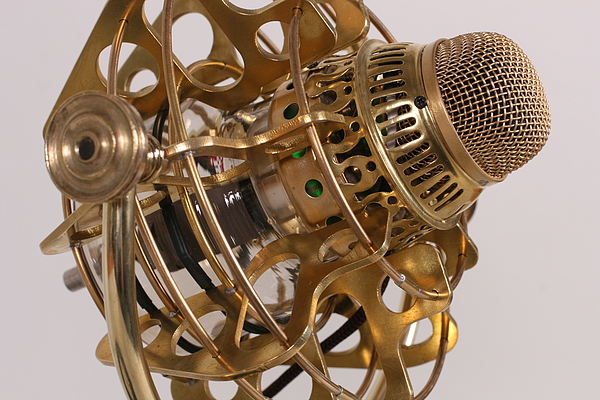
A close up. The water jet process does leave some roughness that was not polished out in the tumbler.
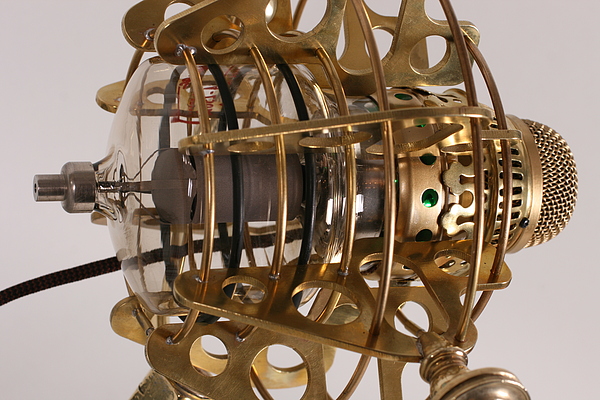
Rubber "O" rings support the Eimac transmitter tube.
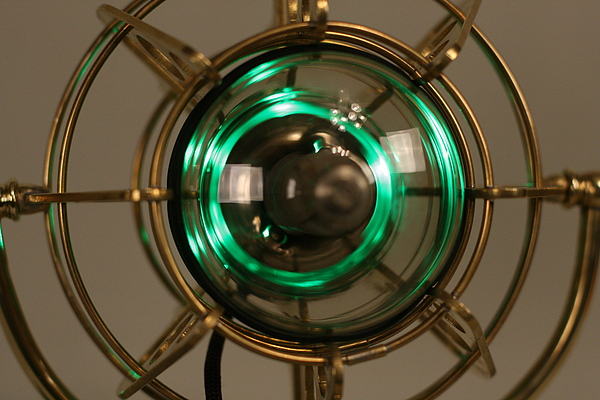
I installed some super-bright green LEDs in the base of the tube, these are ganged to the microphones "mute" switch so they light when you are "On The Air."
Another view of the LEDs.
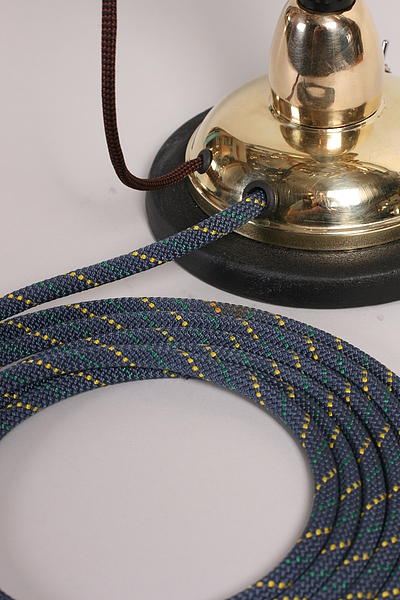
The mic cord is covered with woven cloth the I removed from a length of climbing rope purchased at Eastern Mountain Sports. The line to the actual microphone element is covered with the outside of a shoelace.
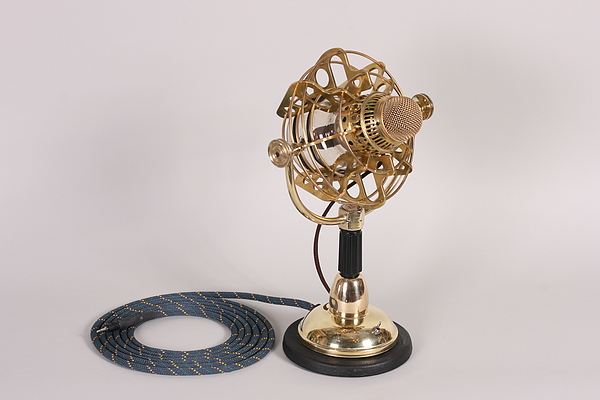
Girl Genius Radio Theater Microphone.