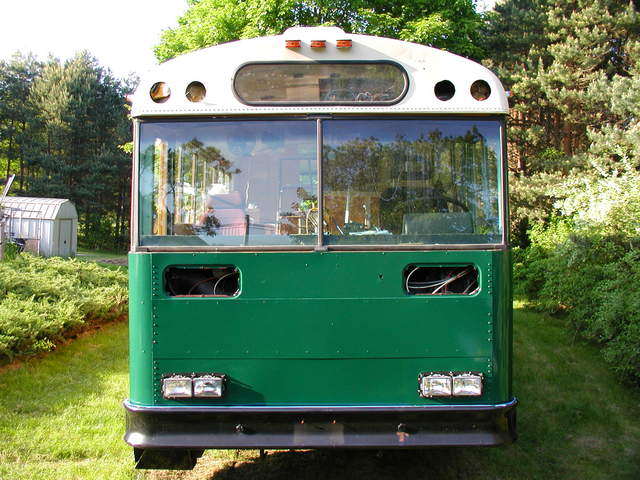
A Victorian RV – Construction
Construction:
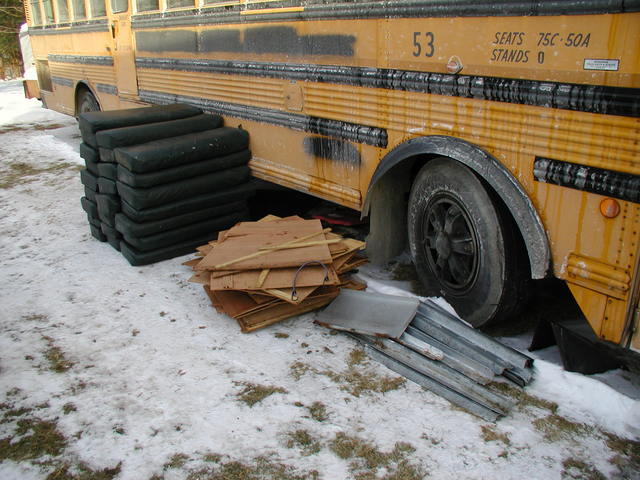
Step one is the removal of all of the seats. I invited a bunch of friends over for a mid-winter barbeque and we finished in a couple of hours. An angle-grinder with a cut-off disk made short work of the rusted and frozen bolts and let us get the seats out without having to crawl around underneath the bus.
We striped the seats down and I re-used as much of them as I could and separated the rest of the components for recycling.
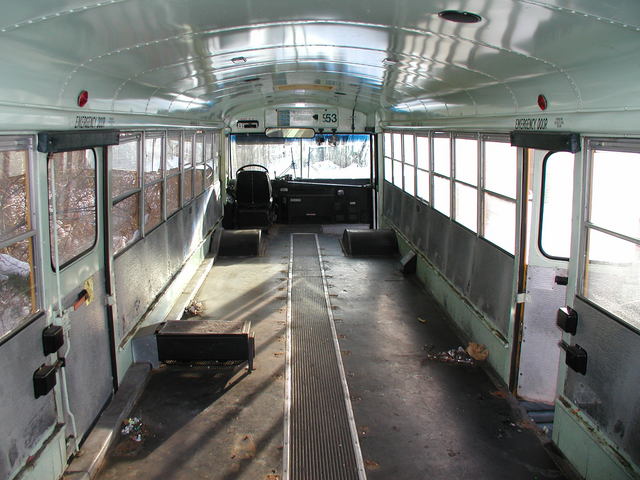
Once you get the seats out the space will seem HUGE and you'll imagine that you can fit all sorts of things in there. This is an illusion! Don't order a hot tub.
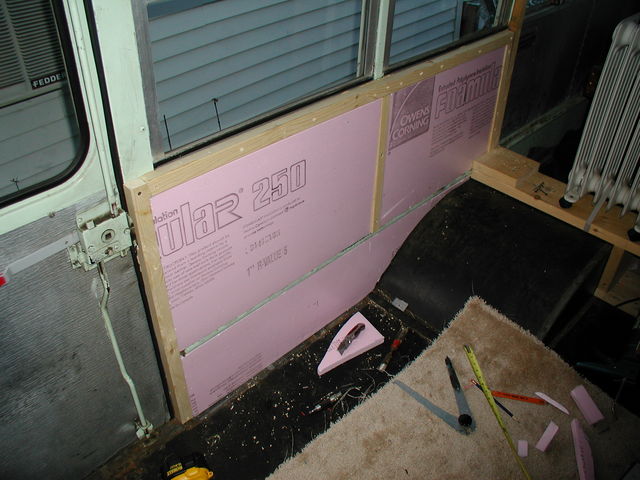
There's a ridge down the length of most buses that supports the outer edge of the seats. I used insulation and wood strips to provide a base for bead-board wainscoting down both sides of the bus to cover the ridge and keep the bus cozy on chilly mornings.
One we got the bus partially completed we put it on the road and did some camping in what we called our "steel tent." We had just enough of the required features to qualify for motorhome registration but had not yet completed the plumbing or finished the interior.
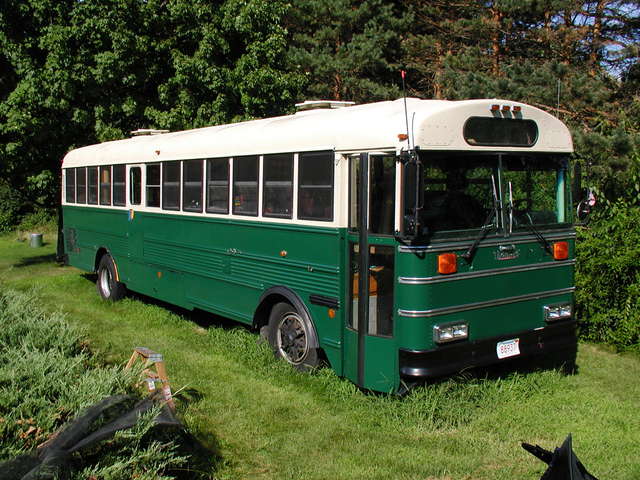
Here's a shot of the painting process before re-installation of all of the trim and lights.
If you look carefully you can see the window screens I made. They are wood framed with fiberglass screens and we remove the from the windows when on the road.
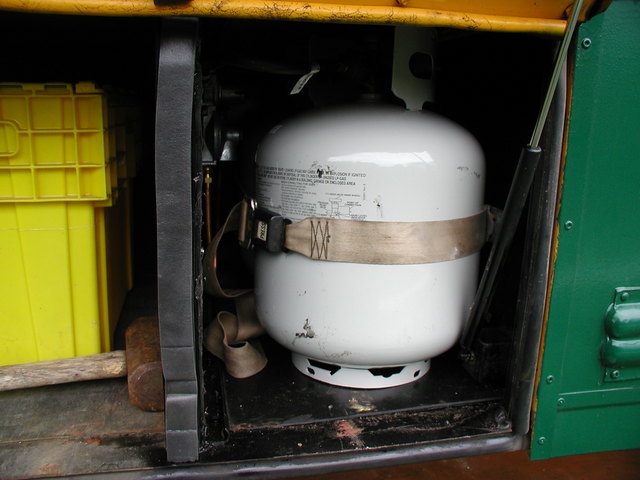
I made a partition in the under body storage and then cut out the top of the storage bay for a pair of propane bottles. Propane storage must be very well ventilated to prevent any possibility of gas build up.
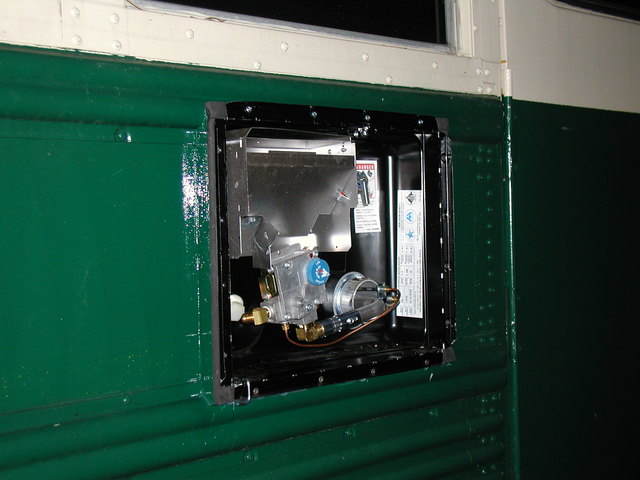
A standard RV hot water heat was installed through the side of the bus under the bathroom sink.
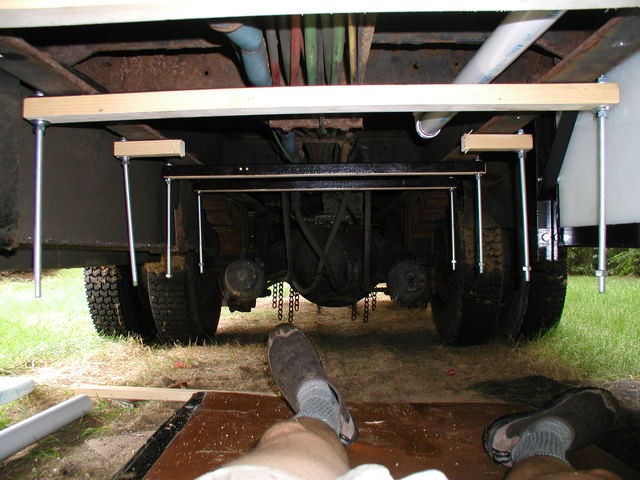
Potable and septic tanks were hung underneath. The wood you see here is not structural, its just a spacer. The tanks hang from 1 1/8" steel angle cross members. In the background you can see some chains hanging down, those are automatic tires chains. Theres a big red button in the cab and all I have to do is press it and these swing down and whip two foot lengths of chain under the rear wheels!
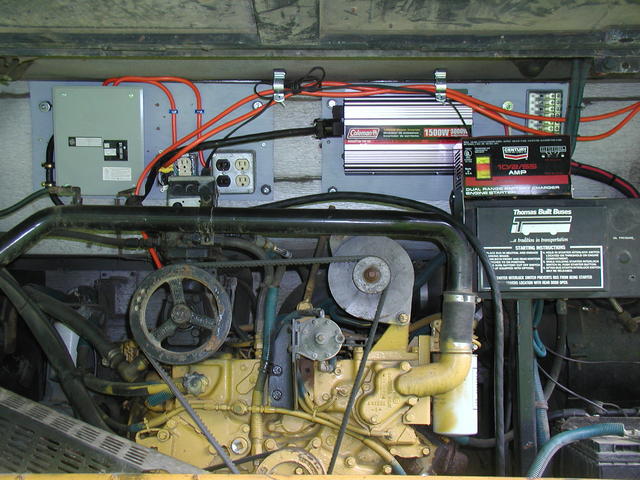
Electrical panel in the engine compartment. There are two 6 volt golf cart batteries in series to provide house power and I've used stranded 12 gauge extension cord wire for interior outlets. While solid core Romex is used in travel trailers for 110 volt circuits, I prefer the much tougher, though more expensive, SOA type cable for this application.
The old fashion battery charger has been replaced with a 30A digital charge controller which is much kinder on the lead acid batteries.
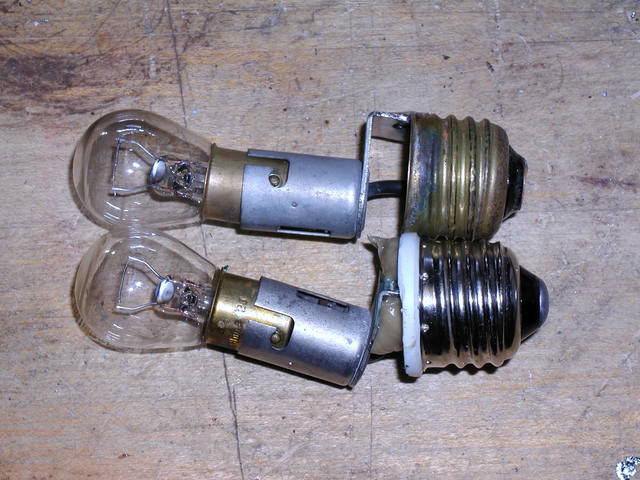
These are the adapters that I made to allow the use of automotive style bulbs in standard Edison base lamps that have been wired for 12 volts.
Re-used pine boards from the town dump and the eight-way power, heated, leather seat from a 1985 Audi.
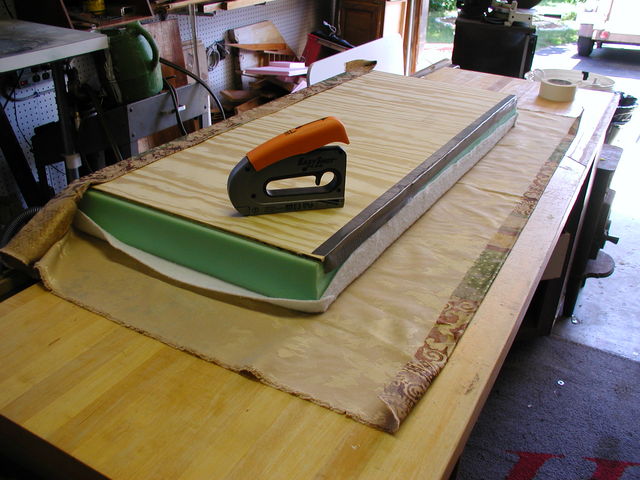
Making the seat cushions for the dinette.
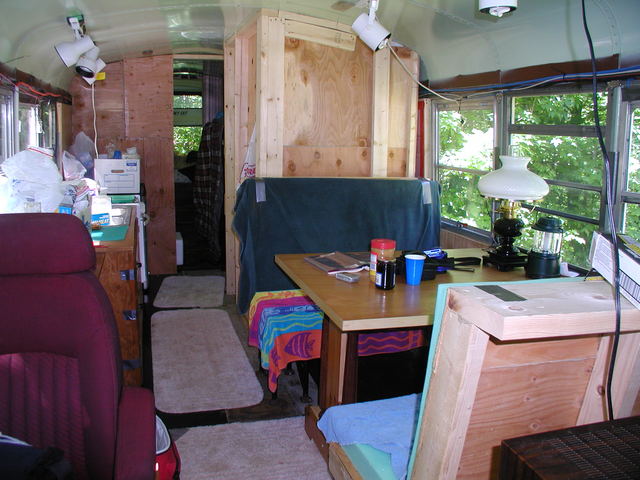
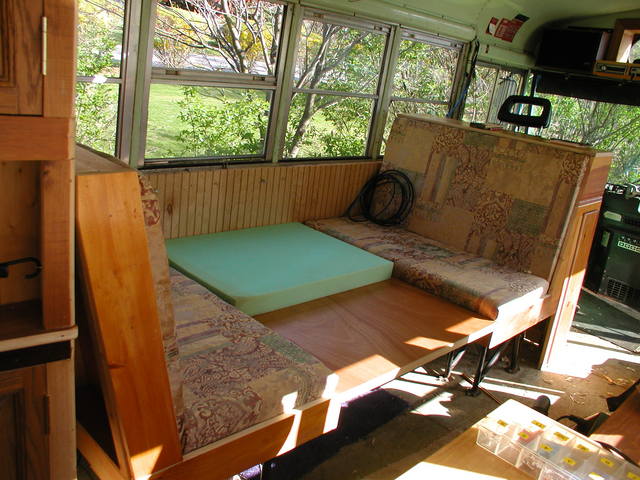
The dinette table drops down and additional cushions convert it to another bed. The dinnette seats were built on top of the original school bus seat bases to provide attachment points for seat belts.
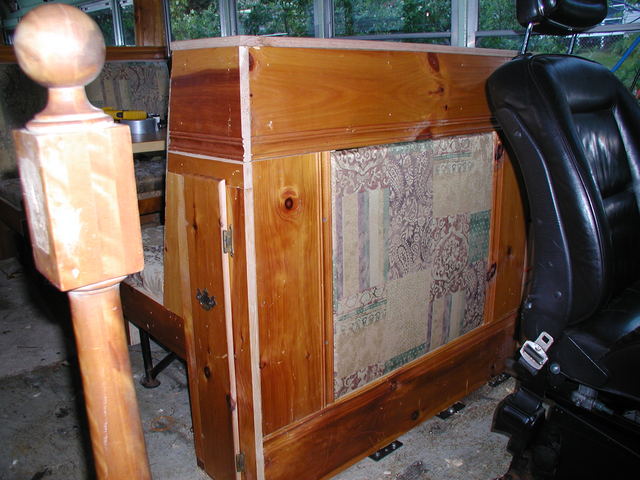
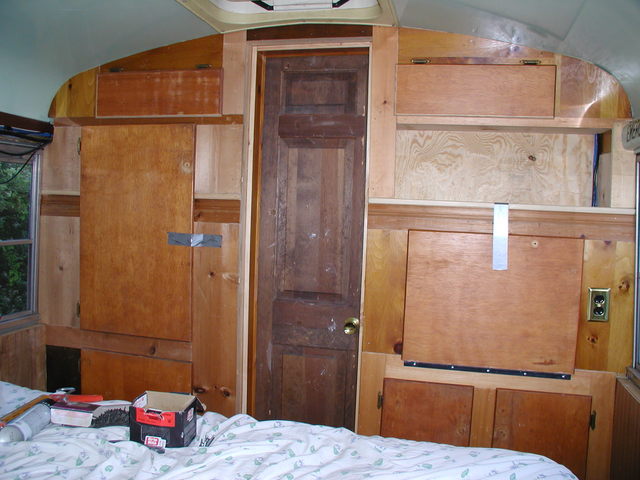
The storage partition in the master bedroom was pieced together from lots of different chunks of scrap wood.
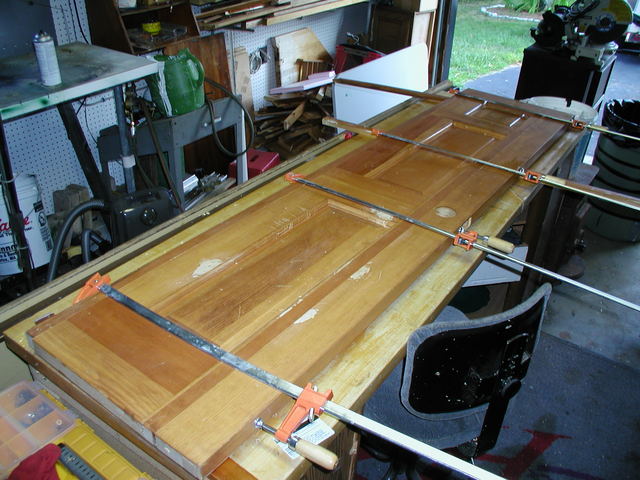
Heres a full sized panel door I ripped down and re-assemble to make 18" wide.
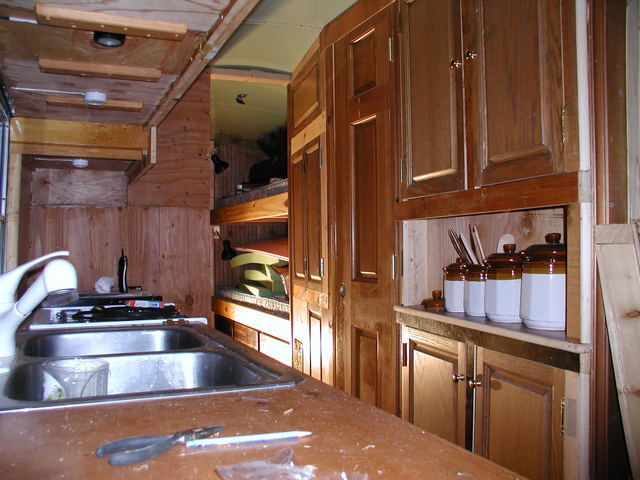
The kitchen and cabinets before painting.
There entire build log for the bus project along with several other interesting things is at: