Copper Plating and Etching Altoids Tins
UPDATE: There's some great information on this page and it's comments, but I've recently published a far more comprehensive article here: Etching Tins with Salt Water and Electricity
With this project I wanted to try a number of new things:
- Magazine pages as cheap toner transfer media
- Copper electroplating
- Etching Altoid tins with a salt water solution
The copper plating met with mixed success, but the other two methods resulted in some nice pieces.
Note: blue vitriol and muriatic acid are archaic names for copper sulfate and hydrochloric acid.
Magazine pages for toner transfer:
While looking for information on transferring toner using a fuser assembly from an old laser printer I ran across several websites where people suggested using glossy magazine pages for transferring printed circuit board images to a copper substrate. I thought I'd give this a try for etching Altoid tins, so I cut up a likely magazine.
Preparing the Altoids tins turned out to be harder then I predicted. The paint stripper I use comes in a spray can and is sold as "Paint & Epoxy Remover." It's strong stuff. If you get even a drop on your skin it hurts like hell and you need to flush the area with lots of water to make it stop. Most paints just wrinkle up and fall off when I hit them with this stuff yet the paint on the Altoid tins required several minutes of scrubbing with steel wool while wearing nitrile gloves (latex gloves fall to pieces in seconds.)
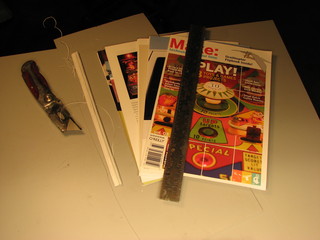
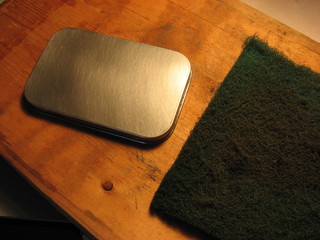
Next we:
- Print the image on a magazine page
- Rough up the surface of the Altoids lid with Scotchbright
- Clean the lid thoroughly with alcohol
- Iron the image onto the lid
I cut a block of wood the size of the base to support the lid while I pressed down with the iron.
This is the Lady Ada Lovelace, a contemporary of Charles Babbage and a woman oft sited as the first computer programmer, she having written a series of notes comprising an instruction set for calculating Bernoulli numbers on Babbage's Analytical Engine. You don't get more Steampunk then that!
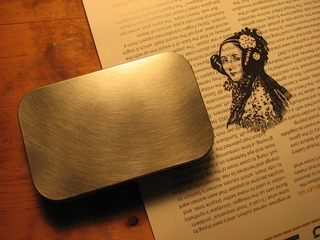
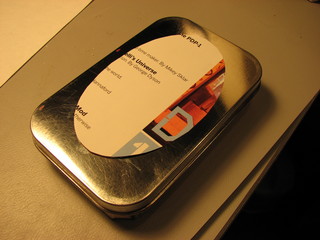
Once the transfer is ironed onto the tin you soak it in water and then carefully peel off the paper, layer by layer, leaving just the toner behind. To get the last of the paper off just gently rub with your thumbs.
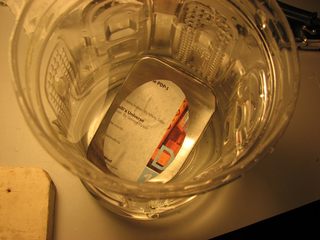
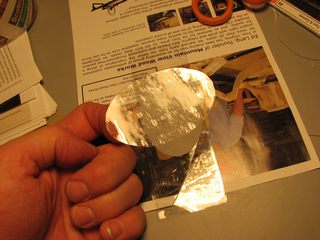
I used the cut-out in the magazine page as a template for cutting a mask from packing tape, I wanted to only copper plate part of this tin's lid.
So far all of the toner transfer methods I've tried; Laser printing on Inkjet paper, Press-n-peel blue, and magazine pages, have worked just fine. Press-n-peel is probably the easiest to peel off, but the hardest to iron on if there are large solid areas of toner.
Copper Plating Altoids Tins:
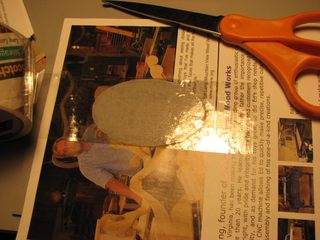
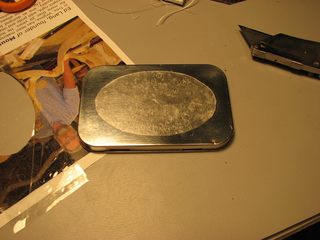
For my first attempt at copper plating I simply connected the lid to the negative side of a 1.5 volt power supply and dipped into the blue vitriol (copper sulfate) solution that I have been using for my brass etching experiments. I used a length of copper tubing for my anode.
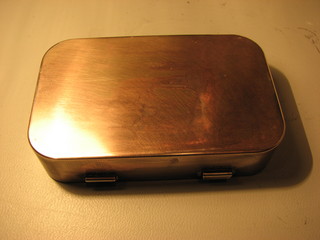
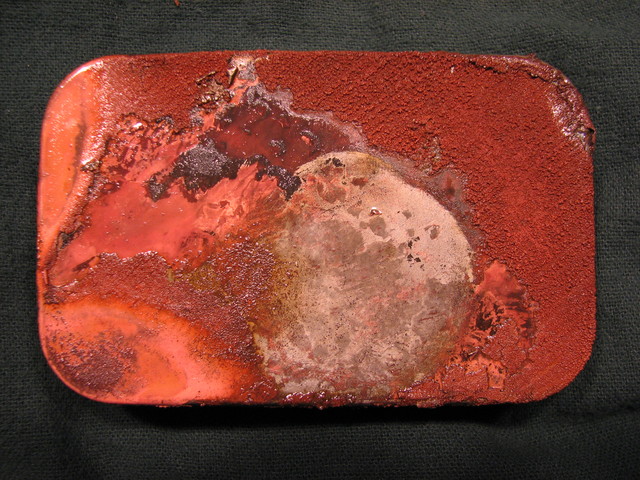
From the picture below, this appears to work. Alas, what you see is just a coating of copper powder, nothing has actually stuck to the tin plate on the Altoids tin.
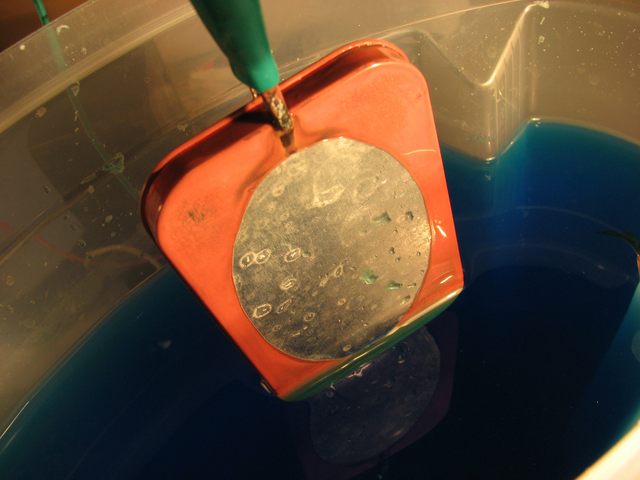
I speculated that perhaps my solution was contaminated so I did a little research (see Technical Links) and tried a solution with a different composition. I filled a container with about a gallon of water and added a table spoon of Muriatic acid (25% HCl) and a pinch of salt. Since you can't plate copper out of the solution until there is copper in the solution I inserted a dummy cathode and run the cell with the 1.5 volt power supply for about 6 hours.
After this time the solution had a faint blue tinge and I replaced the dummy cathode with the tin. Unfortunately, results were identical to the earlier attempt.
For my next attempt I connected the metallic barrel of a painters brush to the positive side of my power supply and the negative side to the Altoid tin. I dipped the brush in the blue vitriol solution and "painted" it on the tin.I actually had some success with this.
However, the most successful technique turns out to be the simplest, simple apply a solution of blue vitriol with a cotton swab using a circular motion. Q.E.D.
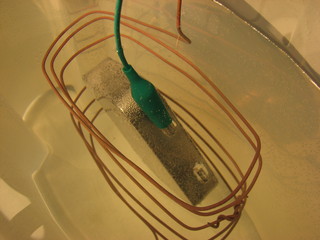
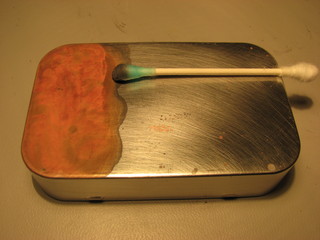
You can vary the qualities of the surface by using different strokes to lay down the copper and you can polish the resulting plate on a buffing wheel with a touch of rouge.
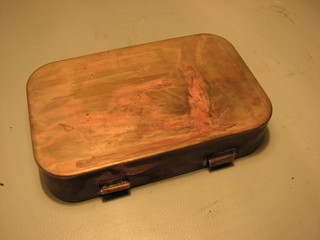
Salt water etching Altoids Tins:
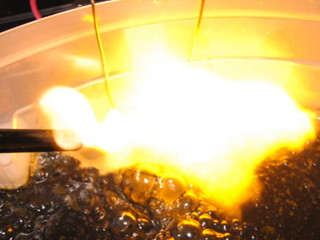
The next thing I wanted to try was etching the Altoids tins. I printed and applied a Press-N-Peel blue mask to one of the tins and attached it to the positive side of a car battery. A piece of copper pipe was attached to the negative side and both electrode and work piece were immersed in a gallon of water that had approximately 2 cups of salt dissolved in it.
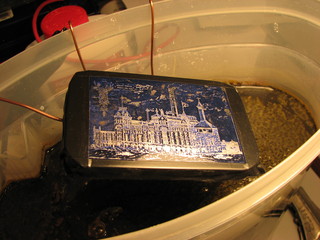
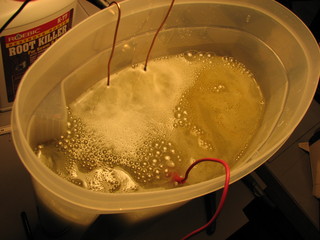
The salt water started to bubble furiously and a dark murky green-brown precipitate began to form.
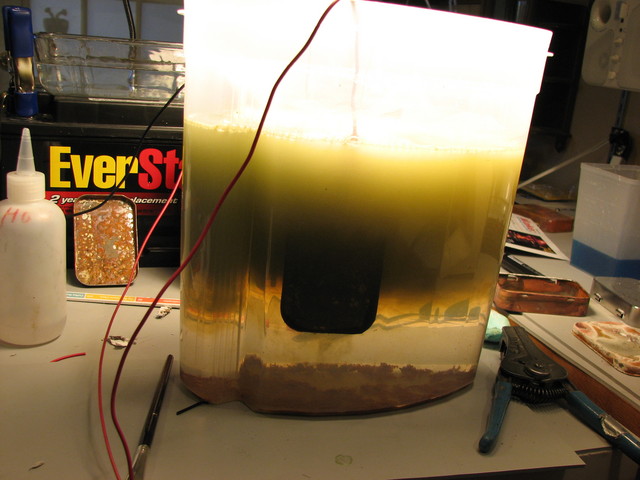
Foom! "Ah! the bubbles are indeed hydrogen."
After about 7 minutes I took the Altoid tin lid out, rinsed it and used paint stripper to remove the toner mask.Seven minutes was probably just a bit too long as you can see by the perforations in the upper right.
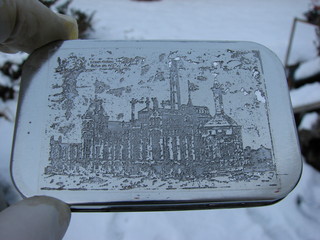
I then coated it with the blue vitriol (copper sulfate) solution using the cotton swab method and polished it with a buffing wheel and a bit of rouge.
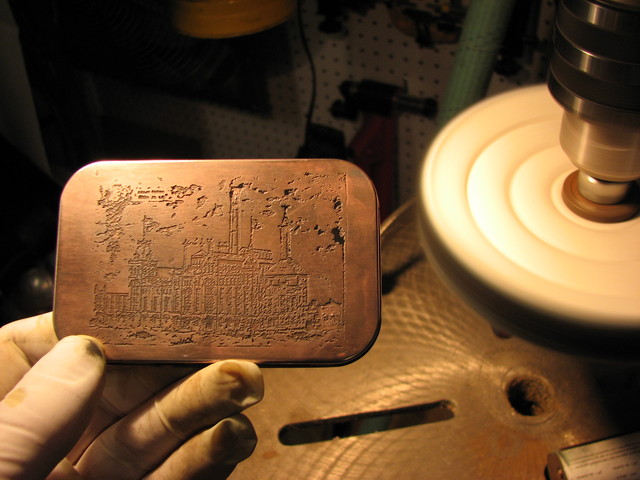
In all I made half a dozen tins using slightly different methods. Some of the early plating experiments actually turned out to be quite pretty once I sealed the powdery copper layer with a coat of lacquer.
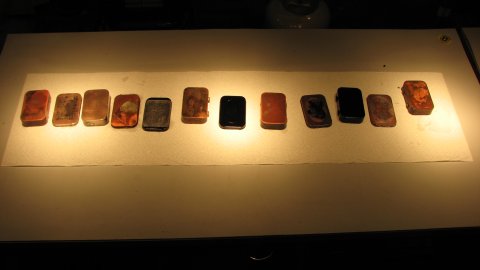
The finished results:
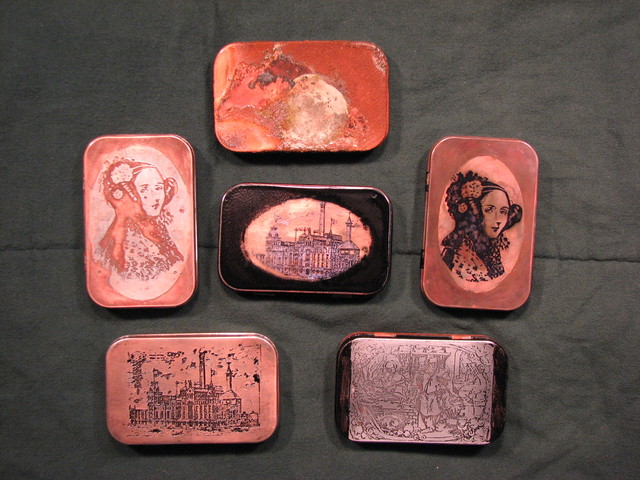
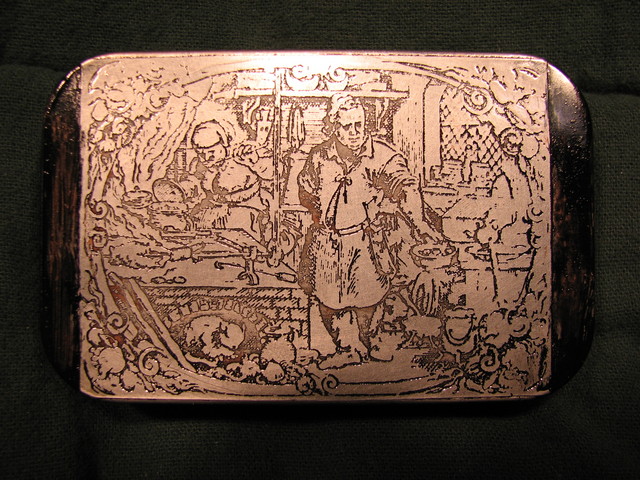
This one is a straight salt water etch with a bit of black paint to bring up the details and a finish lacquer coat.
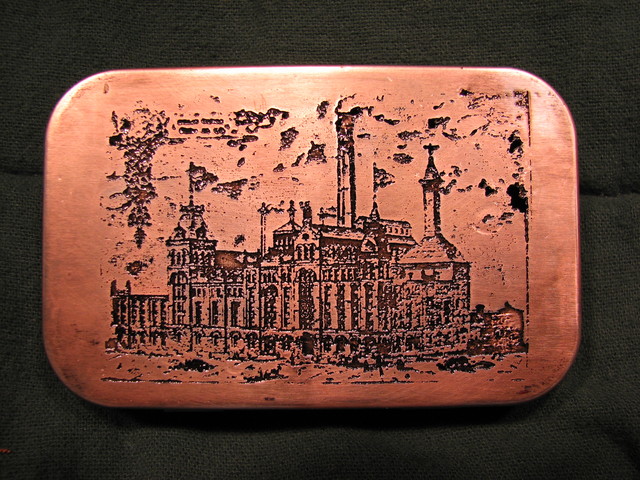
This is a salt etch with a layer of copper applied using the cotton swab method and blue vitriol solution. It was then polished with a buffing wheel and a bit of rouge.
My first plating attempt was a failure but looked so interesting I put several coats of lacquer on it to fix the powdery copper bits in place.
This Altoid tin was masked with an oval piece of packing tape and then lightly etched. Next the mask was removed and a positive toner image was ironed on. Finally the tin was plated in copper using the cotton swab method and the whole thing lacquered.
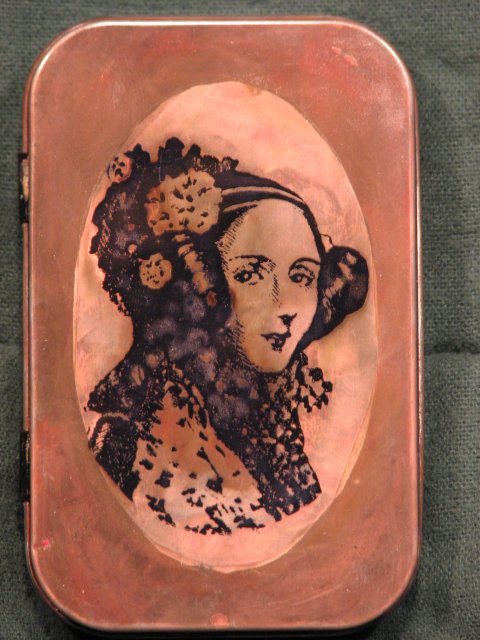
The tin below is the big success of the batch. It was a straight salt etch and had the blue vitriol solution carefully applied to certain areas with a cotton swab. The etched area was cleaned up a bit with some 400 grit paper and the piece was lacquer sealed.
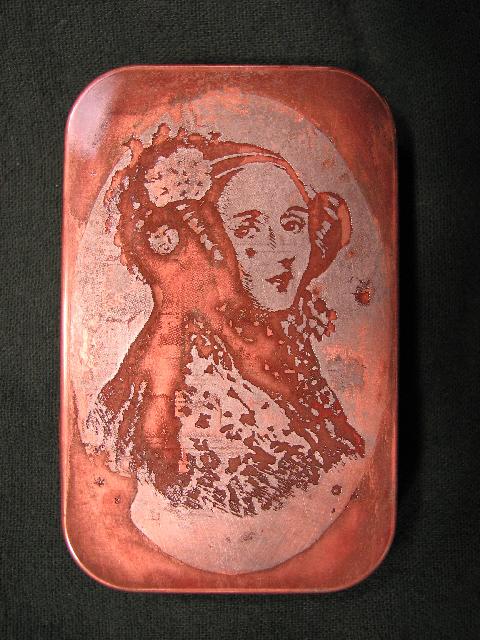
The Lady Ada Lovelace
I found this method easier and cheaper, just check it out. Note- The metal was first nickel plated, then copper plated with very inexpensive chemicals and a couple of AA batteries.
https://www.youtube.com/watch?v=aoCyRQsDNco
Here is the nickel plating part:
https://www.youtube.com/watch?v=Q8Xo43sfLgY
Hope this links will be useful!
Cheers!
By the way, thanks a lot for your posts in this magnificent site. Then, congratulations by your article in the book The Steampunk Bible, that redirected me here, is just amazing!
Are any of these for sale? Please let me know, I’d buy some ASAP
Hi again. I finally found time to try copper plating my altoid tin, but it came out very dark instead of the brighter copper color you got. Any suggestions? (I suspect the newspaper I laid over the work surface to catch spills may be the cause, but I’m not sure). ALso, do you have a suggested ratio of vitriol to water? When I tried to use my own mix the q-tip came away from the tin covered in a black substance and I had to go through a lot of q-tips to finally finish the coat.
Hi Jake
The powdery copper suggests that your tin is steel. The problem you are experiencing in the electroplating is most likely immersion plating. This means if you turn off the current the object will still “plate” but the copper atoms are only very weakly attached, one issue is that the acid which is necessary attacks the steel and so undermines the very foundation we are trying to plate on. There is more to it than this but it boils down to passive plating vs electroplating – put steel in that solution you will get copper forming on the surface but it will not adhere strongly. The accepted way to plate copper direct onto steel uses cyanide chemicals which are not available or advisable for the non-pro plater.
I have read that very thin plates using only rubbed on acid copper plate can achieve moderate functional stability, the trick apparently is to use only the minimum amount – as soon as its plated then stop and flush. This method still incurrs the same issues mentioned above but apparently the thinner the film the more stable it is so this may be why you succeeded with this method.
You can increase your chances by a very methodical cleaning routine. Avoid detergents that may contain scents – platers use chemicals rather than “products” so they know what they are getting.
1. Wet and dry paper – remove all grit and use gloves to avoid contamination with hand grease.
2. Cellulose thinners (hazard) is a very strong solvent and will remove grease – avoid touching by hand after this as you will undo the good work.
3. A moderate solution of sodium hydroxide (hazard) will further clean and remove more grease give it a soak but not so long that rust appears.
4. Then a final pickle in 20% in hydrochloric acid (hazard) – 30 secs to one minute, dont over do it, too long and smutty carbon deposits may come out of the steel and ruin your work.
These steps are a very much watered down version of what an electroplater would use – the surface really needs to be chemically clean which is a very stringent definition of cleanliness.
You have achieved a nice texture and colour which seems to suit your purpose so you might actually be disapointed if you refined your plating methods ( really to plate on steel you need to plate with nickel first – a nickel flash plate ) but a stringent cleaning routine may help you.
I hope folks reading this will also read the warning labels on the bottles – not much in the plating world is non-toxic or non-corrosive.
I did note some people who reported failure said they had used copper sulphate whereas from your notes I believe you were using an acid solution containing copper sulphate?
I only have reference to one old text regards your method but they did use an weak copper sulpate solution with sulphuric acid. I believe that the weakness of the solution was probably so that they could simply immerse the part and wait for a very thin copper plate to develop – a stronger solution would probably act too quickly and result in a powdery finish. Its hard to find references to this method simply because it does not work very well by professional standards. I am quite prepared to believe that “old hands” knew how to get the best out of a poor method and perhaps came up with reasonable results so its no reason not to try but I think the trick is really to aim for a very thin coat that develops slowly rather than fast.
Another way to get a copper or brass finish on steel is to heat it up and then rub vigorously with a wire brush with bristles of the metal type you want. Its a form of mechanical peening but the heat adds extra energy and helps the process of pulling off copper/brass atoms and rubbing them into the steel surface with sufficient mechanical and heat energy that they bind. This is not a melting process metals can be persuaded to adhere to one another by methods other than melting although its generally going to work best if the donor metal is powdered or in the form of thin bristles and you are able to supply a little extra heat energy to help it on its way.
Here is a link to a guy obtaing a brash finish on steel by the heat and wire brush method – basically a form of peening.
https://www.youtube.com/watch?v=mFK9H4AG_Ww
This would explain why my copper starts to turn gray when using my Dremmel’s steel wool tip. Mystery solved!
There are mechanical plating methods.
Mechanical plating is also known as sherardizing. Enter this term in the search engine of this site and you’ll find all about it. In the original process, the zinc is mixed with glass beads (technically, it was sand) which act as “transportation aid”. Choosing the right diameter of these beads, makes it possible to enter cavities or cover the thread on bolts completely.
Big advantage is that this is a molecular layer of metal, so less likely to alter critical dimensions.
Doug
Hi. I really wanted to try copper plating an altoid tin, so I purchased some vitriol blue (copper sulfate) and tried to duplicate your Q-tip method. It didn’t work. Is there something I’m missing?
I didn’t try any of the electroplating methods, just applying the mixture directly to the tin. Was I supposed to apply the solution and do the elctroplating method? Or maybe the solution I used wasn’t concentrated enough?
There’s a clear coating on the tin you may have to remove. Also you should have a look at: http://steampunkworkshop.com/etching-tins-salt-water-and-electricity-compliment-steampunk-bible-article/
Would I still need to remove a coating if there was no paint on it to begin with?
http://www.amazon.com/Mini-Survival-Kit-Blank-Tin/dp/B006ZSBEXS/ref=sr_1_2?ie=UTF8&qid=1420162773&sr=8-2&keywords=altoid+survival+tin
This is what I’m using.
Also does the method still work if I use an inkjet printer?
Yes you will, they spray these with a clear lacquer. And an inkjet printer will not work. Has to be a laser printer.
The steel wool step is very important in this plating process. I struggled with this plating for a long time before I figured out that sand paper wouldn’t cut it.
Dear Mr. von Slatt,
I have collected quite a cache of modern tea tins purchased from a popular coffee vendor, as I drank a daily dose of their tea over a long period of time. I would like to follow your etching process on these tins, as you did with the Altoids, and then re-use as packaging for homemade goods. The darn labels need to come off first. I have separately tried soaking in hot water, cold water, and soapy water; running through the dish washer, scraping wet labels with fork tines, etc. No luck! Please let me know if you have any solutions on how to separate these stubborn labels from the tin.
Thank you.
Try soaking them with mineral spirits, with luck it will dissolve the adhesive.
I haven’t done any of this sort of thing yet, but I’ve been reading that there are two good ways of getting stuff off of tins: 1) spray with oven cleaner, put in a plastic bag in a warm place, and let sit an hour or so, and 2) burn them straight-up in a fire.