Lyra’s Lamp
We have a new puppy in the house, and while this is a wonderful thing in general, it means I sometimes have to get up in the middle of the night to let him out. The problem is I don't have a bedside lamp so I end up stumbling across the bedroom to turn on the overhead lamp so I can find the leash as well as my robe and shoes. Needless to say this does not please The Lady. So, my next project had to be a new bedside lamp.
Like most of my lamp projects this one started with a visit to the junk bins. At right you see part of an antique student lamp I rescued from the metal recycling bin before the ban on picking at our local dump went into effect. It's quite nicely made, but this is all I was able to retrieve. The other parts are from various more mundane fixtures and the bulb at left is a reproduction Aerolux glow lamp.
. . .
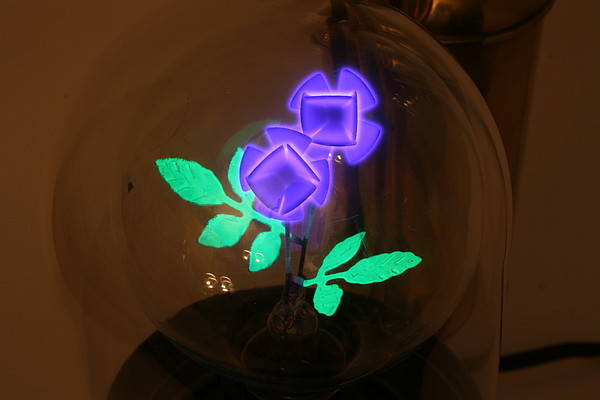
Aerolux lamps were popular as night lights in the early part of the twentieth century and were manufactured in a wide variety of designs. This particular bulb is argon filled and sports two purple flowers and a pair of green leaves. If you are looking for bulbs like this try this guy.
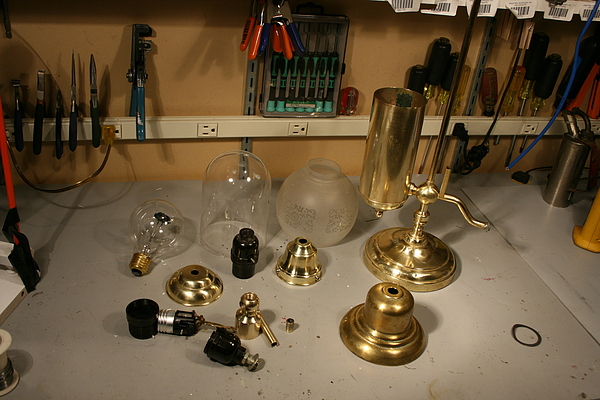
Once I decided on the parts I soldered everything in place and drilled holes for the wires. The right angle connector at the base of the lower lamp is actually part of a Delta bathroom faucet that was just perfect for this application.
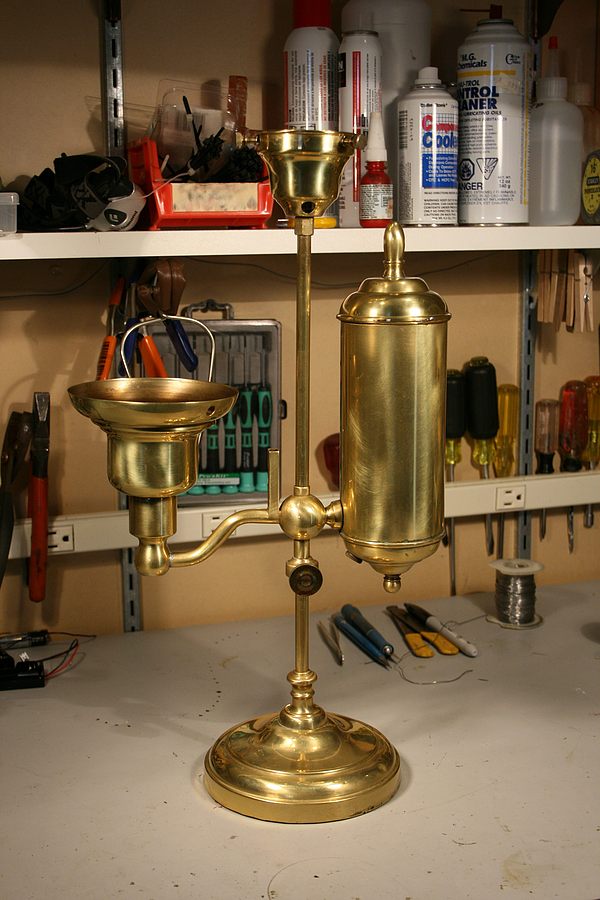
After assembly I cleaned and polished the lamp. It polished up very nicely, too nicely. It's interesting how modern manufacturing methods have made high quality finishes look cheap. If you polish a piece of wood or metal too much it begins to look to us like a fake piece of wood or metal made from plastic. I decided this would be a good opportunity to try the ammonia method for aging brass so I put the lamp into a storage container with a small tray of ammonia. The lamp spent 4 days in the container and the ammonia was renewed 4 times. I suspect that I would have had quicker results if the container sealed mroe tightly.
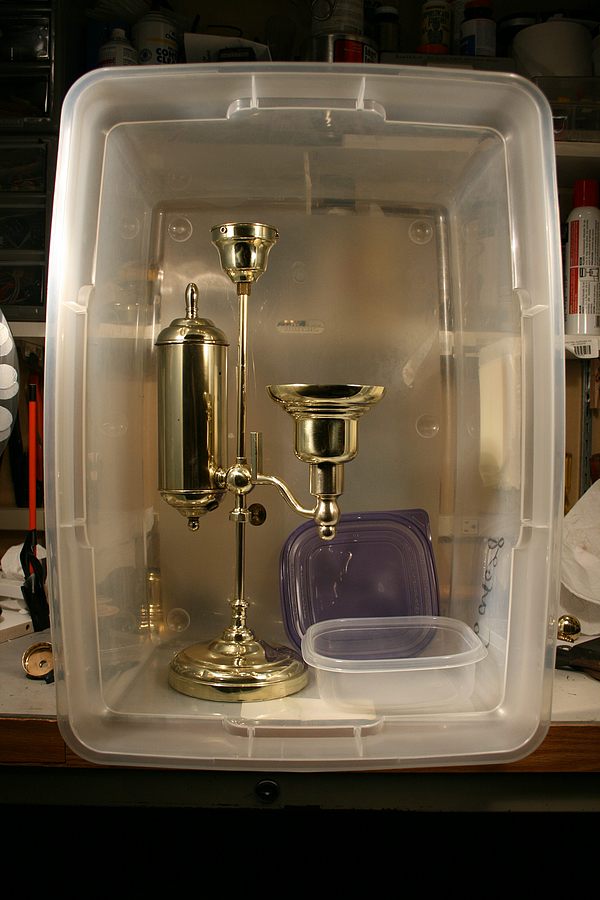
As you can see the ammonia was effective in adding a little age to the brass.
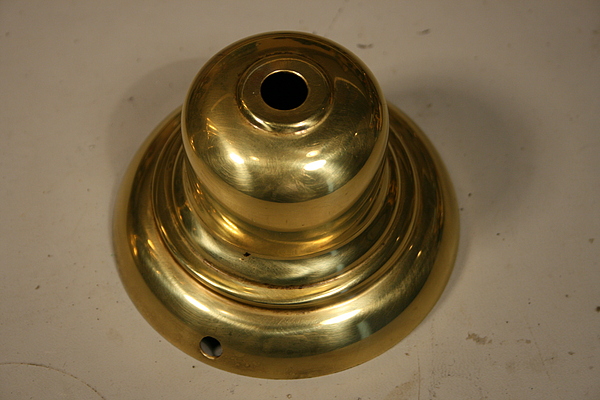
The un-polished areas took on a lovely brown patina but most of the lamp took on lighter hue.
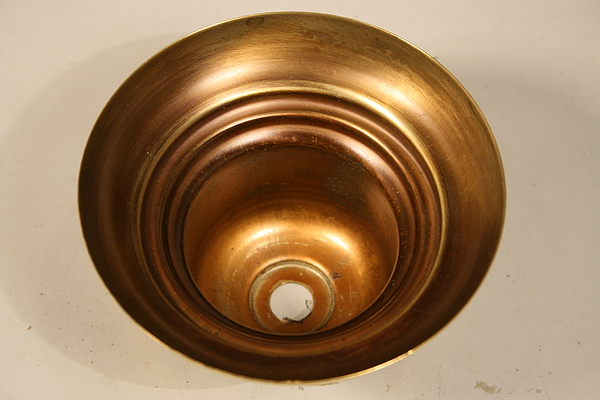
To wire the lamp I used a vacuum cleaner to suck upholstery thread through the base which I then used to pull lengths of wire.
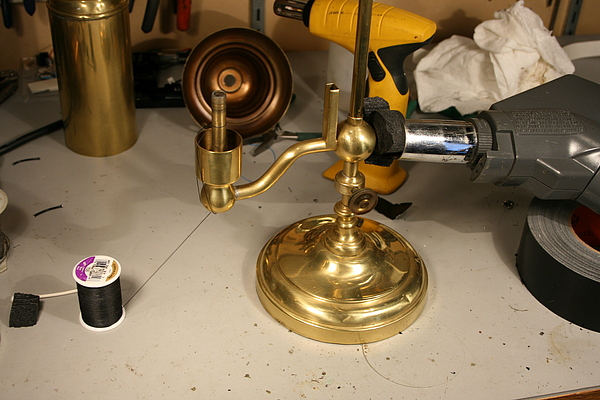
I used Teflon insulated wire so that I could solder the rest of the lamp together after threading it. If I had used regular wire the insulation would have melted and the wire would have shorted out.
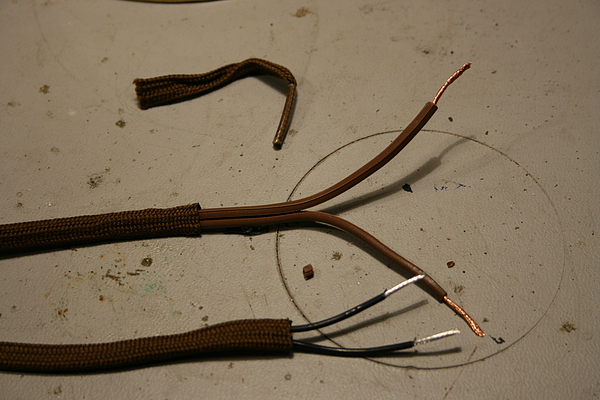
To give the wire and power cord the right vintage appearance I ran them through the center of some brown shoelaces after cutting the aglets off.
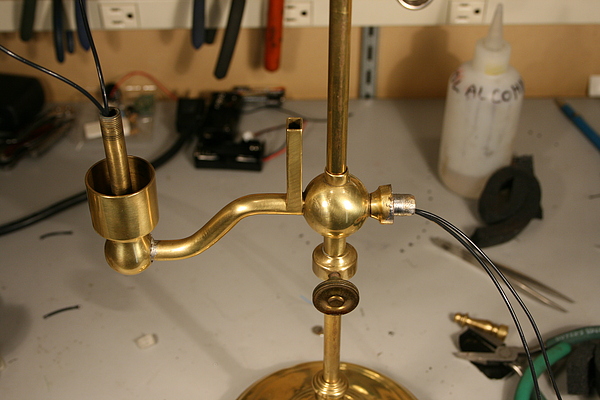
The center post of the lamp is a solid steel rod clad in brass so the wire to the top light is external.

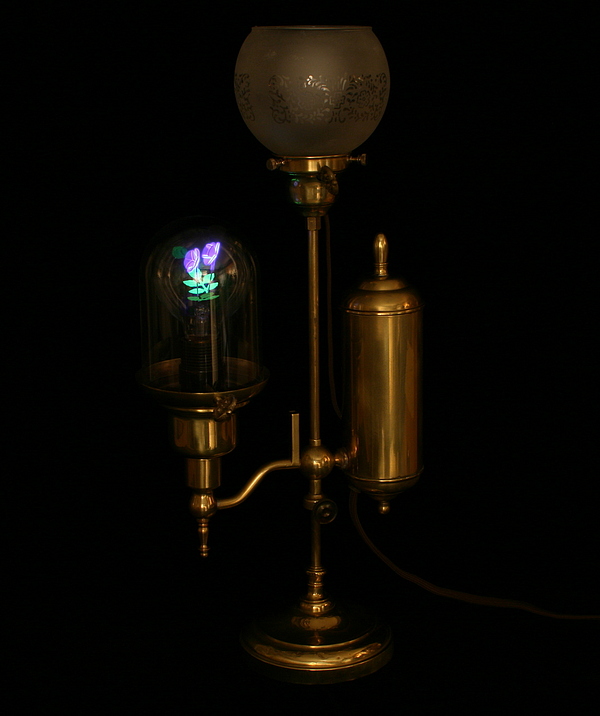
Here's a shot of the lamp in the dark showing the Aerolux repro night light.
A close up of the flower glow bulb.
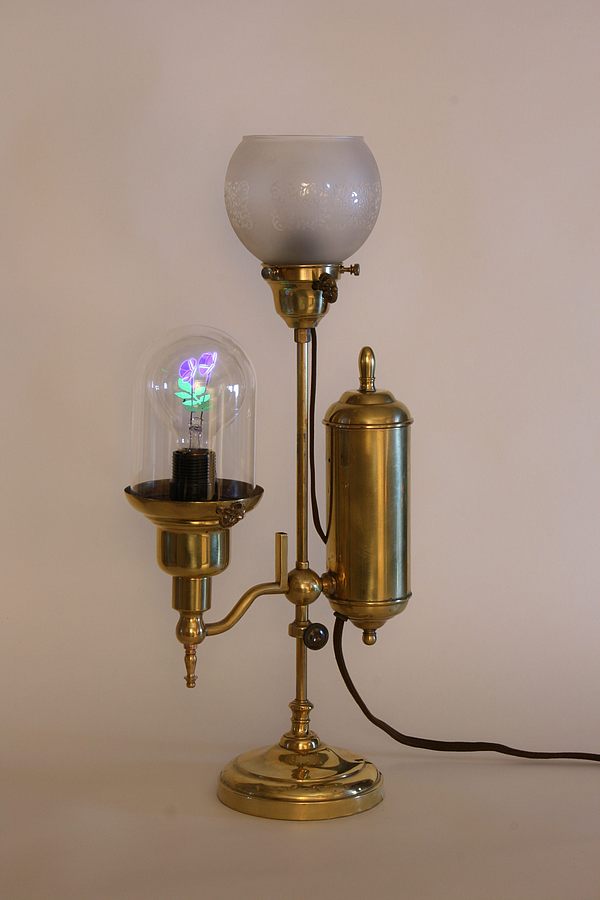
The complete lamp with night light lit.
and with the main light lit.
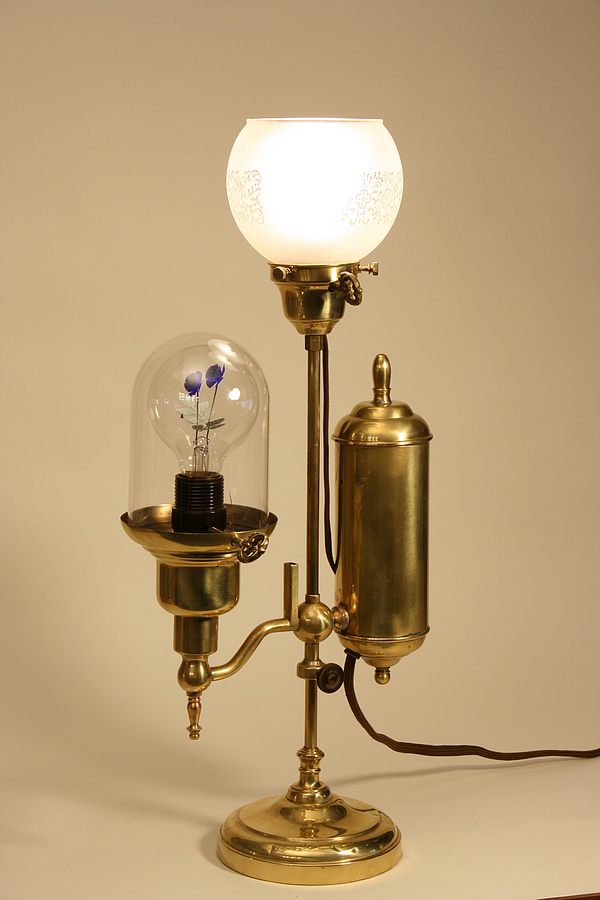
Since a majority of its parts came from a student lamp, this piece has a somewhat acemdemic look. I imaged it would look right at home at Lyra's bedside in her room at Jordan College (from The Golden Compass). Hence the name Lyra's Lamp.
Hi, i hawe a question, i just got one Flower style Aerolux lamp on a flea market and i wonder if i can just plug it in in a regular lamp, or if it need any aditional electronic components, lika a barlast resistor or something? (i am afraid damage it, that´s why i ask.) Realy beautiful thing! i must say.
If it has a standard base you can just put it in a regular lamp, they generally work straight from wall current or “mains”.
Thank You wery much for taking Your time with this!
Now it work and i relay love those things!
It is truly a thing of beauty! WOW!!