Brass Kerosene Sconce Lamp
This is a lamp for my bus conversion project, most likely it will go in the bathroom. Total project time was about an hour.
 |
 |
Above you’ll see one of the donor lamps, this lamp contributed one of it’s arms. The other parts you see laid out above and below came from the “big box-o-lamp-parts.” The base is from a comtemporary chandelier and the top is from a exterior post lamp.


The next step is to strip off all of the varnish that typically protects these parts from tarnishing. I use this spray on MEK based stripped, it is nasty, nasty stuff! Wear goggles and make sure your work area is well ventilated. You spray the stuff on and after 5-10 minutes the finish just wipes off with a piece of steel wool.
 |
 |
Soldering the pieces together, I’m using a 60-40 lead/tin solder and liquid flux. I love this little soldering iron torch, but I think I will buy a slightly bigger one soon. A hole saw makes quick work of drilling the hole for the burner collar.

Here I used a clamp to align the burner collar before soldering.

This fiberglass brush at 3000 RPM does a great job of cleaning up the work. It does leave some texture in the brass that does not quite polish out, but I like that “worn brass” look.

The completed lamp. The font is a little on the small side, I hope I don’t find that I am filling this lamp too often
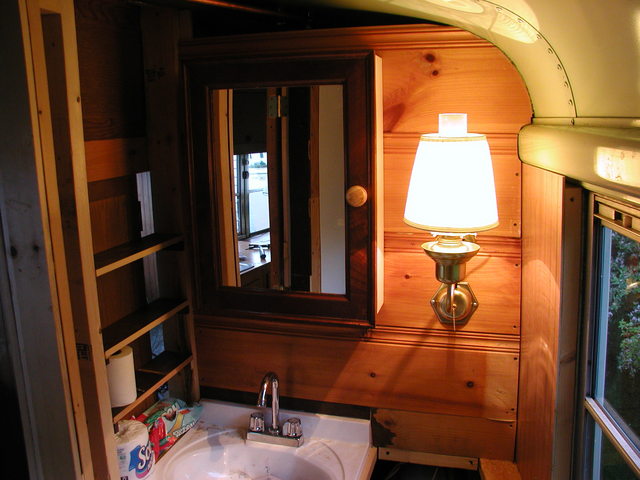
Here’s the lamp in place is the bathroom of our converted schoolbus.