iPhone Dock and Autodesk 123D Tutorial
Autodesk 123D Design iPhone dock tutorial and 2007 Lincoln Town Car SatNav Radio Audio-in hack.
(Jump to 7:20 in the video to get straight to the tutorial)
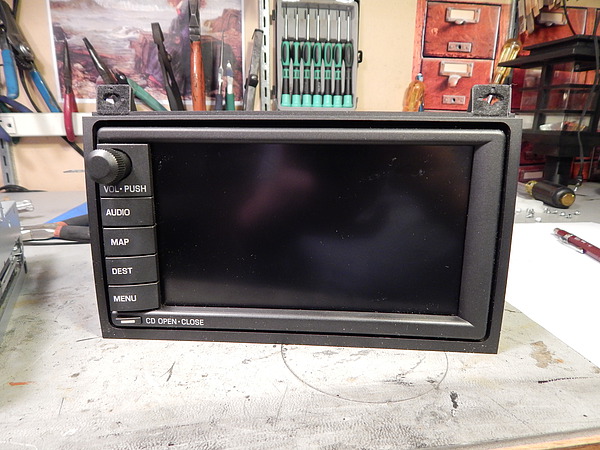
A couple of weeks ago I bought a new vehicle, a 2007 Lincoln Town Car. The car came with a Satellite Navigation radio with THX certified sound. It sounded fantastic but there was no auxiliary input! Remembering this story I saw on Hackaday a little while ago, I decide to tap into the CD changer audio-in.
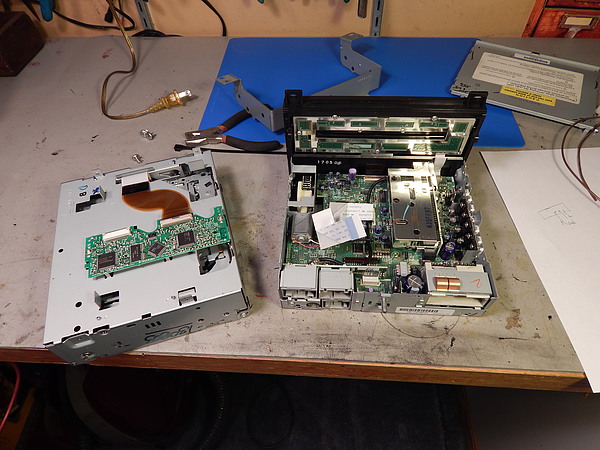
I took the radio out and separated the CD changer.
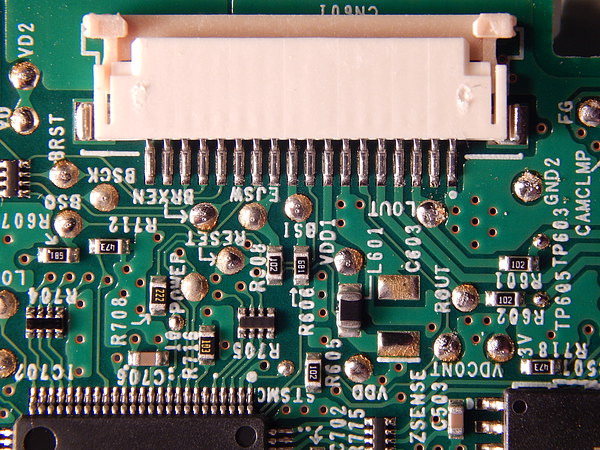
I do love it when manufacturers list pin-outs right on the board! LOUT, ROUT, and AAGND were the ones I used.
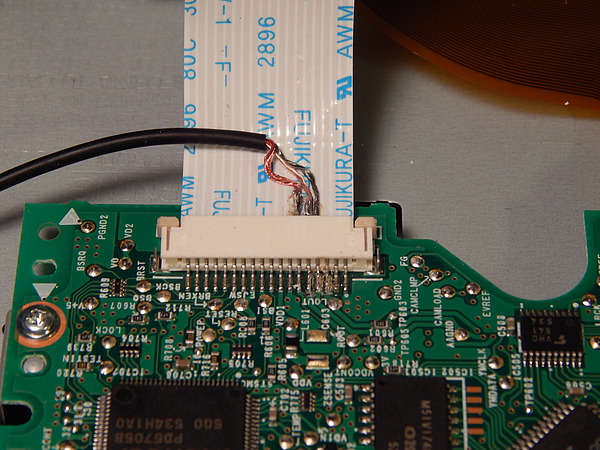
I soldered a length of an old headphone extension cable with a busted male plug to the ribbon cable and cut the etches on the circuit board. I don't use CDs at all anymore so I didn't bother to add any way to re-enable the CD. Then I closed up the radio and put it back in that dash. It worked very well! You do have to keep a CD in the changer though, but it doesn't have to be blank if you cut the audio path etches.
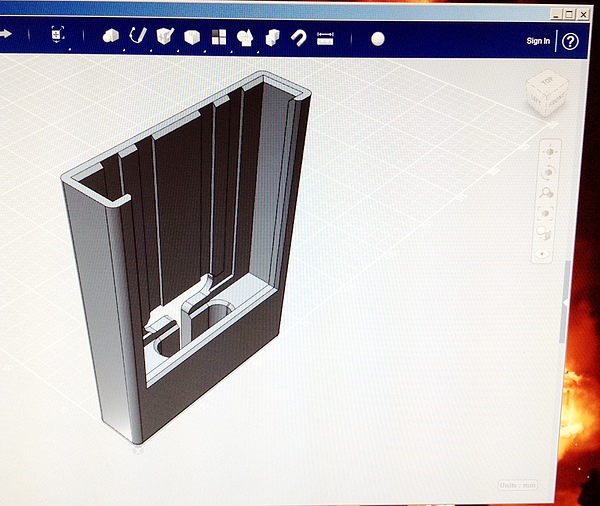
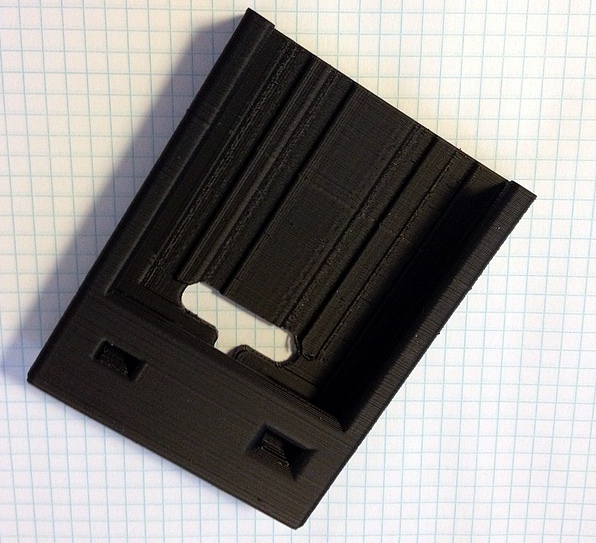
I wanted a nice dock for the iPhone but I have never found one that simply broke out the audio line-out and USB. I did find a cable that did that (see Amazon link below) so I designed a 3D printable dock that would accept this cable in Autodesk's 123D Design. If you'd like to make your own just grab 123D from Autodesk and this file, export to STL and print. Note: print in ABS, PLA will melt in a hot car!
Link to 123D Design iPhone Dock File
I used 3M VHB mounting tape to attach the dock to an old GPS mount. I didn't want to mount it on the windshield so I removed the suction cup, filled the cup mount with Bondo, and then used more VHB to affix it to the dash.
At first I had a lot of digital noise coming through the audio channel, there's usually some, but this car has a whole bunch of digitally addressable modules on a Car Area Network (CAN) and they were awfully chatty! Fortunately the Ground Loop Isolator linked above eliminated 99.9% of this distracting noise!
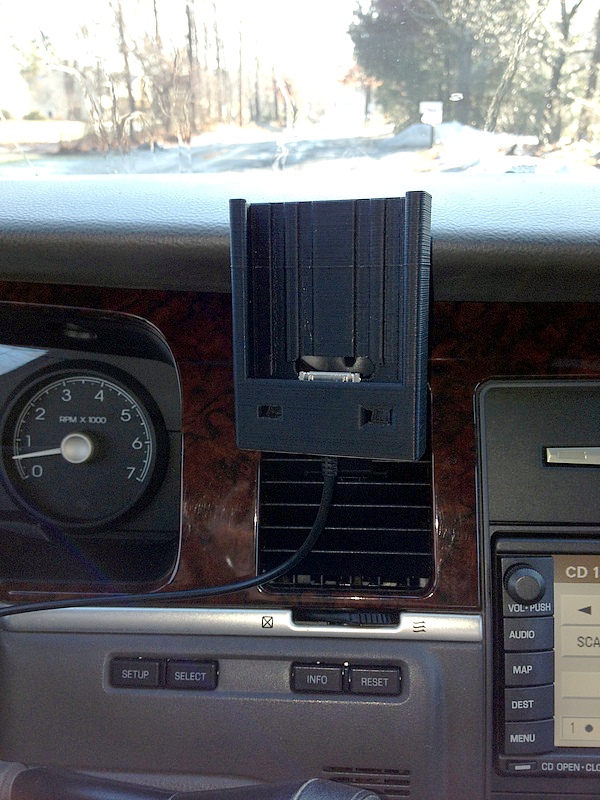
The completed installation! Note the line about 1/3 of the way down my part. My printer's z-axis bound and missed a step! also the part is about .004" shorter on the right side compared to the left because both sides of my Prusa Mendel's z-axis didn't skip the same number of steps.