Steampunk Car Project – Initial Survey
Late in 2007 I spotted this car on eBay with a "Buy it Now" price of $1500 and, well, bought it then. Its a 1929 Mercedes Gazelle SSK replica made by Classic Motor Carriages. CMC made these cars in the late '70s and early '80s. In fact, I remember seeing advertisements for the kits in the back of Popular Science magazine when I was younger and thinking they looked pretty cool. I later came to realize their intrinsic cheesiness; but that makes them all the more hackable as I won't be getting email from all over hell-and-gone telling me I've ruined a collectible car!
They came in several varieties, Ford, Chevy, and VW based. Mine is the VW version which tends to be the cheapest and should be very easy to maintain as I have years of air-cooled VW experience from my college days. The rear engine configuration is also a plus as ultimately I would like to convert this car to steam power and there should be just enough room for a boiler to be mounted up front.
But first I intend to get the car running well and make a few cosmetic changes – lots more brass to begin with!
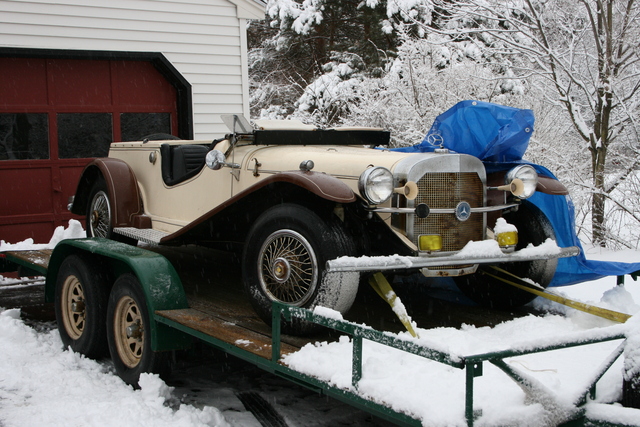
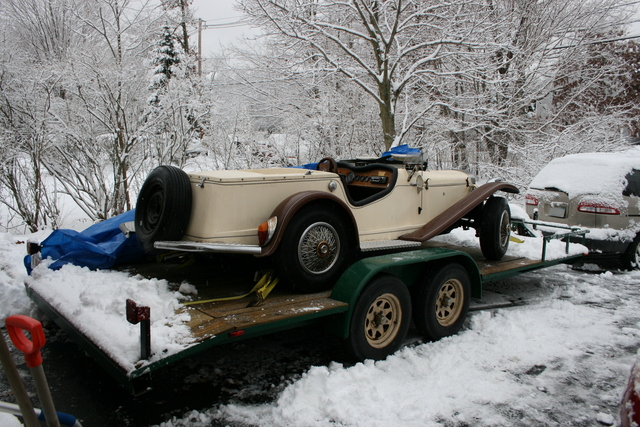
The car was located about 700 miles away in Ohio, so my car carrier trailer was put to good use. The trailer behaved very well towed behind the Sienna and even loaded with the car and on slippery roads it was quite manageable. I think the key to towing with such a light front wheel drive vehicle is to make sure that 10-12% of the weight of the trailer is on the tongue and to utilizing a weight distributing hitch. The combo was rock steady without even a hint of sway at highway speed, and, um, above.
While I was within the specifications for the 3500 Lbs hitch on the Sienna, I was not entirely happy with the amount of flex in it, so I do plan to beef it up a bit when I have a chance.
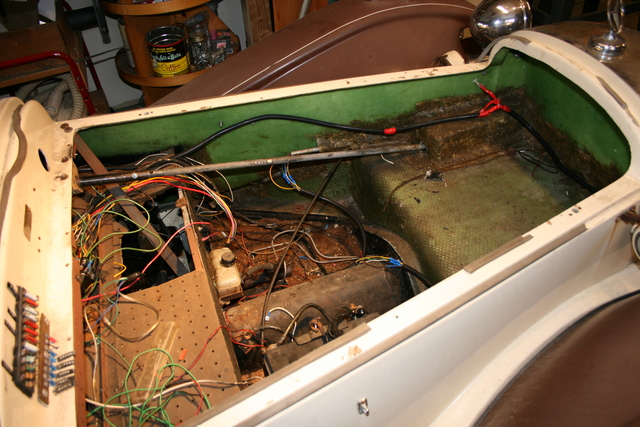
Here's a peek under the hood. The fellow who sold it to me bought it as a project but did not get a chance to do much work on it as he found a really schweet 'stang shortly after. The car is in essentially the same condition he found it. It had been assembled in 1985 but appears to have sat outside for quite some time. There are also some disparities in the quality of workmanship. Some things are very nicely executed and some things are hacked. I suspect that the car was partially built by one quite competent person and then, before it was finished, transferred to the hands of a lesser fabricator.
The basics are quite solid, the floor pan has only a touch of surface rust and the engine turns freely, it even runs – after a fashion. Here you can see some of the things that need work first. The wiring is a mess, I'll rip it all out and re-do it from scratch.
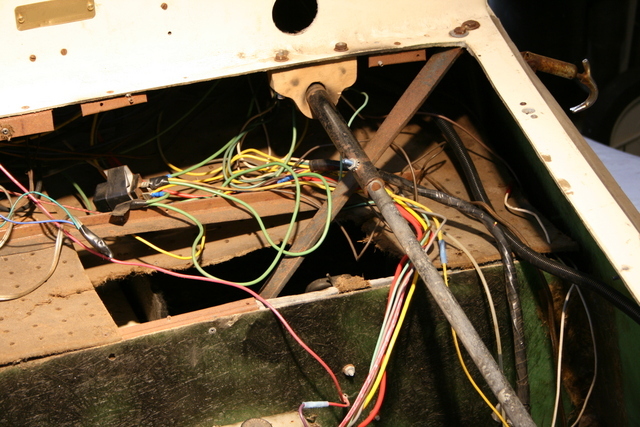
Heres another thing that will need addressing immediately, the steering column. Or perhaps spearing column is a better name as that is exactly what it would do to the driver in an accident. You can also see more of the tangle of wires and a pegboard "firewall" that has to go.
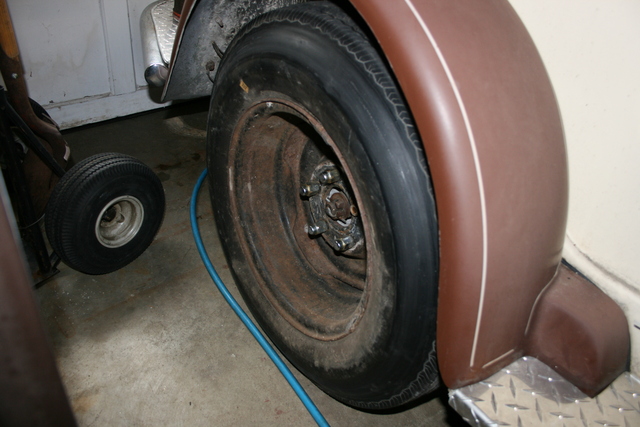
These cars use 14" Chevy wheels instead of the 15" VW wheels. They utilize an adapter to allow the Chevy wheels to be mounted on the VW hubs. However, my car came with a wheel that had the wrong offset, it pressed against the inside of the rear fender and the car would not even roll. I turned it backward and bolted it back on so I could move the car, but I will have to find a wheel with the correct offset.
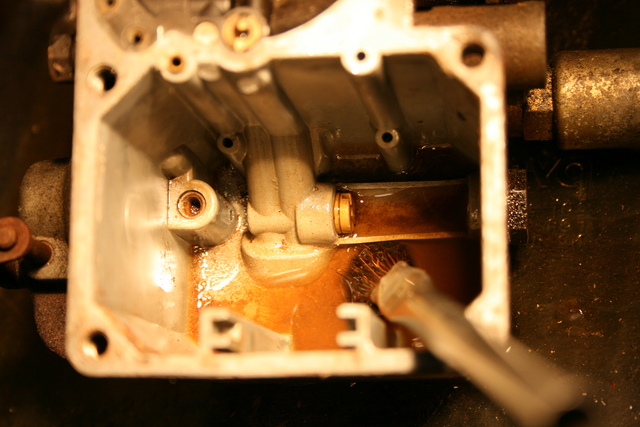
Having sat for years, of course the carburetor was filled with gunk. I took it apart and cleaned it thoroughly. I've ordered a rebuild kit from Air Cooled and when it comes in I'll re-assemble the carb and finish my tune up.
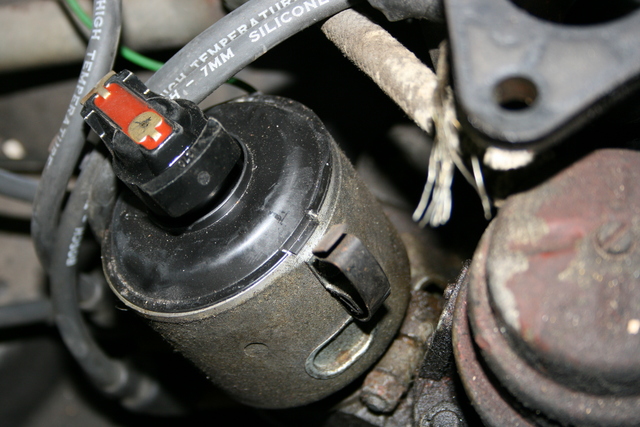
This car was built on the chassis of a 1972 VW Type-1 (Beetle) and it has a 1.6L flat four with the 34PICT-3 carburetor. Unfortunately, someone has made the very common mistake of installing a Bosch 009 "performance" distributor. This combination is notorious for resulting in bad drivability, with terrible hesitation off the line. There's a hack for fixing this but I decided to go with a new vacuum advance distributor from Air Cooled. I also opted for the Pertronix electronic points mod and a new spark coil.
Next steps will be to remove all four brake drums and inspect the brakes as well as track down the correct wheels and a fresh set of tires, the ones on the car are too wide and the rubber is cracked.
This will be a long term project so I'll post new work as I complete it. Go to the home page and subscribe to the RSS feed or email list if you want to be notified when I make new posts.