How to Make a Large Flash Diffuser
Making nice photographs when all you have for lighting is a bunch of tungsten shop lamps can be a real challenge. It is particularly hard to photograph polished brass under these conditions. So this weekend I set out to build a flash diffuser to improve the quality of the photography on this site.
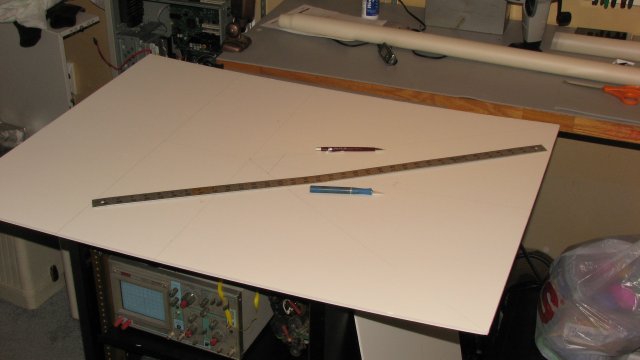
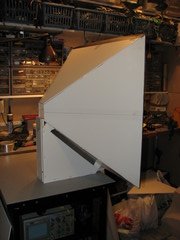
Most of the diffuser is made with foam board and packing tape. I laid out a square 30" inches on a side and then drew a cut line from each corner to the center of the top line. This gave me two right triangles that when taped together matched the center triangle.
I cut two sheets of foam board in this manner.
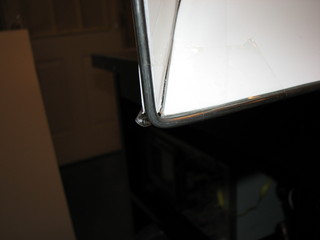
When all of the pieces where taped together I had a square "horn" shape. I used heavy gage steel wire to stiffen the front-most edge. This wire is from a political sign of the sort that people put in their front yards.
These signs are also a great source for small to medium sizes pieces of coro-plast.
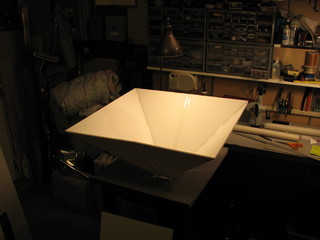
Next I taped a piece of acetate about halfway up the "horn" and I built a support from two pieces of wood and some more foam board which I glued in place with carpenters glue.
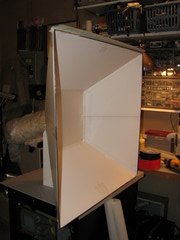
The flash is mounted with Velcro and triggered by a Wein Peanut Slave.
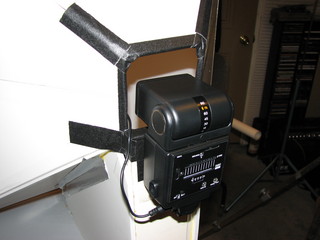
A 1/4" x 20 capture nut was installed in the bottom to allow the diffuser to be mounted to a tri-pod and I used gaffer tape to secure a 30" x30" piece of acetate over the entire front of the diffuser.
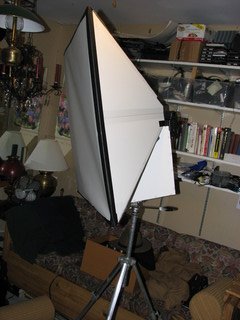
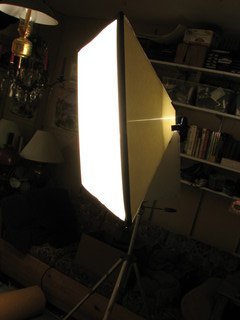
The light is very even.
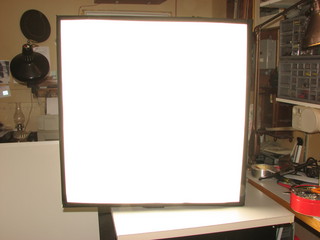
Here's my first test.
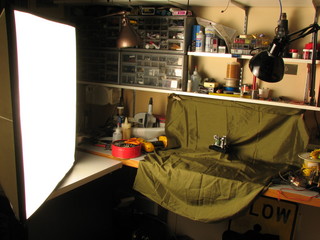
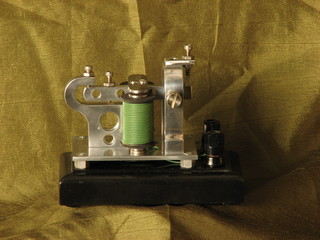
This photograph was taken with the soft flash diffuser at a 45 degree angle directly above the table
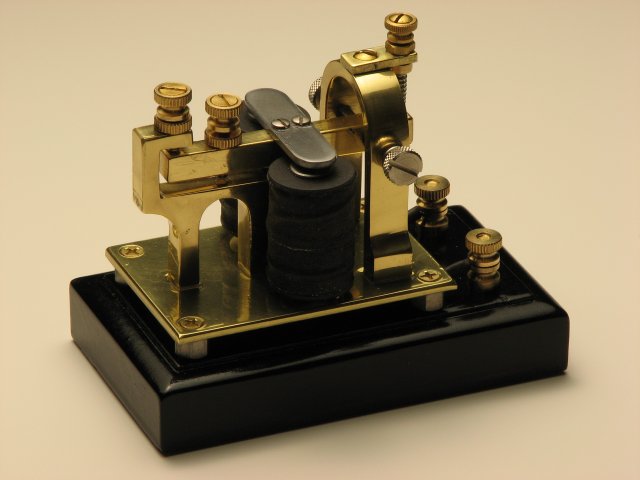
This photo was taken with the diffuser about 4 feet in front of me, right next to the camera. The camera is a Canon Powershot S3 set to full manual – 1/500, f8.
I am very happy with the results, total cost of the project was about $10 and the quality of the photographs I can take for this site should improve immensely.
