Craftsman Compressor Seal Repair – My First CNC Part!
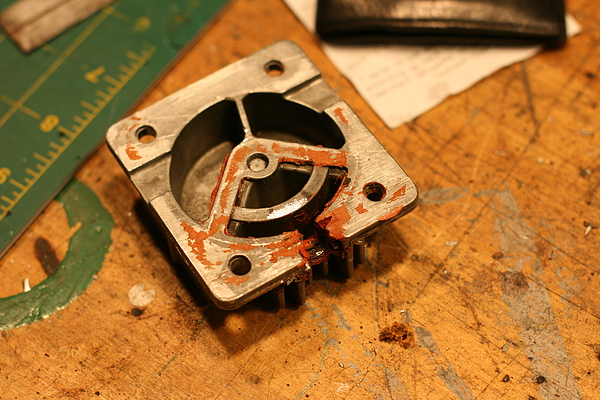
Some time ago I rescued a Craftsman air compressor from a dumpster. It was one of the cheap oil-less compressor type and the silicone rubber seal around the air outlet tube was blown out. I managed to repair the connection several times but my fixes would never last.
I have been waiting to get my CNC machine running so I could make a new head that would use a threaded fitting instead of the original, less than durable slide in gasket, and thats what I did today.
I stared out trying to build a 3D model in HeeksCAD but soon decided that I really needed to understand G-code and basic machining before I started trying to teach myself CAM software.

So I ordered a copy of the CNC Programming Handbook and started reading.
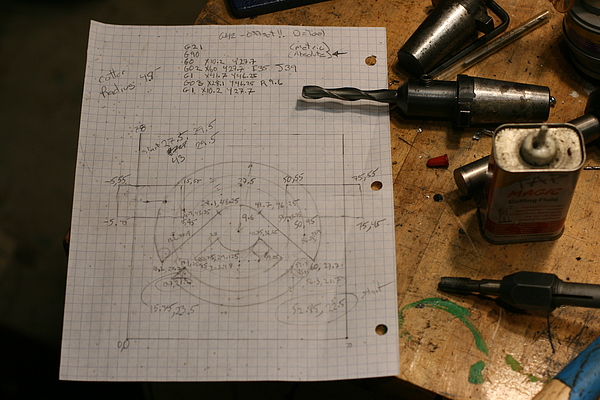
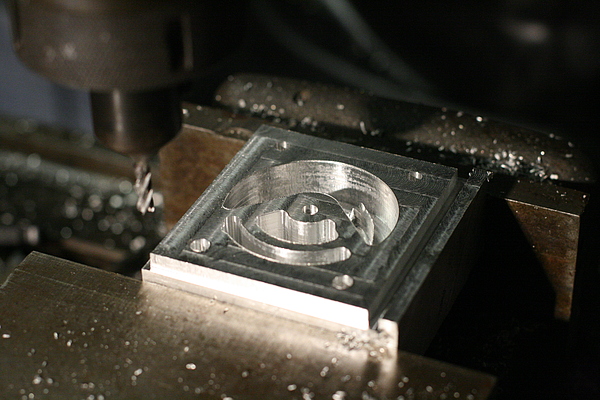
Most of it was pretty straight forward, the two big things to learn were circular interpolation and compensated tool offsets. Getting in and out of tight pockets is a little tricky and I never got the narrowest pocket quite right.
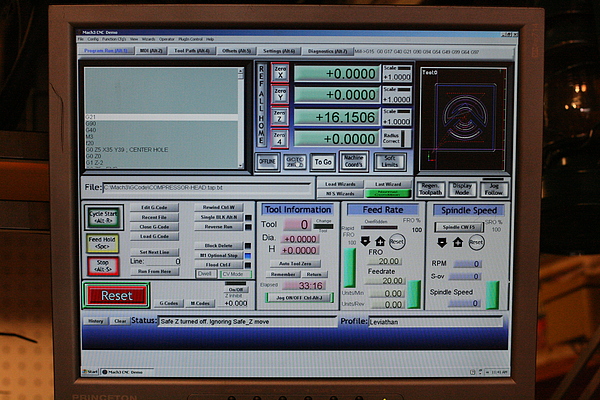
I'm using Mach 3 to control my Bridgeport and it has a nice toolpath display that is very helpful.

Its the bottom pocket that I never got quite right.

I proofed the part in foam, lots of foam!
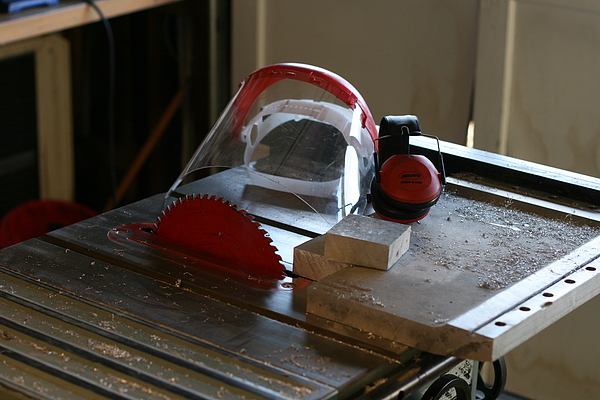
Looking around the warehouse I found a nice chunk of scrap aluminum which I cut up on my table saw. Aluminum cuts well with a carbide tooth blade. This a relatively dangerous operation and the face shield is really important.
I cut with a feed rate of about 200 mm/Min and no coolant because I have not got the coolant system working yet.
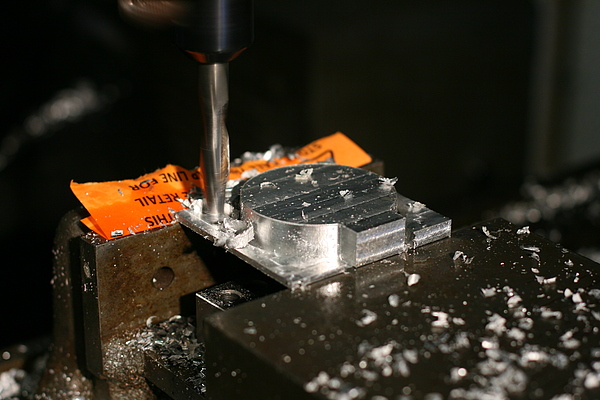
I programmed the profile of the back of the compressor head and then trimmed away most of the excess by manually jogging the machine.
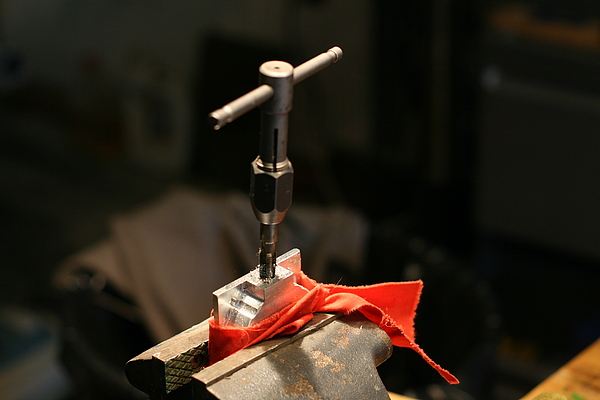
The last operation was drilling and taping the head for a 1/8" NPT to 5/15" compression fitting.
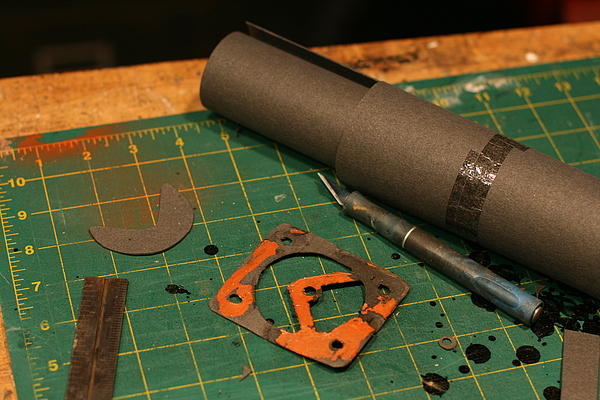
I made a new gasket with high temp automotive gasket material.

The part installed on the compressor, it works perfectly!