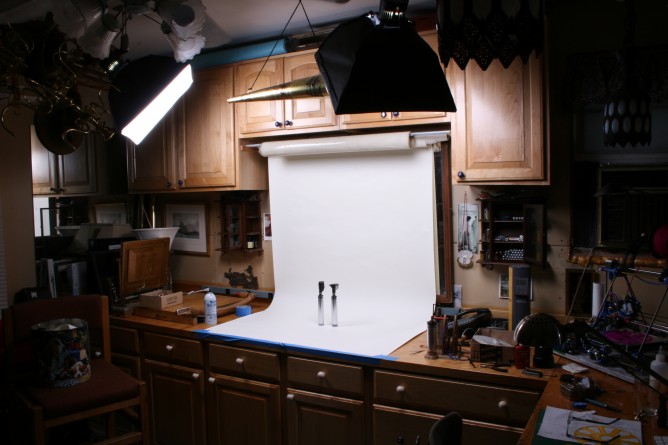
Studio Softbox Flash Ceiling Bracket
One of the reasons I redesigned The Steampunk Workshop website is that I thought WordPress with it’s easier to use interface and more flexible authoring would entice me to publish more stories. But an important aspect to any story are good photographs and I don’t always (read rarely) want to haul out the tri-pods and softbox studio lights for a couple of quick shots.
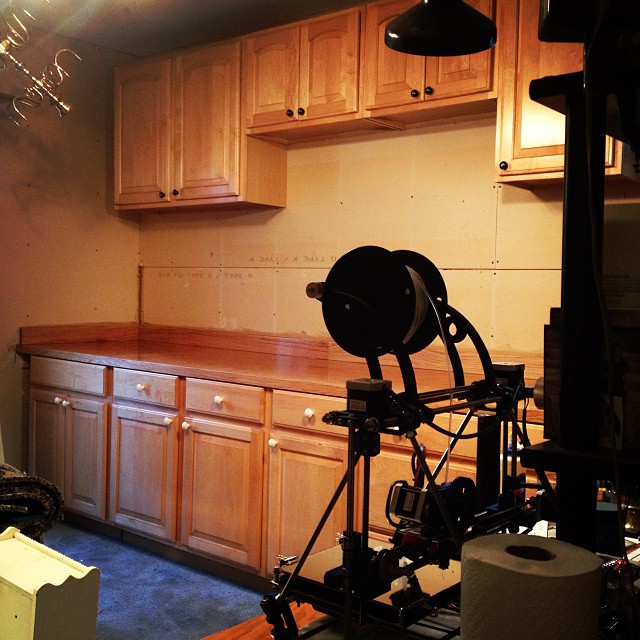
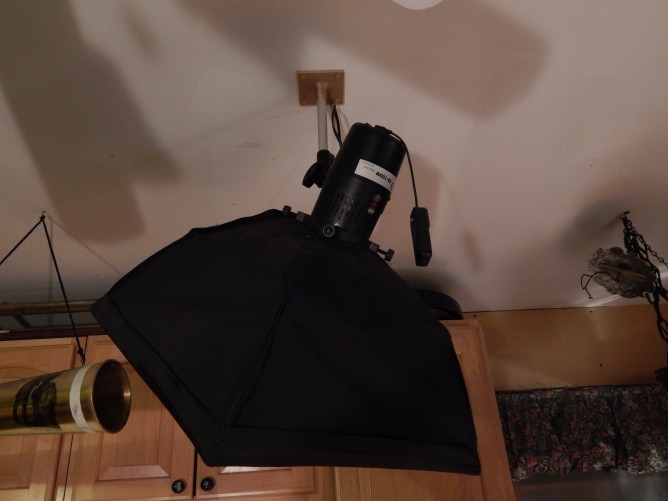
Last summer I found a set of nice cabinets at the dump and installed them in the office part of the shop. I left the center section open with the intent of dedicating it to project photography and hung a pair of rolls of photographic seemless background paper there. To make it easier for me to take good pictures I decided to mount my studio lights from the ceiling too so I could simply turn them on when I wanted to shoot.
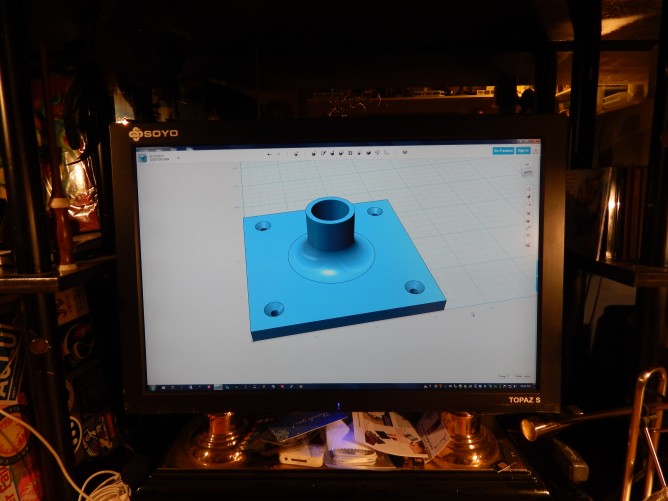
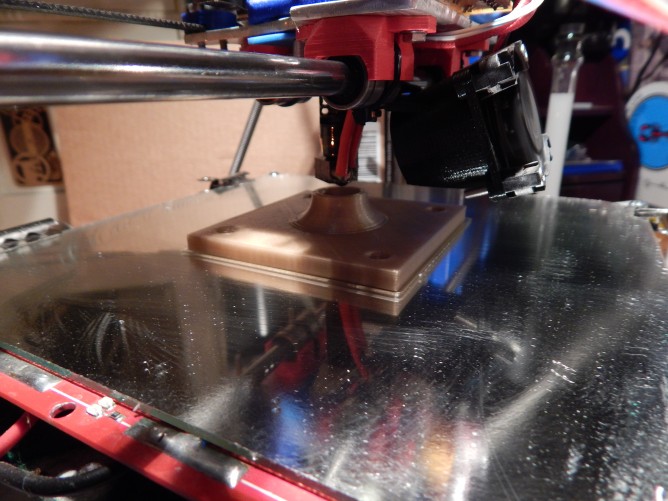
I found that the light heads mounted to the 5/8″ tops of the their tripods and that I had a broken camera tripod with 5/8″ leg sections. I cut those into two lengths about 14″ each and then designed a ceiling mount to print on my RepRap Prusa Mendel.
I printed the part in PLA and press-fit the tubing into it while it was still warm. All that was left was to screw the mount on to the ceiling and run the power cords!
Autodesk 123D Design Softbox Flash Ceiling Bracket File and STL are available on Thingiverse.
