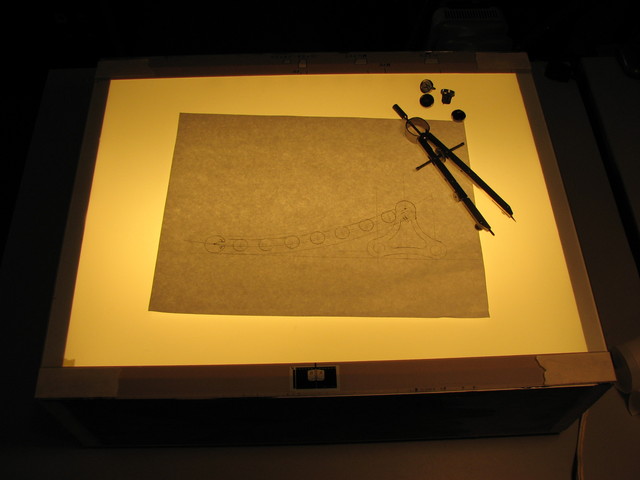
How to Make a Cheap Lightbox
For many of my recent projects I have found myself in need of a lightbox so I took a couple of hours from working on my latest project to put together this one. I used a piece of glass from the old Xerox machine that I bought for ten dollars a few weeks ago. The glass is 14 3/4" by 18". Any piece of clear material will do, but the glass from a copier is ideal because it's tempered safety glass. A flat piece of automotive glass would be an equally good choice. If you do use regular widow glass keep your lightbox on the small side to help reduce the chance of breakage.
After choosing the glass, I measured and cut some wood scraps to form the box. I used a very simple construction method, just a bit of glue and some nails.
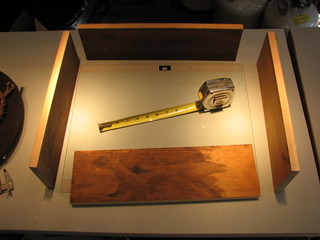
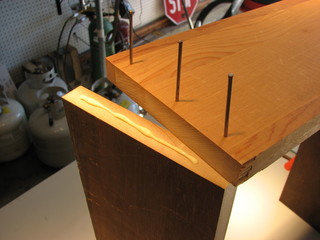
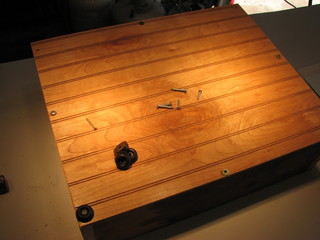
I made a bottom piece from a scrap of paneling. I drilled eight holes and attached it with sheet metal screws. Using screws is important because the glass will be glued on so any future repair that may be required will need to be performed from below.
I installed 3/8" high rubber feet at each corner to raise the box off of the table top. This is important because I plan to drill vent hole in the bottom.

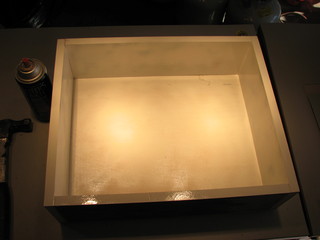
Next I painted the inside of the box with white primer.
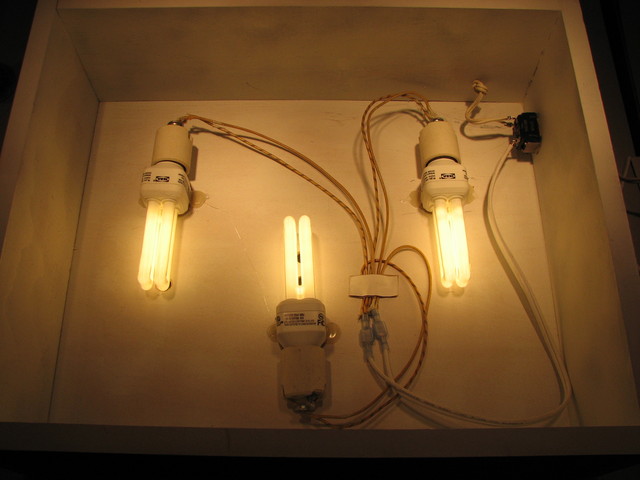
Compact fluorescent light bulbs are perfect for this application because they produce little heat and a great deal of light. These are 11 watt bulbs from Ikea. Once I positioned them I drilled (3) 1/2" holes directly under the tubes.
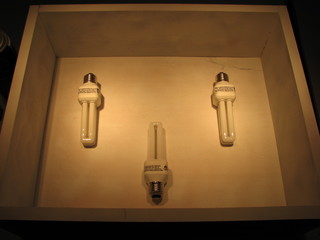

I used sockets salvaged from the light fixtures I stripped to make some of my kerosene lamps. I glued the bulbs down with polyurethane construction adhesive and then tacked them in place with some hot glue because the polyurethane needs several hours to cure.
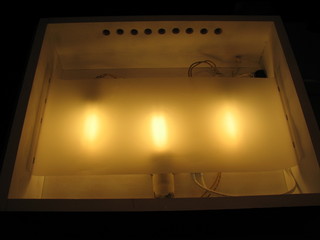
To further diffuse the light I installed a strip of drafting acetate across the lights about 3" from where the glass will be. Charette or an art and/or drafting supply house will have acetate.
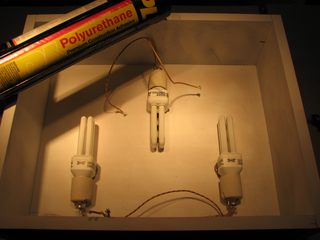
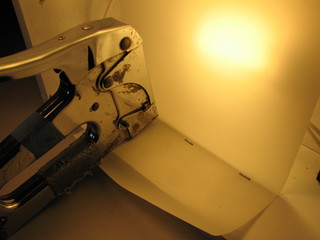
I glued in a toggle switch and wired the lights with a pair of quick disconnects so I can remove the bottom for servicing. The only thing you really have to be aware of when wiring is that the ridged wire in the line cord needs to connect to the white wire from the sockets, this is the "Neutral". The smooth wire in the cord connects to the wires with the black stripe (or they may be solid black on your sockets) this is the "Hot" or "Line".
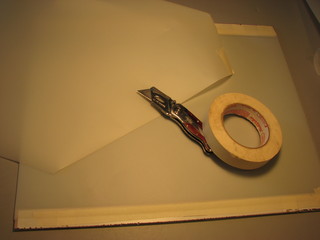
Here is the lightbox with the acetate strip in place and holes drilled in the back for ventilation. Next step was to tape more acetate to the back of the piece of glass., The copier glass had a nice painted area at the top and bottom to hide the ugly masking tape, you may want to paint something similar on yours. I glued the glass to the top of the box with G.E. Silicon II WIndow and Door Sealant.
The lighted area of the completed box. You can see that there are bright spots above the bulbs, but the surface is actually quite evenly illuminated.
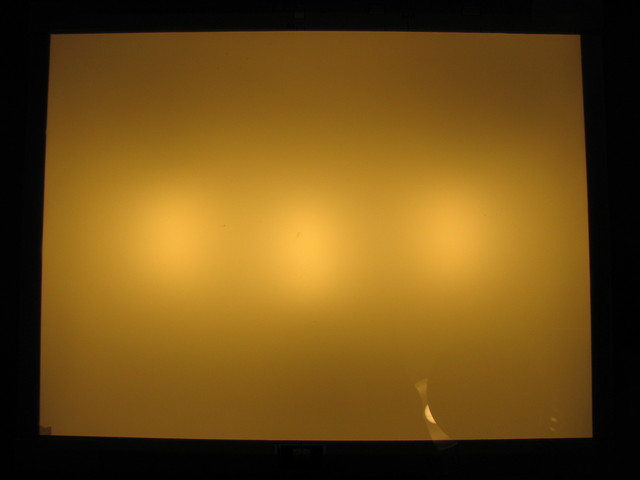
It works quite well as a lightbox and I'm sure it will be very handy.
