Angle Lamp Repair
The Angle Company of New York manufactured these unique lamps from the early 1890's until 1929. In my opinion the Angle Lamp is the pinnacle of kerosene wick lamp design. This is a two burner version. They also commonly came in 3, 4 and (much rarer) 6 and 8 burner versions as well. Single and two burner wall mount lamps and a single burner student lamp were also made. They came in a variety of paterns and materials. This is the simplest, a tin plated steel can with nickle plated burners.
This kerosene lamp will hang over the dinette in my school bus camper conversion project and as such will need to be a functional decor piece so this is more of a repair then a restoration or conservation project.
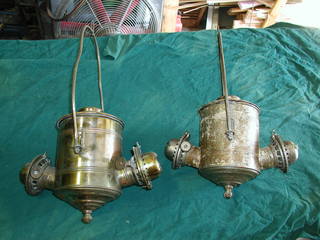
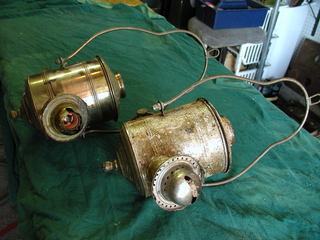
These are the two Angle Lamps I purchased on eBay. If I recall correctly, I paid about $50 for the one on the left that has been electrified and close to $80 for the one that is "still in oil." Given the condition of both, I probablypaid too much. Someone has attempted to "polish" the one on the left. I think it was originally nickel plated, but it could have been some sort of brass plate. Can you plate with an alloy like brass? I'll have to do some research. In any case, I had originally planned to remove all of the plating down to the base brass and transplant the burners from the lamp on the right. However, it turns out the can on both lamps is steel so I decided to just clean up the tin plated lamp.
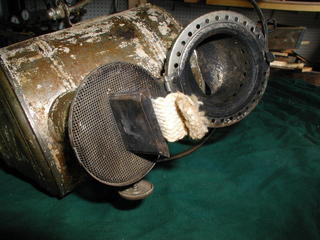
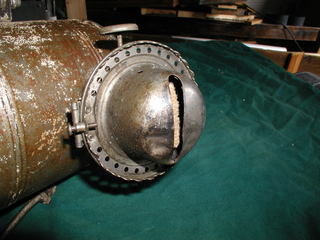
As you can see it's in pretty rough shape. It's been painted, it's rusted, someone has put a #2 wick in it and crimped the wick holder and one of the burners is badly dented.
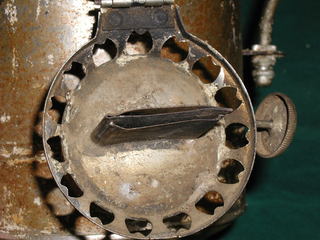
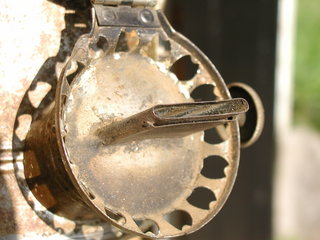
Here's a view of the crimped wick holder and the good one.
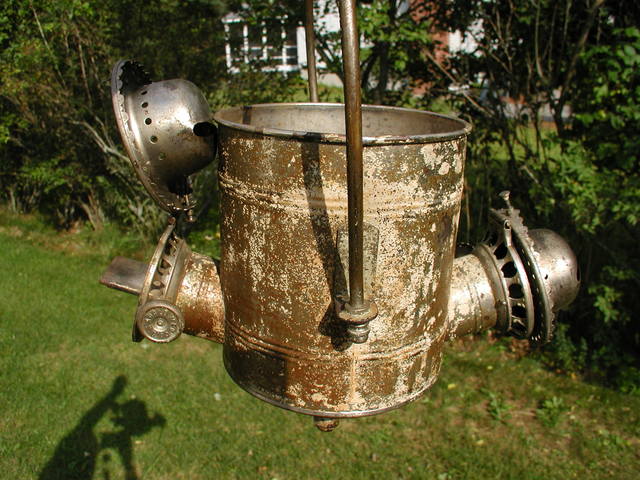
Pretty nasty, the rust has pitted the surface in lots of places.
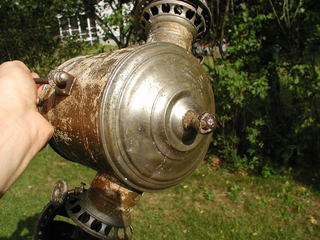
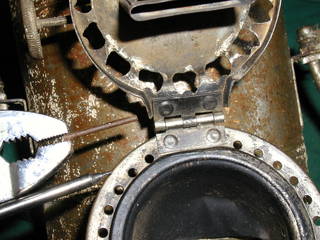
The bottom is in better shape, it's brass, but dented. I started by disassembling the lamp so I could strip off the white paint. The hinge pins came out easily with a drift and pliers.
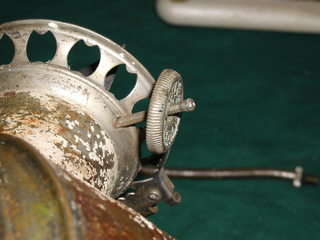
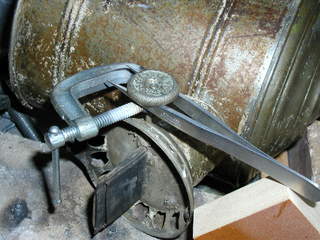
One of the knobs needed to be soldered back on.
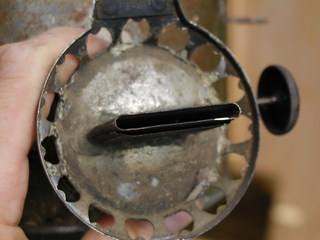
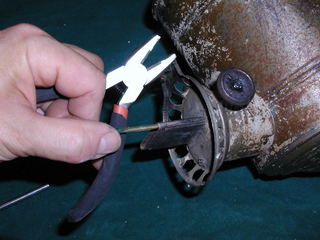
I used a piece of 1/8" brazing rod and the flat nose pliers to straighten the crimped wick holder. It's made of a fairly malleable brass and straightened pretty easily.
The dents in the bottom were gently pushed out with a rounded stick, I didn't go for perfect, just better.
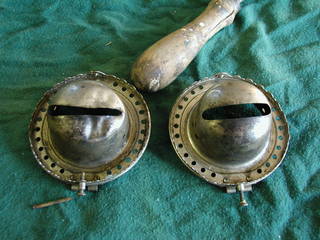
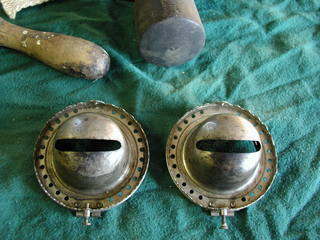
I used a file handle as an anvil and this rubber mallet to take the dents out of the burner. A flat face hammer smoothed the surface somewhat. I'll have to buy some sheet metal working tools to do stuff like this in the future.
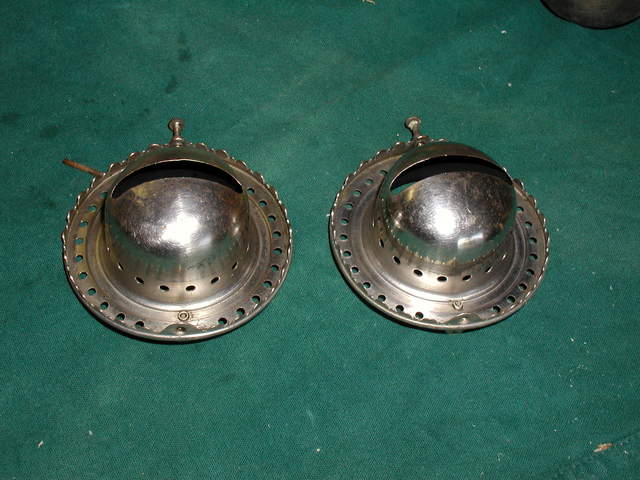
Here are the two burner shells all cleaned up.
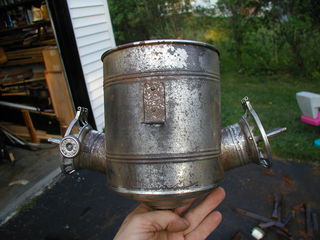
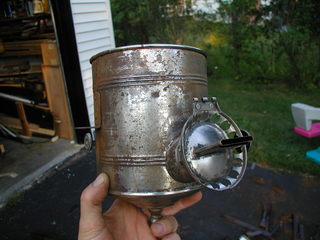
With the white paint off the can looks better, but the steel is awfully pitted. I though about removing the plating and maybe experimenting with electrolytic rust removal but I want this lamp to be a functioning decor piece rather then something for my collection. I'm painting it.
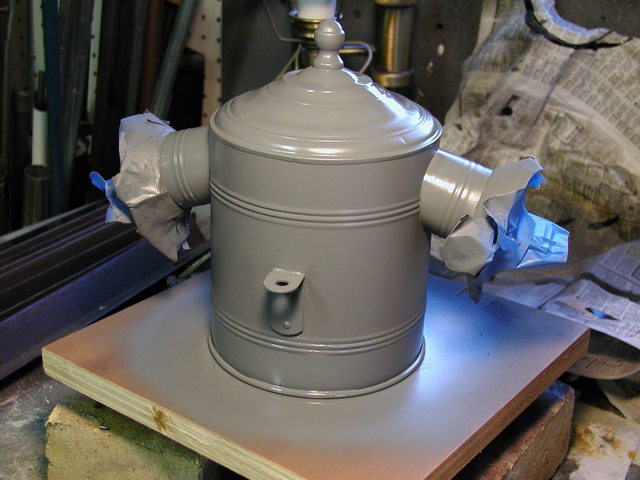
After cleaning it up with a rotary fiberglass brush I laid down some primer. The top was in even worse shape then the body, I suspect because it is more often handled when refilling the kerosene tank.
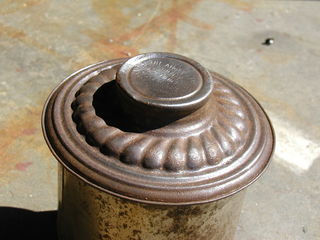
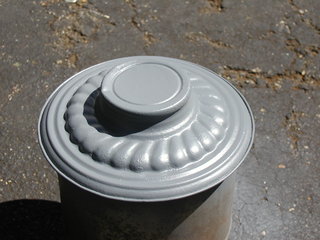
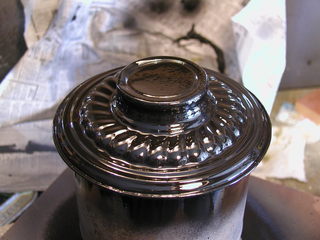
I used a high gloss, all purpose, fast drying enamel from Rustoleum. It's a little too glossy for my taste and took too long to dry. Next time I'll go back to the Krylon gloss black I used on the Table lamp, it goes on thinner and has a more elegant finish.
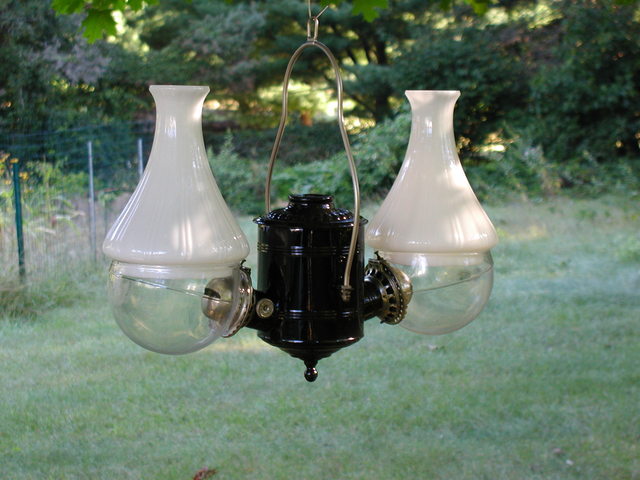
Here's the completed lamp with reproduction elbows and chimneys. The hanger is painted gold, it was also too pitted to try and refinish. I plan to add some gold highlights to the finial and base and will decorate the lamp with the crest's of the four Hogwart's houses since this lamp is destined to hang over the dinette in my school bus camper conversion project "Seeker". I've ordered wicks from Lehman's and will post a picture of the lighted lamp in situ as soon as they arrive.
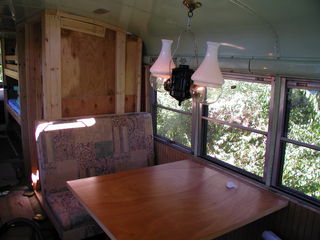
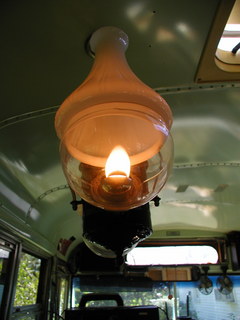
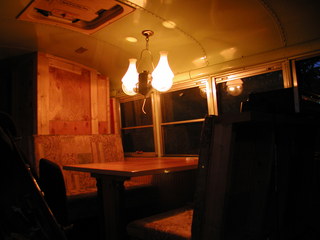
Here are some shots of the lamp installed in my school bus conversion.